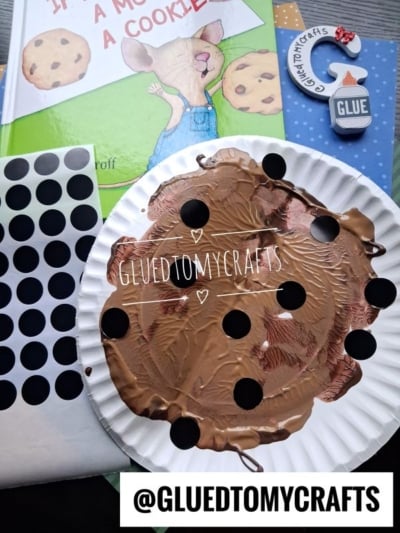
Some books make little ones laugh, and some make them hungry. If You Give a Mouse a Cookie by Laura Numeroff does both! That curious little mouse asks for a cookie, then a glass of milk, then a straw, and the requests keep coming. Kids adore the silly chain of events and always want to know what he’ll ask for next.
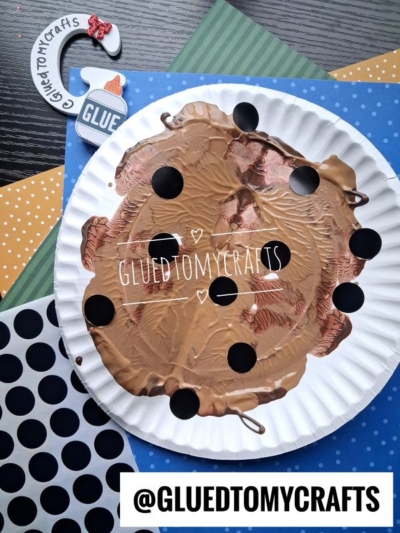
This Paint Splat Cookie Craft brings the story to life with the same smush painting technique from our popular Paper Plate & Paint Splat Ball Craft. This time, we swapped the bright colors for two yummy shades of brown. When you combine the two colors and press the paper plate together using our signature smush technique, the final result is a beautifully marbled, golden-baked cookie that looks good enough to eat.
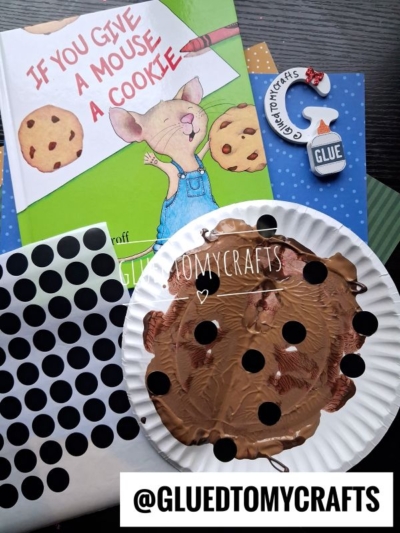
To finish off the project, we use black dot stickers as the perfect substitute for chocolate chips, giving the cookie a realistic and textured look that children will absolutely love. It’s perfect for a classroom story time station, a cozy afternoon at home, or a library reading group. No oven required!
GRAB THE “IF YOU GIVE A MOUSE A COOKIE” BOOK VIA OUR AMAZON AFFILIATE LINK
Craft Supplies:
Gather these simple supplies before you begin:
- White paper plate – you need one per craft
- TWO shades of brown craft paint
- Black dot stickers
Directions:
Ready to make your paint splat chocolate chip cookie? Just follow these easy steps:
- Start with a clean white paper plate. Lay down a protective cover on your work surface first – this craft can get messy!
- Fold the paper plate in half, then unfold it again so you have a clear crease down the middle.
- Squirt your two colors of brown paint onto one side of the plate. Add a few dots or squiggles of paint. Remember, less is more!
- Fold the plate back together along the crease and gently press it closed.
- Rub your hand all over the folded plate. This spreads the paint into a fun, marbled splat inside.
- Carefully unfold the plate to reveal your paint splat chocolate cookie design. Surprise – every one looks different!
- Place dot stickers all over the wet paint while it’s still sticky, so it sets right in.
- Set your chocolate chip cookie aside to dry completely before displaying it proudly.
Tips & Tricks:
Want to make this craft even smoother? Keep these pointers in mind:
- Use less paint than you think you need. A few small dots go a long way once you smush the plate together.
- Keep paint away from the edges so it doesn’t squeeze out when you press.
- Work on a covered surface or use a smock to keep clothes clean.
- Let little ones do the smushing. Pressing and rubbing the plate is the most fun part for kids!
- Try different color combos to match a season or your child’s favorite type of cookie.
RELATED —> Tissue Paper Chocolate Chip Cookie Craft
GRAB THE “IF YOU GIVE A MOUSE A COOKIE” BOOK VIA OUR AMAZON AFFILIATE LINK
Pairing a good book with a hands-on craft is one of the easiest ways to make reading stick with little ones. This Paint Splat Chocolate Cookie Craft turns a classic story into a sweet keepsake your kids will be proud to show off. Just don’t be surprised if someone asks for a glass of milk to go with it!
Give it a try at home or in the classroom, then show off those tasty creations! Tag us @gluedtomycrafts or use #gluedtomycrafts on Instagram. We’d love to see your one-of-a-kind paint splat cookies. Happy crafting, my friends!
