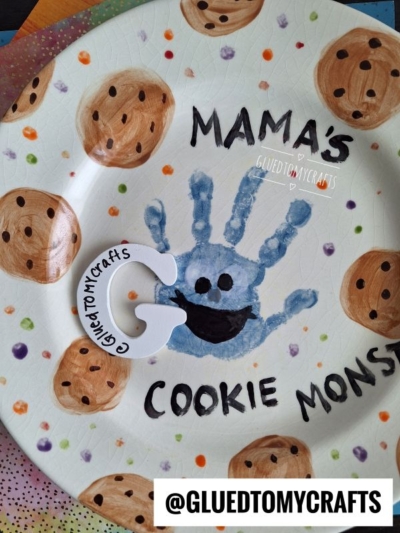
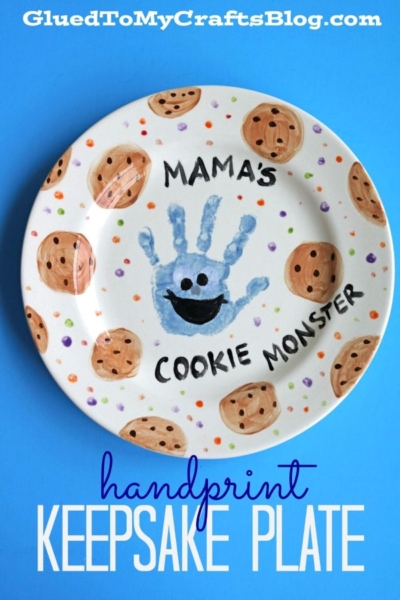
This sweet Handprint Cookie Monster Plate is a fun keepsake you can make during a visit to a local pottery painting shop.
It uses your child’s blue handprint as the base for Cookie Monster, then adds painted cookies, colorful sprinkle dots, and the words “Mama’s Cookie Monster” for a cute personalized touch.
It makes a wonderful Mother’s Day gift, birthday gift, or special memory from a day out together!
Materials Needed:
Most pottery shops will have these supplies available, but it helps to know what you’ll need before you start.
- Plain ceramic plate
- Blue pottery paint
- Black pottery paint
- White pottery paint
- Tan or light brown pottery paint
- Dark brown pottery paint
- Small paintbrushes
- Medium paintbrush
- Dotting tool, pencil eraser, or the end of a paintbrush
- Paint pen or detail brush for lettering
- Baby wipes or damp paper towels
- Pencil, optional, for lightly planning placement
- Apron or smock for your child
Prep Tips Before You Start:
- Ask the pottery shop staff for help with handprints. They are usually great at helping you get a clean print.
- Choose a plate with enough space in the center for your child’s full handprint.
- Plan your design first. Cookie Monster will go in the middle, cookies around the rim, “Mama’s” at the top, and “Cookie Monster” at the bottom.
- Keep wipes nearby. Handprint crafts can get messy fast, especially with little kids.
- Work in layers. Let each painted area dry for a few minutes before adding details on top.
Step-by-Step Instructions:
1. Paint Your Child’s Hand Blue
- Have your child hold their hand open with fingers slightly spread apart.
- Using a medium paintbrush, paint the palm and fingers with a nice, even coat of blue pottery paint. Make sure the paint covers the whole hand, but don’t make it too thick or drippy.
2. Press the Handprint Onto the Plate
- Carefully help your child press their painted hand into the center of the plate with fingers pointing upward.
- Gently press each finger and the palm down so the print transfers well. Lift the hand straight up to avoid smearing.
- Wipe your child’s hand clean right away.
3. Turn the Handprint Into Cookie Monster
- Once the blue handprint has dried a little, add Cookie Monster’s face to the palm area.
- Paint two white circles near the top of the palm for the eyes. They can be a little uneven, which gives Cookie Monster his silly look.
- When the white paint is dry enough, add small black pupils inside the eyes.
- Then paint a large black smiling mouth across the lower part of the palm. A wide crescent or open smile shape works great.
4. Paint Chocolate Chip Cookies Around the Rim
- Using tan or light brown paint, add small circles around the rim of the plate to look like cookies.
- Space them out around the edge so they frame the handprint. They do not need to be perfect circles.
- Once the cookie shapes are done, use dark brown paint to add little chocolate chips on each cookie. A dotting tool or the end of a paintbrush works well for this step.
5. Add Colorful Sprinkle Dots
- Now fill in some of the empty white space with tiny sprinkle dots.
- Use bright colors like red, orange, green, purple, or pink. Add the dots around the cookies and near the center of the plate, but try not to cover the handprint too much.
- This step makes the whole plate feel playful and cheerful.
6. Add the Words “Mama’s Cookie Monster”
- At the top of the plate, paint the word: Mama’s
- At the bottom of the plate, paint: Cookie Monster
- You can use a black paint pen if your pottery shop has one, or a small detail brush with black paint.
- For the bottom words, curve the lettering slightly to follow the shape of the plate. Take your time and keep the letters simple.
7. Check the Final Details
- Before you finish, look over the whole plate.
- You can touch up any cookie chips, sprinkle dots, or lettering if needed. If the eyes need more white or the mouth needs to be darker, add another light coat.
Drying and Firing Note
- Once your design is complete, the pottery shop will usually keep the plate so it can be glazed and fired in their kiln.
- Ask the staff when it will be ready for pickup. Most shops need several days to a week, depending on their firing schedule.
- After firing, the colors will look brighter and the plate will have a shiny finished look.
RELATED —> Handprint Cookies For Santa Keepsake
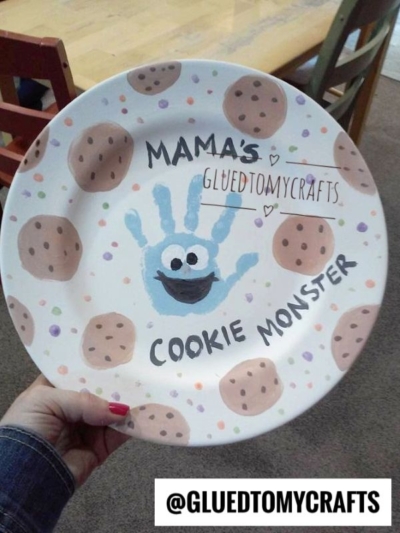
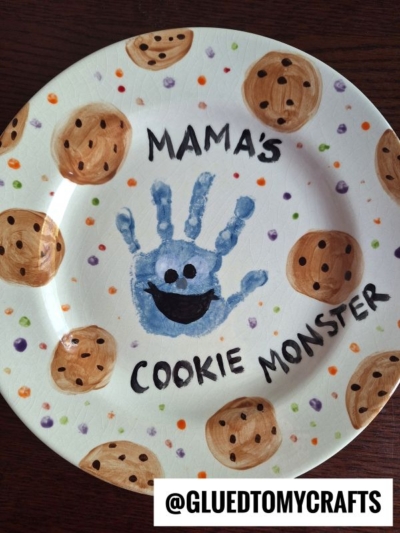
This project is meant to be sweet, not perfect. A wiggly handprint, uneven cookies, or playful letters only make the plate more special.
If you’re making this with a younger child, keep the session simple. Let the pottery shop staff help with the handprint, then you can add the details while your child helps with sprinkle dots or cookie chips.
Most of all, enjoy the memory behind it. This Handprint Cookie Monster Plate is a cute keepsake that captures a little hand, a fun outing, and a whole lot of love. Happy crafting, my friends!
