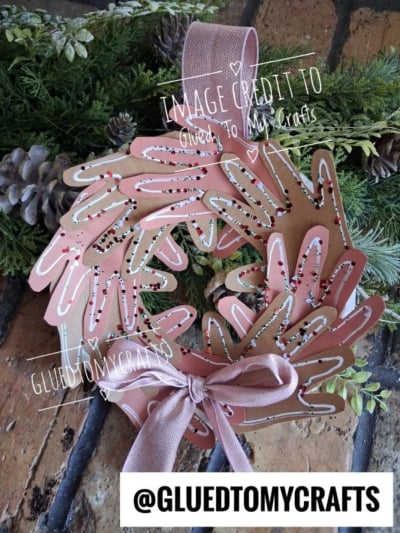
Little hands grow fast, and this cheerful holiday wreath captures them just as they are this year. Each paper handprint becomes a “gingerbread cookie” with white icing and colorful sprinkles. Together, they form a sweet wreath you’ll want to hang every December.
The best part is the base: a simple paper plate with the center cut out. It’s sturdy, cheap, and gives kids an easy guide for placing their handprints. This project works well at the kitchen table, in a classroom, or at a holiday craft party.
Grab your supplies, and let’s start baking our paper cookies!
Craft Supplies:
- 1 paper plate with the center cut out (sturdy plates work best)
- Construction paper or cardstock in brown/tan tones (you want two colors)
- Pencil
- Scissors
- Glue stick, craft glue, or a stapler
- White puffy paint or 3D glue
- Loose craft glitter or sequins
- Craft ribbon, for a bow and hanging loop
Helpful extras: A baking sheet or tray to catch glitter, a few paper towels, and a marker to write names and dates on the back.
Directions:
Step 1: Prepare the Paper Plate Ring
- Fold the paper plate gently in half. Don’t crease it too hard.
- Snip a small slit in the center of the fold.
- Unfold the plate. Slide your scissors into the slit and cut around the inside edge, where the flat center meets the raised rim.
- Remove the center circle. You now have a sturdy ring for your wreath base.
Step 2: Trace the Handprints
- Have your child place one hand flat on a sheet of paper, fingers spread a little.
- Trace around the hand with a pencil. Keep the lines loose and smooth around the fingers.
- Repeat on the brown or tan paper.
- Keep tracing until you have about 12 to 16 handprints. Aim for an even mix of both colors.
Tip: Wiggly hands are part of the fun! If your little one can’t stay still, trace one great handprint, cut it out, and use it as a template for the rest.
Step 3: Cut Out the Handprints
- Cut along each traced line. Older kids can try this themselves with safety scissors.
- Don’t worry about perfect fingers. Simple, rounded shapes look just like cookies.
- Sort your handprints into two piles by color.
Step 4: Arrange the Handprints on the Ring
- Lay the paper plate ring flat on the table.
- Place your first handprint so the palm rests on the ring and the fingers point outward.
- Tilt each hand slightly in the same direction, so the wreath seems to swirl in a circle.
- Alternate the two colors of handprints all the way around. Let each one overlap the last.
- Before attaching anything, step back and check the spacing. Shuffle the hands until the circle feels full.
Step 5: Attach the Handprints
- Lift one handprint at a time and add glue to the palm area.
- Press it firmly onto the ring and hold for a few seconds.
- Work your way around the wreath until every hand is in place.
Prefer a quicker option? Staples work great and hold tight. Place them near the palm, where the next handprint will hide them.
Let the glue dry for a few minutes before moving on to decorating.
Step 6: Add the “Icing”
Here’s where your handprints turn into gingerbread cookies!
- Squeeze a thin line of white puffy paint or 3D glue along each finger. You can trace the outline or run a line down the center of each finger.
- Add a few squiggles or dots on the palm if you like.
- Keep the lines thin. Thick lines take much longer to dry.
Step 7: Sprinkle on the Glitter and Sequins
- While the white paint is still wet, set the wreath on a tray or baking sheet.
- Sprinkle glitter over the icing lines.
- Gently tip the wreath to shake off the extra glitter. Pour it back into the jar for next time.
Now comes the hard part: waiting! Let the wreath dry flat for several hours, or overnight to be safe. Puffy paint needs time to set completely.
Step 8: Add the Hanging Loop
- Cut a piece of ribbon about 10 to 12 inches long.
- Fold it in half to make a loop.
- Turn the wreath over and attach both ribbon ends to the back of the ring at the top. Use a staple, strong tape, or a dab of craft glue.
Step 9: Tie the Finishing Bow
- Cut a longer piece of the same ribbon, about 18 to 24 inches.
- Tie it into a big, fluffy bow.
- Attach the bow to the bottom of the wreath with a staple or glue.
- Trim the ribbon tails at an angle so they look neat and don’t fray.
That’s it! Your Handprint Gingerbread Cookie Wreath is ready to hang.
RELATED —> Paper Plate and Dot Sticker Gingerbread Man Craft
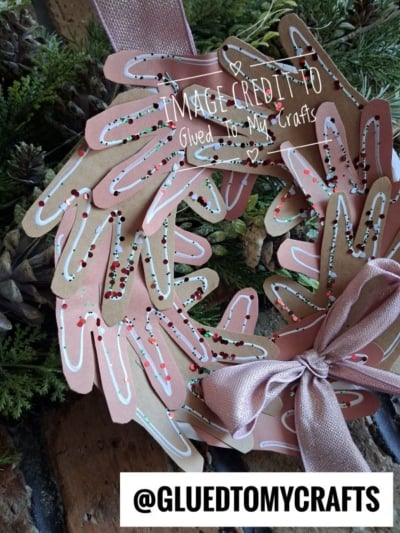
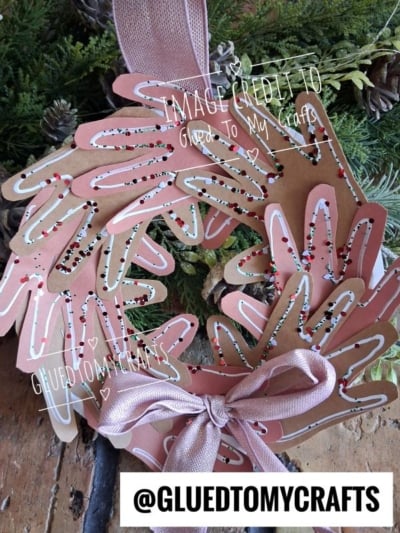
Hang your finished wreath on a door, a window, or the fridge where everyone can admire it. Every time you see those little sprinkle-covered fingers, you’ll remember a cozy afternoon of crafting together.
Make one this year, then make another next year. Before long, you’ll have a growing collection of gingerbread handprints that tells the story of your family’s holidays. Happy crafting!