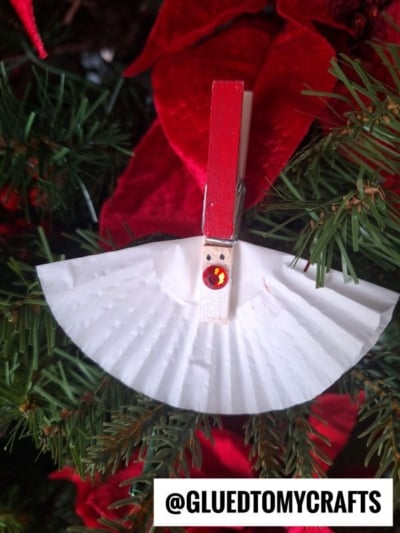
Some of the best holiday memories happen at the kitchen table, with little hands, a few simple supplies, and a lot of giggles. This Clothespin Cupcake Liner Santa is one of those crafts. It’s quick, cheerful, and doesn’t create much mess at all.
In about 15 minutes, your kids will turn a plain wooden clothespin into a jolly little Santa with a bright red hat, a sparkly nose, and a fluffy paper beard. He can stand on a shelf, clip onto a gift, or hang out on your Christmas tree all season long.
This craft works for preschoolers with a little help, and older kids can make a whole Santa squad on their own. It’s also a great pick for classroom parties, since the supplies are cheap and easy to set out on trays.
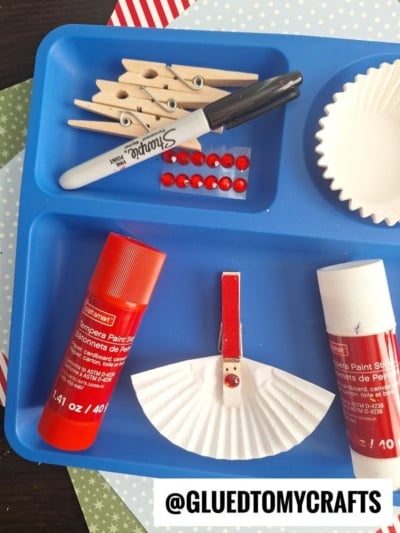
Craft Supplies:
- Wooden spring clothespins (one per Santa)
- Red Craft Smart Tempera Paint Stick
- White Craft Smart Tempera Paint Stick
- Black fine-point Sharpie marker
- White paper cupcake liners
- Red self-adhesive rhinestones
Why paint sticks? They work like a glue stick, but with paint. There are no brushes, no water cups, and no spills. They also dry fast, which matters a lot when kids want to see their Santa right now.
Directions:
Step 1: Paint Santa’s hat red
Twist up the red paint stick and color the top half of the clothespin, from the end down to the metal spring. Cover the front, back, and sides.
This red section becomes Santa’s hat. When you’re done, the top half should be solid, bright red with no wood showing through.
Step 2: Add Santa’s white beard with the white paint stick
Use the white paint stick to add a small beard on the lower half of the clothespin. Color a little white but leave a bare strip of natural wood in the middle for Santa’s face.
Step 3: Draw two dot eyes
Use the black fine-point Sharpie to draw two small dots just below the red hat. Keep them close together and simple.
Step 4: Stick on a sparkly red nose
Peel one red rhinestone off the sheet and press it just below the eyes. Hold it in place for a few seconds so the adhesive grabs the wood.
Now Santa has a shiny, rosy nose. Kids love this part, because it’s the moment Santa really comes to life.
Step 5: Fold the cupcake liner beard
Take one white cupcake liner and gently flatten it. Then fold it in half to make a half-circle.
Step 6: Clip on Santa’s beard
Squeeze the clothespin open and clip the folded edge of the cupcake liner into the clothespin’s mouth. Center it so the beard fans out evenly on both sides.
That’s it! Your jolly little Santa is ready to celebrate.
RELATED —> Paper Plate and Fork Painted Santa Beard Craft Idea
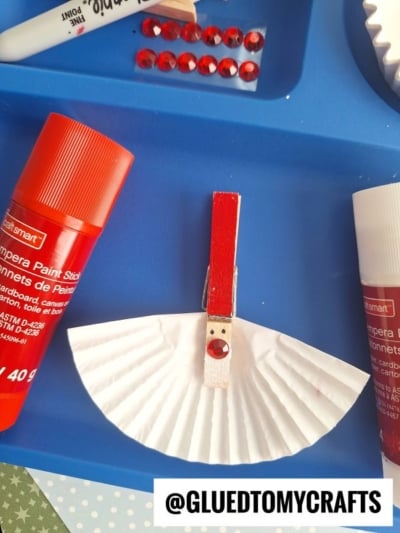

With a clothespin, a cupcake liner, and a few dabs of paint, you’ve made a handmade Santa your kids will be proud to show off. It’s simple enough for little ones, fun enough for big kids, and festive enough to brighten any corner of your home or classroom.
Try making a whole family of Santas this week, then share your favorite on Instagram and tag @GLUEDTOMYCRAFTS. We can’t wait to see your jolly creations!
Wishing you a happy, crafty, and very merry holiday season!
