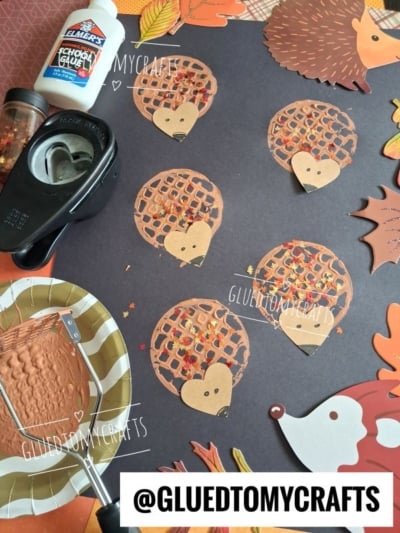
There’s something magical about turning an ordinary kitchen tool into an art supply. That’s exactly what happens with this adorable hedgehog craft, where a humble potato masher becomes the secret to creating perfectly spiky little critters. The grid pattern on the masher stamps out a textured body that looks just like a hedgehog’s prickly back, and kids absolutely love the surprise of watching it appear.
This project is wonderfully simple, budget-friendly, and mess-manageable (mostly!). It works beautifully for a rainy afternoon at home, a cozy fall classroom activity, or a craft table full of eager little hands. Best of all, every hedgehog turns out a little different, so there’s no wrong way to make one. Let’s dig in!
Craft Supplies:
Gather these supplies before you start so everything’s within reach:
- Dark colored construction paper (this makes the light paint pop)
- Light brown or tan paint (washable is best for kids)
- A metal potato masher with a grid or lattice pattern
- A paper plate for the paint
- Elmer’s washable school glue
- Light brown kraft paper for the faces
- A heart-shaped paper punch
- A black marker for the eyes and nose
- Leaf-shaped glitter or sequins
Directions:
- Pour a small pool of light brown paint onto your paper plate. Spread it out just enough so the masher can pick up an even layer. You don’t need much paint here, a little goes a long way, and too much can make the pattern blur.
- Press the flat, grid side of the potato masher into the paint, then firmly stamp it onto your dark cardstock. Lift straight up to keep the pattern crisp. Each press creates a round, textured circle that becomes a hedgehog body. Repeat across the page to make a whole family of hedgehogs! Encourage kids to space them out so there’s room for faces and decorations.
- While the paint is still wet, sprinkle your leaf glitter over the stamped circles. The wet paint acts like glue, catching the sparkly leaves so they look like autumn foliage tucked into the hedgehog’s spines. Give the paper a gentle shake to remove any extra bits.
- Take your light brown kraft paper and use the heart punch to make one little heart for each hedgehog. These hearts become the faces! Turn each heart so the pointed tip faces down, that point makes the perfect hedgehog snout.
- Using your black marker, add two small dot eyes near the top of each heart. Then color a little black nose right at the pointy tip. This is where each hedgehog gets its personality, so let the kids have fun making silly, sweet, or sleepy faces.
- Once the painted bodies are dry, add a dab of Elmer’s glue to the back of each heart face and press it onto the lower edge of a stamped circle. Hold for a few seconds so it sticks. And just like that, your hedgehogs come to life!
RELATED —> Paper Plate Hedgehog In Pumpkin Craft Idea
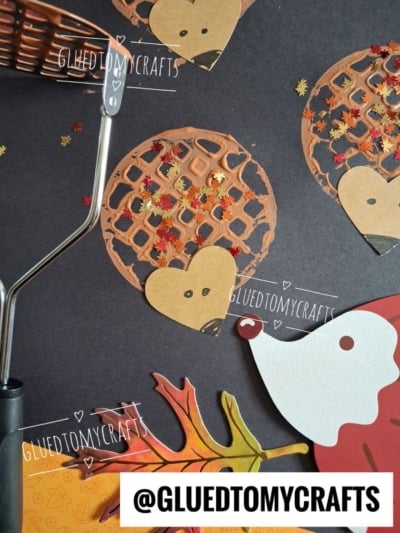
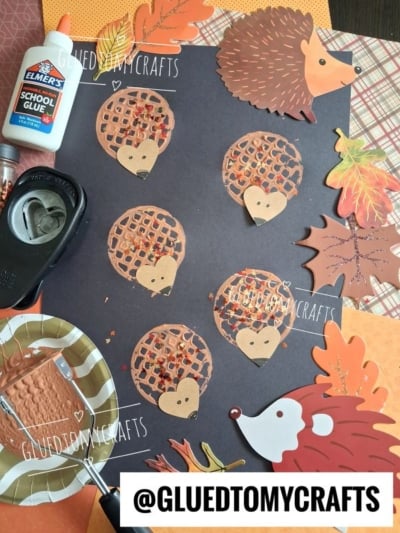
This little hedgehog project proves that some of the best crafts come from the simplest ideas. Grab that potato masher, roll up your sleeves, and watch your kids beam with pride at their prickly fall friends. Whether you make one hedgehog or a whole cozy den of them, you’re sure to create smiles along the way.
Happy crafting, and enjoy every sparkly, spiky moment of fall!
