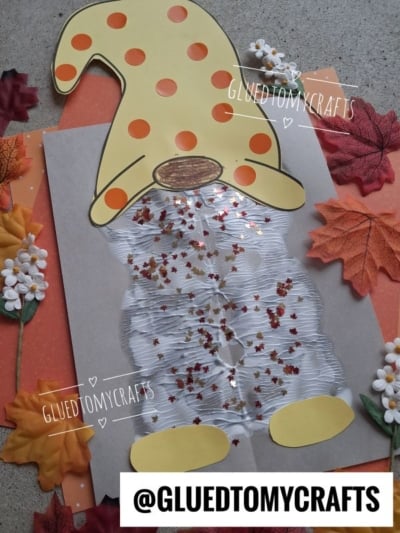
Autumn is the perfect time to get crafty. As the leaves turn and the air cools, there’s no better way to embrace the season than with a fun, hands-on project. If you’re looking for something messy, textured, and totally kid-approved, meet the Paint Splat Gnome!
This charming craft comes from the creative mind behind @GluedToMyCrafts, and it’s a great mix of paint play and simple paper cutting. The highlight is the gnome’s fluffy white beard, made using a “paint-smush” technique that kids love. Pair it with a droopy polka-dot hat, a round button nose, and a few leaf-shaped glitter accents, and you’ve got a seasonal keepsake worth displaying!
Craft Supplies:
Gather these simple supplies before you begin:
- Gray cardstock – This is your base and the gnome’s “body”
- White/silver craft paint – I like using Tulip fabric paint for a textured beard
- Yellow cardstock – For the hat and feet
- Orange dot stickers – To decorate the hat with polka dots
- Metallic leaf-shaped glitter – For that fall sparkle
- Glue – Stick glue or liquid glue both work great
- Scissors – Kid-safe for the little ones
- Optional: A brown crayon or marker to add texture to the nose
Free Hat Printable: Skip the guesswork! Download our free gnome hat template, print it onto yellow cardstock, and you’re ready to cut and go. It’s the easiest way to get that perfectly droopy, whimsical shape every time.
Directions:
Step 1: Smush the Beard
Grab your gray cardstock and lay it flat. Squeeze a generous line of white paint down the middle. Now for the fun part! Fold the cardstock in half, press down, and smush the paint around with your fingers. Open it back up to reveal a textured, ribbed beard full of ridges and swirls.
Step 2: Add the Glitter Sparkle
While the paint is still wet, sprinkle your metallic leaf-shaped glitter across the beard. This gives your gnome that cozy fall glow. Press the glitter gently so it sticks into the paint. Then set the whole thing aside to dry completely.
Step 3: Prep the Hat
While the beard dries, cut out your hat. If you’re using our free printable, simply print it onto yellow cardstock and cut along the lines. Prefer freehand? Cut a large, curved cone shape that droops down at the tip for that classic gnome look.
Next, decorate! Take your dot stickers and place them across the hat as polka dots. Space them out evenly for a cheerful, playful pattern.
Step 4: Cut the Feet
From your leftover yellow cardstock, cut two small oval shapes. These will be your gnome’s tiny feet, peeking out from under his beard.
Step 5: Assemble Your Gnome
Once the beard is fully dry, it’s time to bring everyone together. Glue the hat across the top of the beard. Now glue the two yellow feet at the very bottom, so they peek out beneath the beard.
Press each piece firmly and let the glue set. Ta-da! Your Paint Splat Gnome is complete.
RELATED —> Fork Painted Christmas Tree Gnome Craft
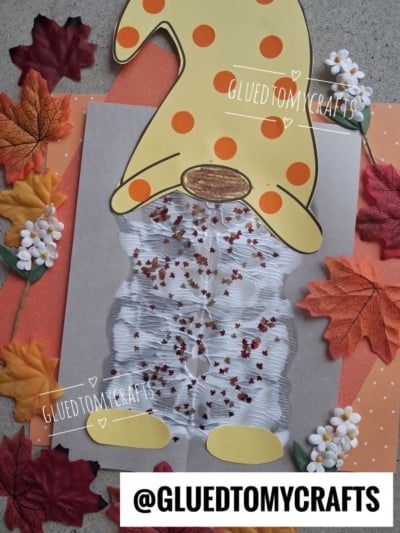
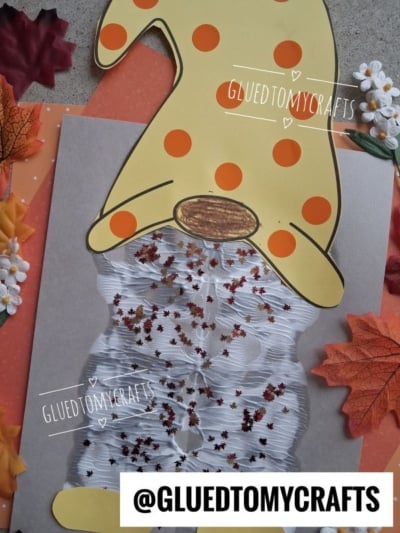
That’s all it takes to bring this charming little fellow to life! Whether you’re crafting on a rainy afternoon, filling a classroom activity slot, or just chasing that cozy autumn feeling, this Paint Splat Gnome craft idea is a joyful win every time.
Don’t forget to grab your free printable gnome hat to make things extra easy. Then round up your supplies, roll up those sleeves, and let the smushing begin. We can’t wait to see the happy little gnomes your family or classroom creates. Happy crafting, my friends!
