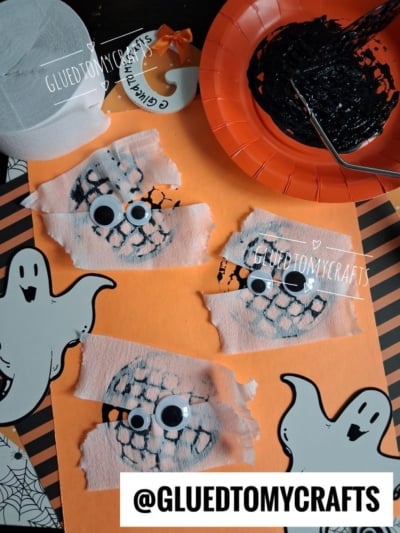
Grab a potato masher from the kitchen drawer, because this Halloween craft is about to become your new favorite! At @GluedToMyCrafts, we love projects that turn everyday household items into something spooky and silly. This mummy craft does exactly that. It’s simple enough for toddlers, fun enough for big kids, and mess-friendly enough to keep parents smiling.
Kids get to stamp, wrap, and glue their way to a whole family of goofy mummies. Along the way, they build fine motor skills, practice patience, and let their creativity run wild. Best of all? No two mummies ever look the same. Let’s make some!
Craft Supplies:
- Orange cardstock or construction paper
- Black washable paint
- A potato masher (the kind with a grid or waffle pattern works best)
- A small paper plate (for holding paint)
- White crepe paper or party streamers
- Googly eyes (a mix of big and small is extra fun)
- Glue or a glue stick
That’s it! Lay down a tablecloth or some newspaper first, and you’re ready to go.
Directions:
- Squeeze a small pool of black paint onto your orange paper plate. You don’t need much, just enough to coat the potato masher. Spread it around a little so the paint sits in an even layer.
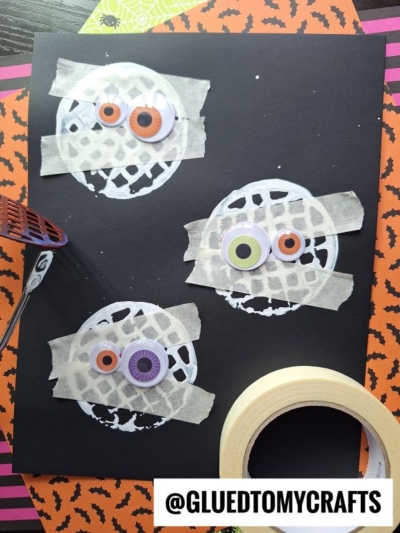
- Press the potato masher gently into the paint, then stamp it firmly onto the orange paper. The grid pattern creates a fun, textured shape that becomes your mummy’s body. Lift straight up so the print stays crisp.
- Make one mummy or fill the whole page with a spooky crowd. Encourage kids to space out their stamps so each mummy has room to shine.
- Set the paper aside and let the paint dry completely. This part takes a little patience! Depending on your paint, give it about 15 to 30 minutes. A great time for a snack break or a quick Halloween story.
- While you wait, prep your crepe paper. Cut or tear the white streamers into short strips. Torn edges actually look better here, since real mummy bandages are ragged and messy. Little ones can practice tearing on their own for extra hands-on fun.
- Once the paint is dry, glue the crepe paper strips across each stamped shape. Layer two or three strips over the body, leaving a small gap in the middle. That open space is where the eyes will peek out. Angle the strips in different directions for that classic wrapped-up look.
- Time for the best part! Glue one or two googly eyes into the gap between the bandages. Mixing sizes gives each mummy a silly, surprised expression. Press them down firmly and let the glue set.
- And just like that, your mummies are ready to haunt the fridge, a classroom wall, or a Halloween party!
RELATED —> Paper Plate Halloween Spider Craft
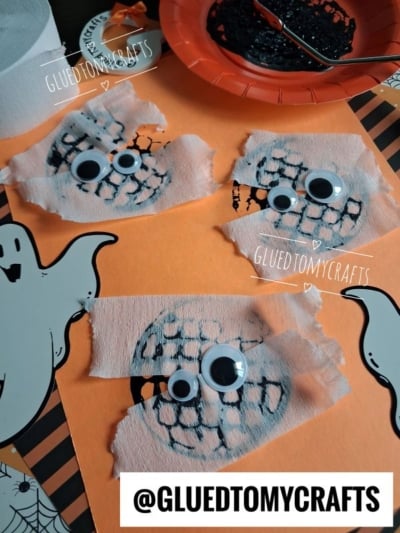
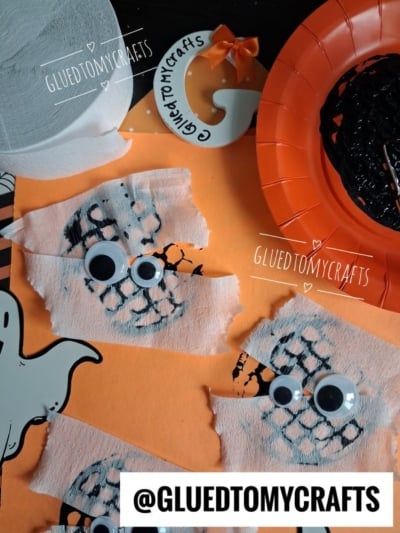
That’s all it takes to create some #cutenotscary adorable potato masher stamped MUMMIES for Halloween. This craft proves you don’t need fancy supplies to make something memorable – just a few simple materials and a splash of imagination.
Your little ones will beam with pride showing off their spooky creations, and you’ll love how easy the whole thing is. So roll up those sleeves, grab that potato masher, and let the Halloween fun begin. Happy crafting, my friends!

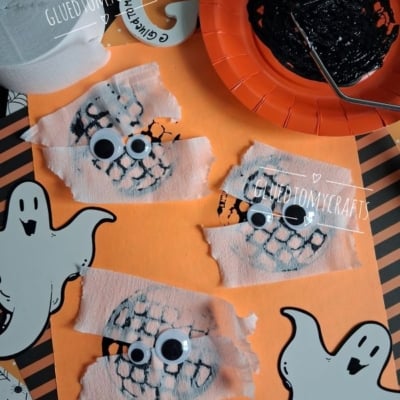
Potato Masher Stamped Mummy Craft Idea
Stamp silly mummies with a potato masher, wrap them in crepe paper, and add googly eyes! An easy, giggle-worthy Halloween craft for kids.
Here’s your checklist of supplies to bring this craft to life:
- Cardstock Paper
- Craft Paint
- Crepe Paper
- Wiggle Eyes
- Embellishments
Prepare your creative haven by laying down a protective cover before the crafting magic begins!
Directions:
- Squeeze a small pool of black paint onto your orange paper plate. You don't need much, just enough to coat the potato masher. Spread it around a little so the paint sits in an even layer.
- Press the potato masher gently into the paint, then stamp it firmly onto the orange paper. The grid pattern creates a fun, textured shape that becomes your mummy's body. Lift straight up so the print stays crisp.
- Make one mummy or fill the whole page with a spooky crowd. Encourage kids to space out their stamps so each mummy has room to shine.
- Set the paper aside and let the paint dry completely. This part takes a little patience! Depending on your paint, give it about 15 to 30 minutes. A great time for a snack break or a quick Halloween story.
- While you wait, prep your crepe paper. Cut or tear the white streamers into short strips. Torn edges actually look better here, since real mummy bandages are ragged and messy. Little ones can practice tearing on their own for extra hands-on fun.
- Once the paint is dry, glue the crepe paper strips across each stamped shape. Layer two or three strips over the body, leaving a small gap in the middle. That open space is where the eyes will peek out. Angle the strips in different directions for that classic wrapped-up look.
- Time for the best part! Glue one or two googly eyes into the gap between the bandages. Mixing sizes gives each mummy a silly, surprised expression. Press them down firmly and let the glue set.
- And just like that, your mummies are ready to haunt the fridge, a classroom wall, or a Halloween party!


Grab our favorite books via our Amazon affiliate link! In our Amazon storefront you will find books, toys and craft supplies we absolutely love using for our Glued To My Crafts tutorials!
If you've enjoyed our content or have any thoughts to share, we'd love to hear from you! Mention @gluedtomycrafts or tag #gluedtomycrafts on Instagram!