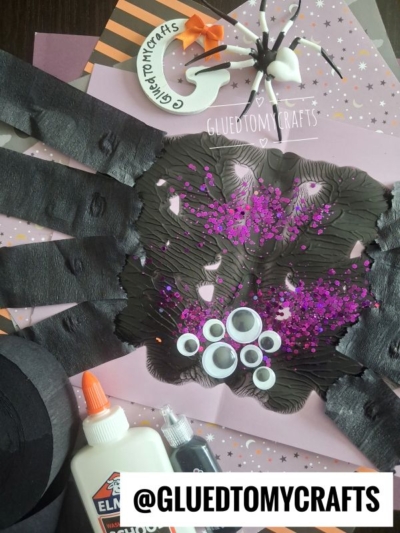
Spiders get a bad rap, but the ones you make at home? Absolutely adorable. This Paint Splat and Crepe Paper Spider craft is one of our all-time favorite Halloween activities here at Glued To My Crafts, and once you try it, you’ll see exactly why kids can’t get enough of it.
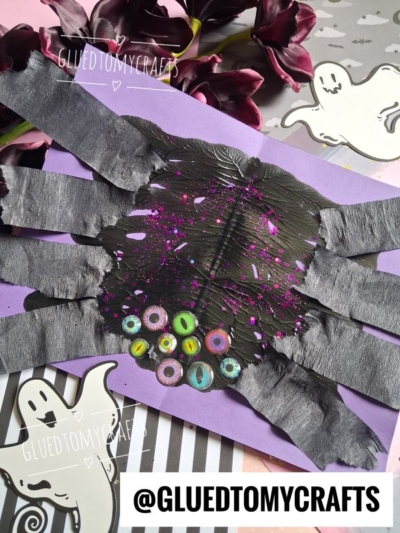
Here’s the magic: each spider starts as a blob of black paint. Then you fold the paper, give it a good squish, and open it up to reveal a perfectly symmetrical creepy-crawly body. Kids love that surprise moment when they peel the paper apart to see what shape their spider turned out to be. No two ever look the same!
Add a sprinkle of glitter, some wiggly googly eyes, and crepe paper legs, and you’ve got a hands-on craft that mixes sensory play, fine-motor skills, and a whole lot of giggles. It’s perfect for a rainy October afternoon, a classroom party, or a cozy crafting session with your little ones.
Ready to get a little messy? Let’s make some spiders!
Craft Supplies:
Gather these before you begin so little hands can dive right in:
- Elmer’s School Glue – for attaching legs and googly eyes
- Tulip Shiny Black Puff Paint – gives that glossy, textured spider body
- Colored construction paper – any color you like
- Black crepe paper streamers – for the wiggly spider legs
- Loose craft glitter – for a little Halloween sparkle
- Googly eyes in various sizes – the more, the creepier!
Tip: Cover your work surface with newspaper or a plastic mat. This one gets deliciously messy.
Directions:
- Take a sheet of construction paper and fold it in half, then open it back up flat. That center crease is your guide for creating a symmetrical spider. Set the paper down with the fold line running down the middle.
- Squeeze a generous blob of Tulip Shiny Black Puff Paint onto one half of the paper, right along the fold. Don’t overthink the shape here! A rounded blob works best for a chunky spider body. You can add a few extra dabs around it if you want a bigger splat.
- Now for the best part. Fold the paper back over so the two halves meet, then gently press and smoosh with your hands. Rub across the paper to spread the paint around inside. When you open it up, you’ll reveal a symmetrical, textured spider body. Every splat is different, so enjoy the surprise!
- While the paint is still wet, sprinkle your multicolor metallic glitter right over the top. The wet paint acts like glue and holds the glitter in place. Give the paper a gentle tap to shake off any extra, then set it aside to dry.
- Cut eight strips of black crepe paper streamer, each about four to five inches long. Once the paint feels dry to the touch, dab a little Elmer’s School Glue along each side of the spider body. Attach four legs to the left side and four legs to the right, spacing them out so your spider has all eight legs ready to scurry.
- Finish with a cluster of googly eyes! Glue a mix of large and small eyes near the bottom center of the body. Spiders have lots of eyes, so pile them on for maximum spooky-cute effect. We love using around seven per spider, but there’s no wrong number here.
- Let everything dry completely, and your Paint Splat Spider is ready to display!
RELATED —> Potato Masher Stamped Spider Craft Idea
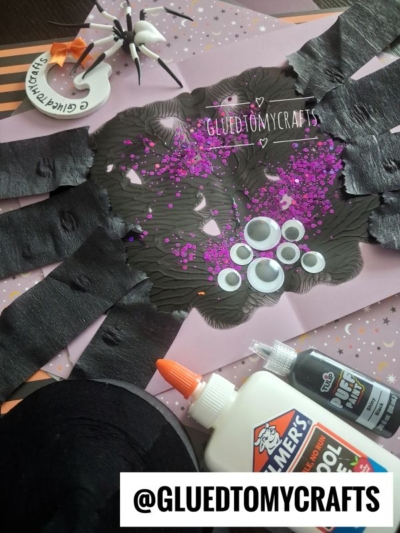
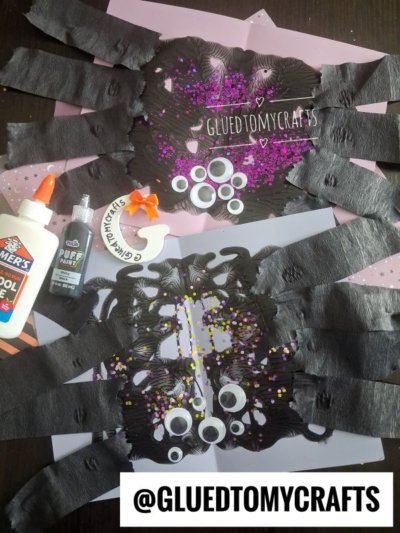
We can’t wait to see the spiders your little ones dream up! Every splat is unique, and half the fun is seeing how creative kids get with their colors, legs, and googly eyes.
Snap a photo of your finished craft and tag us @gluedtomycrafts so we can celebrate your creations. Don’t forget to save this tutorial and share it with a fellow craft-loving friend or teacher!
Happy crafting, and happy Halloween from all of us at Glued To My Crafts. 🕷️

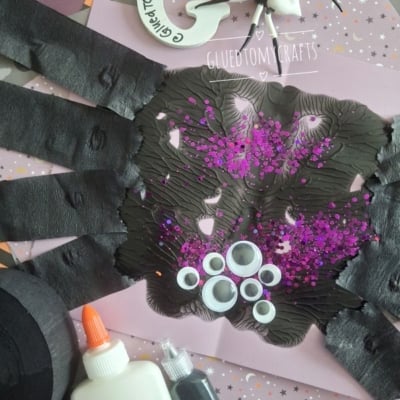
Crepe Paper and Paint Splat Spider Craft Idea For Halloween
Make an easy Halloween spider craft for kids! This paint splat and crepe paper spider uses googly eyes and glitter for a fun sensory activity. Try it today!
Here’s your checklist of supplies to bring this craft to life:
- Cardstock Paper
- Tulip Puffy Paint
- Wiggle Eyes
- Crepe Paper
Prepare your creative haven by laying down a protective cover before the crafting magic begins!
Directions:
- Take a sheet of construction paper and fold it in half, then open it back up flat. That center crease is your guide for creating a symmetrical spider. Set the paper down with the fold line running down the middle.
- Squeeze a generous blob of Tulip Shiny Black Puff Paint onto one half of the paper, right along the fold. Don't overthink the shape here! A rounded blob works best for a chunky spider body. You can add a few extra dabs around it if you want a bigger splat.
- Now for the best part. Fold the paper back over so the two halves meet, then gently press and smoosh with your hands. Rub across the paper to spread the paint around inside. When you open it up, you'll reveal a symmetrical, textured spider body. Every splat is different, so enjoy the surprise!
- While the paint is still wet, sprinkle your multicolor metallic glitter right over the top. The wet paint acts like glue and holds the glitter in place. Give the paper a gentle tap to shake off any extra, then set it aside to dry.
- Cut eight strips of black crepe paper streamer, each about four to five inches long. Once the paint feels dry to the touch, dab a little Elmer's School Glue along each side of the spider body. Attach four legs to the left side and four legs to the right, spacing them out so your spider has all eight legs ready to scurry.
- Finish with a cluster of googly eyes! Glue a mix of large and small eyes near the bottom center of the body. Spiders have lots of eyes, so pile them on for maximum spooky-cute effect. We love using around seven per spider, but there's no wrong number here.
- Let everything dry completely, and your Paint Splat Spider is ready to display!


Grab our favorite books via our Amazon affiliate link! In our Amazon storefront you will find books, toys and craft supplies we absolutely love using for our Glued To My Crafts tutorials!
If you've enjoyed our content or have any thoughts to share, we'd love to hear from you! Mention @gluedtomycrafts or tag #gluedtomycrafts on Instagram!