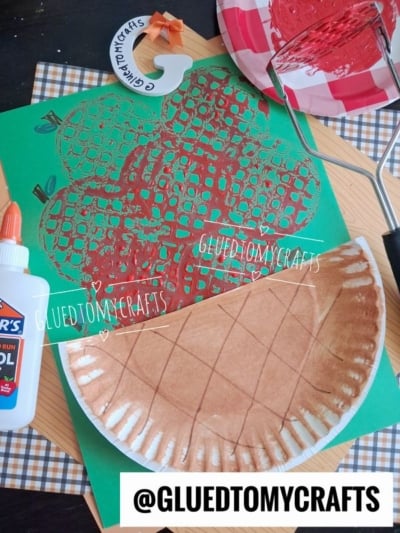
Looking for a fall craft that’s simple, mess-friendly, and guaranteed to make little ones giggle? This apple basket project turns an ordinary kitchen tool into a stamping machine. Kids press a metal potato masher into red paint to create textured “apples,” then tuck them into a paper plate basket.
It’s perfect for preschool classrooms, rainy afternoons at home, or a cozy autumn activity with a group. Best of all, you probably have most of the supplies already sitting in your kitchen drawers.
Craft Supplies:
Gather these supplies before you begin. Everything is affordable and easy to find:
- Construction paper – any color you like, we used green
- A potato masher – the star stamping tool
- Red paint – washable is best for easy cleanup
- Brown paint – for the basket
- A large paper plate – you’ll cut this in half to form the basket
- Crayola markers in green and brown – for stems and leaves
- Elmer’s school glue – to attach the basket
- A second smaller paper plate or tray – to hold your paint
Directions:
- Cover your table with newspaper or a wipeable mat. Pour a little red paint onto a smaller plate, spreading it out so the masher can pick up an even coat. Lay your construction paper flat and get ready for the fun part.
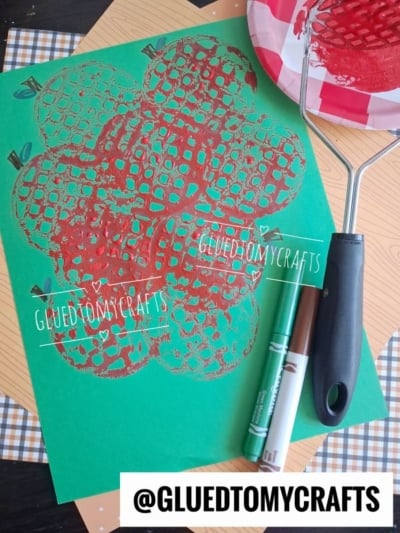
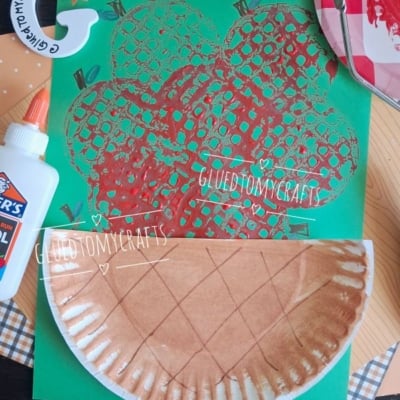
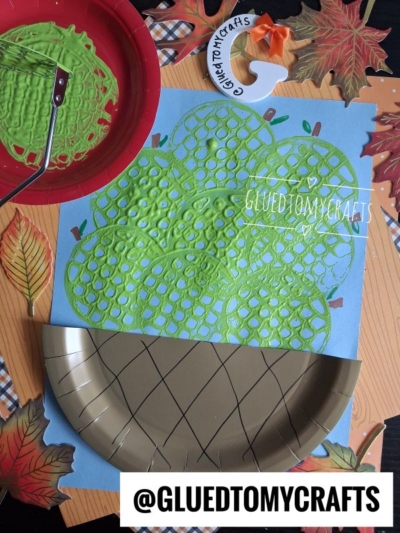
- Dip the flat bottom of the potato masher into the red paint. Press it gently onto the top half of the paper, then lift straight up. You’ll see a lovely round apple shape with a cool grid texture. Repeat to make four or five apples, overlapping a few for that “overflowing basket” feel. Let your child go wild here – more apples means a fuller basket!
- Set the paper aside to dry for a few minutes.
- Once the paint is dry, grab your markers. Use the brown marker to draw a small stem on top of each apple. Then switch to the green marker and add a little leaf beside each stem. These tiny details bring the apples to life.
- Cut your paper plate in half. Take one half and paint it brown all over. While it’s still wet or once dry, use the brown marker or a slightly darker paint to draw diagonal crisscross lines across the surface. This simple pattern gives the plate a woven, wicker-basket look. Let it dry completely.
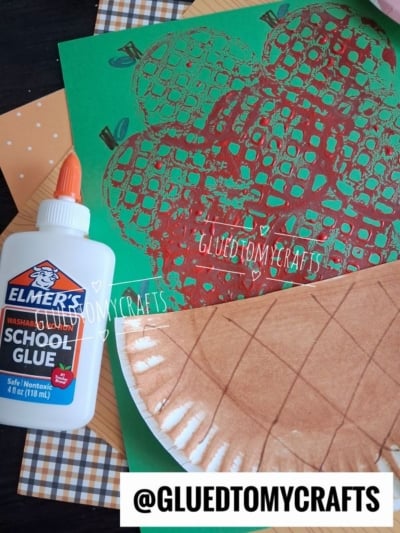
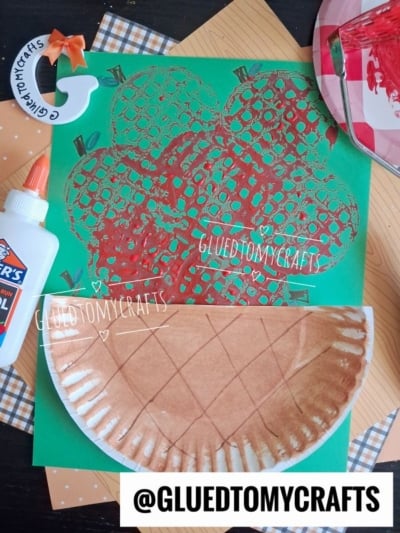
- Line up the flat edge of your painted basket along the bottom of your stamped apples. Add a generous line of Elmer’s glue to the back edges of the paper plate, then press it onto the paper so it covers the bottom of the apples. This creates the illusion that your apples are sitting right inside a freshly picked basket.
- Press gently and hold for a moment while the glue sets.
- That’s it – your paper plate apple basket craft is complete! Hang it on the fridge, pin it to a classroom bulletin board, or send it home as a sweet fall keepsake.
RELATED —> Pom Pom Stamped Apples Craft Idea
This potato masher apple basket is proof that the best crafts don’t need fancy supplies – just a little imagination and a few things from around the house. It’s easy enough for toddlers, engaging enough for a full preschool class, and adorable enough to keep on display all season long.
Grab your masher, squeeze out some paint, and let the apple picking begin. Happy crafting!

Potato Masher Stamped Apple Basket Craft Idea For Kids
Turn a potato masher into a stamping tool for this easy fall apple craft. Kids stamp apples, then build a paper plate basket. Try it today!
Here’s your checklist of supplies to bring this craft to life:
Prepare your creative haven by laying down a protective cover before the crafting magic begins!
Directions:
- Cover your table with newspaper or a wipeable mat. Pour a little red paint onto a smaller plate, spreading it out so the masher can pick up an even coat. Lay your construction paper flat and get ready for the fun part.
- Dip the flat bottom of the potato masher into the red paint. Press it gently onto the top half of the paper, then lift straight up. You'll see a lovely round apple shape with a cool grid texture. Repeat to make four or five apples, overlapping a few for that "overflowing basket" feel. Let your child go wild here - more apples means a fuller basket!
- Set the paper aside to dry for a few minutes.
- Once the paint is dry, grab your markers. Use the brown marker to draw a small stem on top of each apple. Then switch to the green marker and add a little leaf beside each stem. These tiny details bring the apples to life.
- Cut your paper plate in half. Take one half and paint it brown all over. While it's still wet or once dry, use the brown marker or a slightly darker paint to draw diagonal crisscross lines across the surface. This simple pattern gives the plate a woven, wicker-basket look. Let it dry completely.
- Line up the flat edge of your painted basket along the bottom of your stamped apples. Add a generous line of Elmer's glue to the back edges of the paper plate, then press it onto the paper so it covers the bottom of the apples. This creates the illusion that your apples are sitting right inside a freshly picked basket.
- Press gently and hold for a moment while the glue sets.
- That's it - your paper plate apple basket craft is complete! Hang it on the fridge, pin it to a classroom bulletin board, or send it home as a sweet fall keepsake.

Grab our favorite books via our Amazon affiliate link! In our Amazon storefront you will find books, toys and craft supplies we absolutely love using for our Glued To My Crafts tutorials!
If you've enjoyed our content or have any thoughts to share, we'd love to hear from you! Mention @gluedtomycrafts or tag #gluedtomycrafts on Instagram!