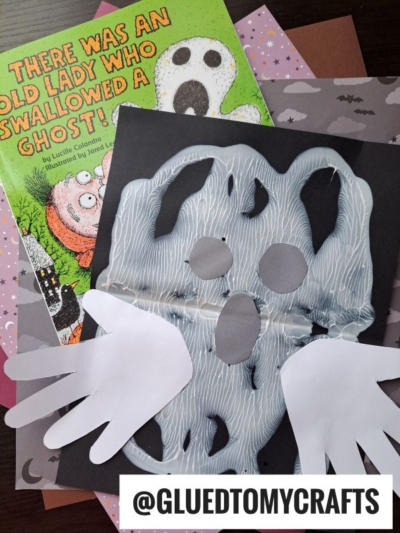
Nothing says spooky season quite like a little friendly ghost, especially one your kids made with their own two hands. This paint splat and handprint ghost craft is messy in the best possible way, and the results always get a big “ooooh!” from little artists.
The magic happens when you fold paint in half and pull the paper apart to reveal a one-of-a-kind ghostly shape. Every single ghost turns out different, so no two crafters end up with the same spooky pal.
Grab your paint and let’s make something adorable. Here’s everything you need to bring this cheerful ghost to life!
Craft Supplies:
- White craft paint (we like Tulip puffy paint)
- Black construction paper (for the ghost’s body)
- Gray paper (for the eyes and mouth)
- Extra white paper (for the handprint hands)
- Scissors
- Glue stick or white school glue
- A pencil for tracing
- Newspaper or a plastic tablecloth to protect your workspace
Directions:
Step 1: Set Up Your Space
Cover your table with newspaper or a wipeable cloth. This craft gets a little messy and that’s part of the fun. Lay out your black construction paper and get your white paint ready.
Step 2: Make the Paint Splat Ghost Body
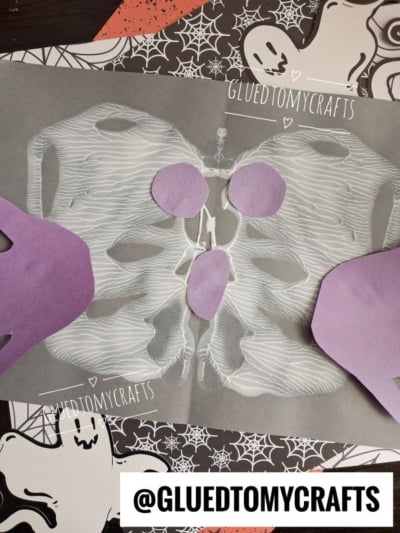
Fold your black paper in half, then open it back up so you can see the crease. Squeeze or spoon a big blob of white paint onto one side of the paper, close to the middle fold. Add a few smaller dabs around it too.
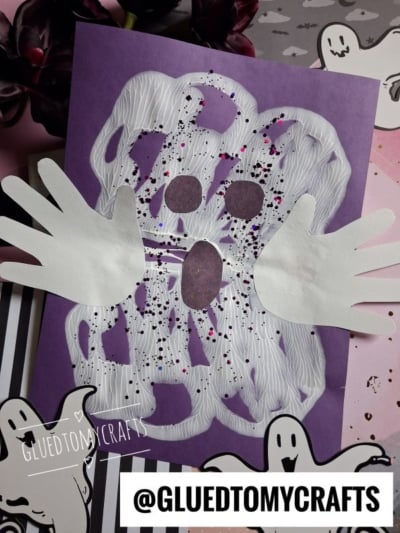
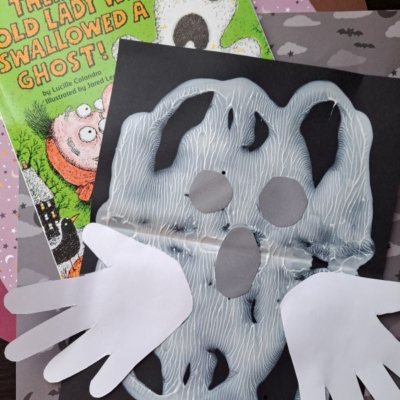
Now fold the paper closed again and gently press and smoosh the paint around with your hands. Kids love this part! When you open the paper back up, you’ll find a symmetrical, wavy ghost shape spreading across both sides. Let it dry completely before moving on.
Tip: The more you press and slide the paint, the wilder and wavier your ghost becomes. Encourage kids to experiment.
Step 3: Cut the Face
While the paint dries, grab your gray paper. Cut two small shapes for the eyes. Chunky hexagons or rough ovals both work well, and a little wobble just adds character. Then cut one taller oval shape for the mouth to give your ghost that classic surprised “boo!” expression.
Step 4: Glue On the Face
Once the paint is dry, glue the two gray eyes near the top of the white ghost body. Place the oval mouth just below and between them. Step back and admire that startled little face!
Step 5: Add the Handprint Hands
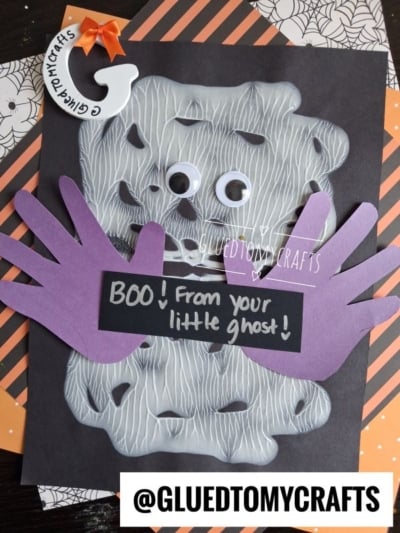
Trace your child’s hand twice onto white paper and cut out both handprints. Glue one on each side of the ghost, angled slightly downward and outward, so it looks like your ghost is throwing up its arms mid-boo. Let them peek out past the edges of the black paper for extra personality.
Let your piece dry completely before displaying proudly for all to see!
RELATED —> Cotton Ball Ghost Craft Idea For Halloween
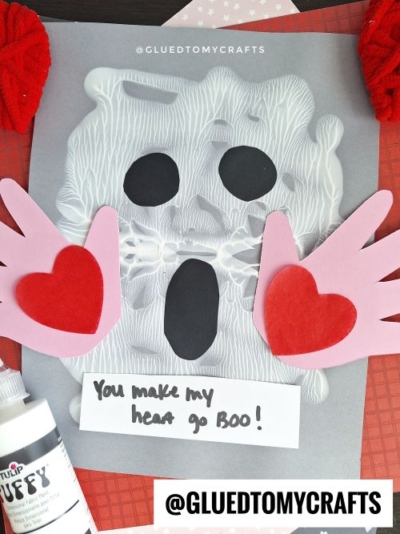
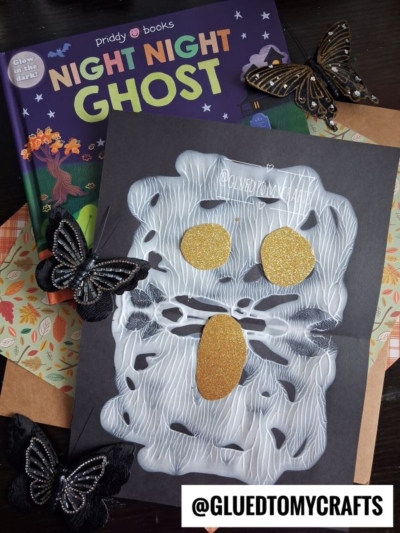
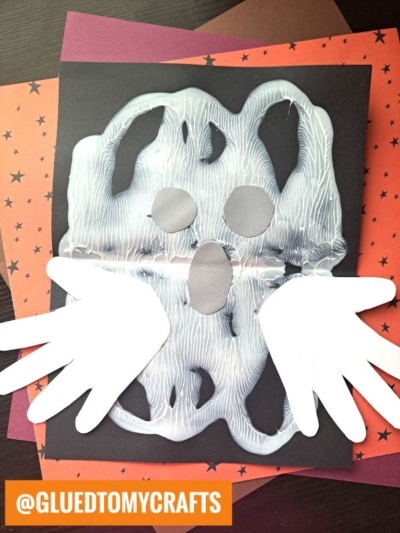
That’s it, you’ve got yourself a friendly little ghost ready to haunt the fridge, the classroom wall, or a bedroom door all season long. This craft is simple enough for preschoolers, satisfying enough for older kids, and honestly kind of fun for grown-ups too.
So round up the crew, spread out that newspaper, and get smooshing. We can’t wait to see the spooky, silly, wonderful ghosts your kids dream up. Happy crafting, and happy Halloween!

Paper and Paint Splat Ghost Craft Idea For Halloween
Here’s your checklist of supplies to bring this craft to life:
Prepare your creative haven by laying down a protective cover before the crafting magic begins!
Directions:
- Cover your table with newspaper or a wipeable cloth. This craft gets a little messy and that's part of the fun. Lay out your black construction paper and get your white paint ready.
- Fold your black paper in half, then open it back up so you can see the crease. Squeeze or spoon a big blob of white paint onto one side of the paper, close to the middle fold. Add a few smaller dabs around it too.
- Now fold the paper closed again and gently press and smoosh the paint around with your hands. Kids love this part! When you open the paper back up, you'll find a symmetrical, wavy ghost shape spreading across both sides. Let it dry completely before moving on.
- Tip: The more you press and slide the paint, the wilder and wavier your ghost becomes. Encourage kids to experiment.
- While the paint dries, grab your gray paper. Cut two small shapes for the eyes. Chunky hexagons or rough ovals both work well, and a little wobble just adds character. Then cut one taller oval shape for the mouth to give your ghost that classic surprised "boo!" expression.
- Once the paint is dry, glue the two gray eyes near the top of the white ghost body. Place the oval mouth just below and between them. Step back and admire that startled little face!
- Trace your child's hand twice onto white paper and cut out both handprints. Glue one on each side of the ghost, angled slightly downward and outward, so it looks like your ghost is throwing up its arms mid-boo. Let them peek out past the edges of the black paper for extra personality.
- Let your piece dry completely before displaying proudly for all to see!

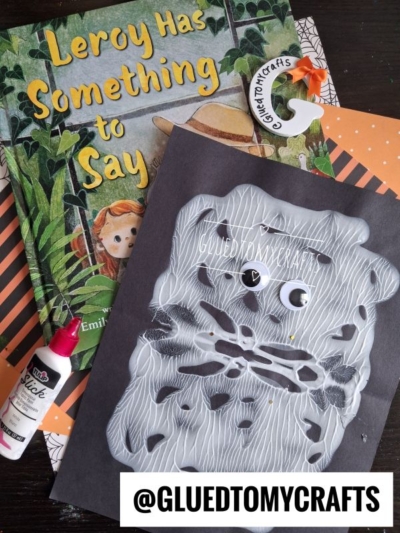
Grab our favorite books via our Amazon affiliate link! In our Amazon storefront you will find books, toys and craft supplies we absolutely love using for our Glued To My Crafts tutorials!