Create a fun Halloween craft with your kids! Make a paint splat melted witch with our easy tutorial and free printable. Get started on this spooky idea now.
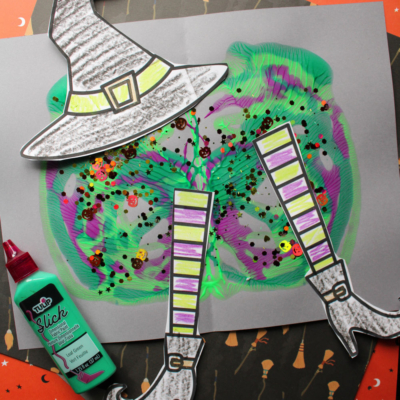
Get ready for a spooky, splatty, and spectacularly fun craft session! This Halloween, we’re stirring up some creative magic with a project that’s less about toil and trouble and more about paint and giggles. Our Paint Splat Melted Witch Craft is the perfect activity for kids to enjoy. It combines the wild fun of “paint splatting” with a classic Halloween character.
This craft is wonderfully simple, making it ideal for parents and teachers looking for an engaging activity that doesn’t require a long list of complicated supplies. With just a few basic materials and our free printable template, you can help your little monsters create their very own melted witch.
It’s a fantastic way to develop fine motor skills, explore color mixing, and get into the Halloween spirit. Let’s get crafting!
This Halloween, trade the toil and trouble for some splat-tastic fun! Our Paint Splat Melted Witch craft is the perfect, easy activity for little hands. It’s wonderfully messy, super creative, and we’ve even included a FREE printable template to make it simple!
Craft Supplies:
Before you start your magical creation, gather these simple supplies. You likely have most of them at home or in your classroom already.
- White Cardstock Paper
- Choice of Color Cardstock Paper
- Witch Printable – on our landing page
- Crayons, Coloring Pencils or Markers
- Scissors
- Tulip Puffy Paint {shades of green and purple}
- Loose Craft Glitter
That’s it! With these materials in hand, you’re ready to begin the splat-tastic fun.
Directions:
Follow these easy steps to bring your melted witch to life. This is a great craft for kids to do with a little guidance from an adult.
- Begin by printing the free MELTED WITCH printable (linked above) onto a single sheet of white cardstock.
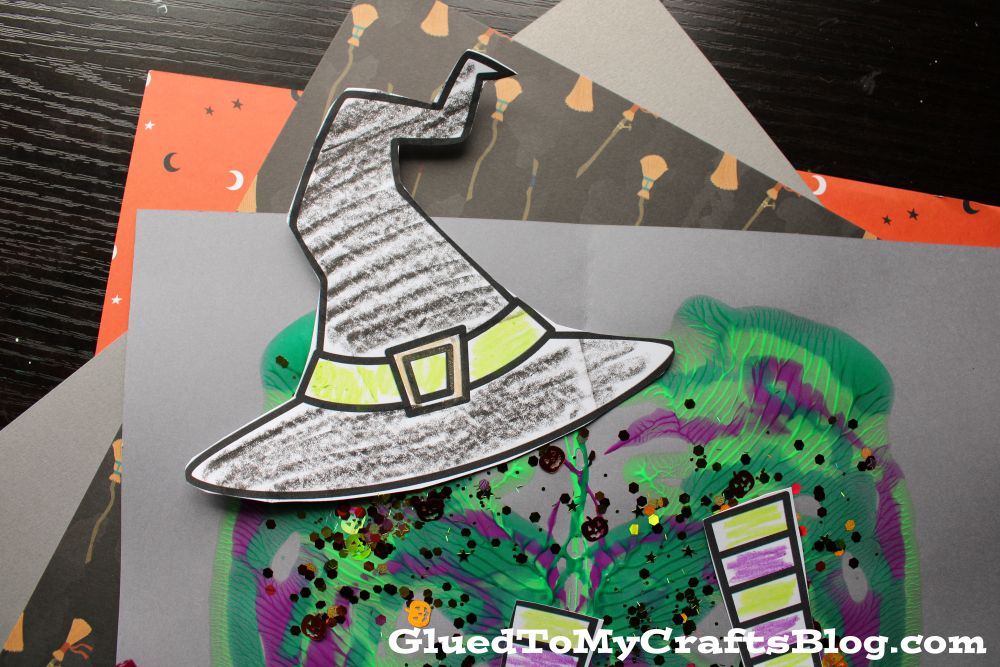
- Carefully color in the designs and cut them out. Set these aside for now.
- Next, take a sheet of cardstock paper and fold it in half (either direction works).
- Unfold the cardstock and add a few squiggles of green and purple fabric paint to one side of the paper. Be sure to keep the paint away from the edges, and remember—less is more!
- Fold the paper back together, gently pressing and rubbing your hand over the surface to spread the paint evenly inside. This will create a symmetrical “splatter” effect.
- Carefully unfold the paper to reveal your vibrant “melted witch” design.
- If you’d like, sprinkle loose craft glitter onto the wet paint for an extra sparkle.
- To complete your Melted Witch Craft, glue the paper cutouts {anywhere you like} onto the painted design.
- Add any additional embellishments you want to make your artwork pop.
- Once finished, set your creation aside to dry completely before displaying it proudly.
Book Suggestions:
Here are some recommended books that beautifully complement our craft idea. You can conveniently purchase them through our affiliate links on Amazon.
- Room on the Broom by Julia Donaldson
- The Little Witch Who Lost Her Broom! by Elaine Bickell
- The Witch’s Cat and The Broomstick Blunder by Kirstie Watson
- Ten Flying Brooms by Ilanit Oliver
- How to Catch a Witch by Alice Walstead
- There’s a Witch in Your Book by Tom Fletcher
- It’s Raining Bats & Frogs by Rebecca Colby
RELATED —> Popsicle Stick Witch
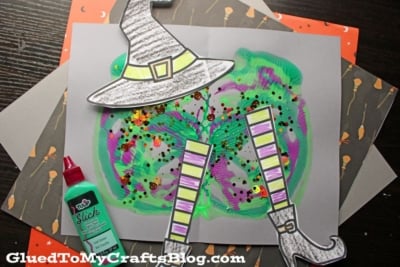
There you have it! A wonderfully wicked and colorful melted witch, created with a whole lot of splatty fun. This craft is a perfect Halloween decoration to hang on the fridge, in a classroom window, or as part of a larger spooky display.
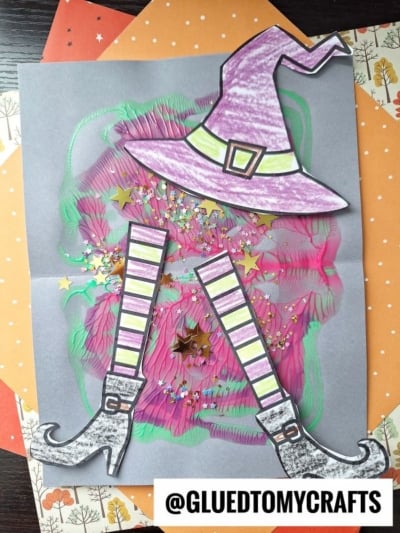
We love seeing how your creations turn out. The beauty of this project is that no two witches will ever look the same. Download our free printable witch template below to get started on this easy and entertaining Halloween craft today. Don’t forget to share your finished masterpieces with us on social media! Happy Halloween and happy crafting!

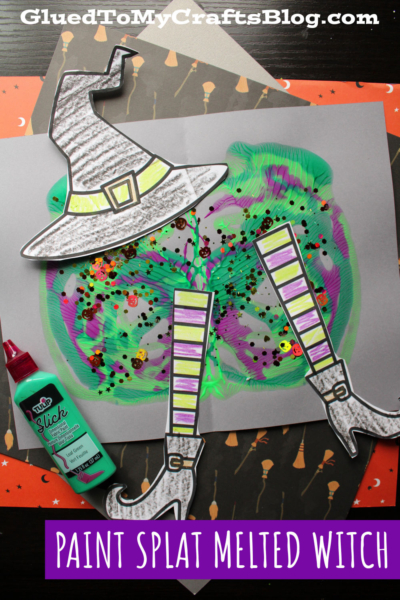
Paint Splat Melted Witch Craft Idea
Create a fun Halloween craft with your kids! Make a paint splat melted witch with our easy tutorial and free printable. Get started on this spooky idea now.
Here’s your checklist of supplies to bring this craft to life:
Prepare your creative haven by laying down a protective cover before the crafting magic begins!
Directions:
- Begin by printing the free MELTED WITCH printable (linked above) onto a single sheet of white cardstock.
- Carefully color in the designs and cut them out. Set these aside for now.
- Next, take a sheet of cardstock paper and fold it in half (either direction works).
- Unfold the cardstock and add a few squiggles of green and purple fabric paint to one side of the paper. Be sure to keep the paint away from the edges, and remember—less is more!
- Fold the paper back together, gently pressing and rubbing your hand over the surface to spread the paint evenly inside. This will create a symmetrical "splatter" effect.
- Carefully unfold the paper to reveal your vibrant "melted witch" design.
- If you'd like, sprinkle loose craft glitter onto the wet paint for an extra sparkle.
- To complete your Melted Witch Craft, glue the paper cutouts {anywhere you like} onto the painted design.
- Add any additional embellishments you want to make your artwork pop.
- Once finished, set your creation aside to dry completely before displaying it proudly.


NEED MORE HELP DOWNLOADING OUR FREE PRINTABLES? PLEASE REFER TO OUR FAQ PAGE
If you've enjoyed our content or have any thoughts to share, we'd love to hear from you! Mention @gluedtomycrafts or tag #gluedtomycrafts on Instagram!