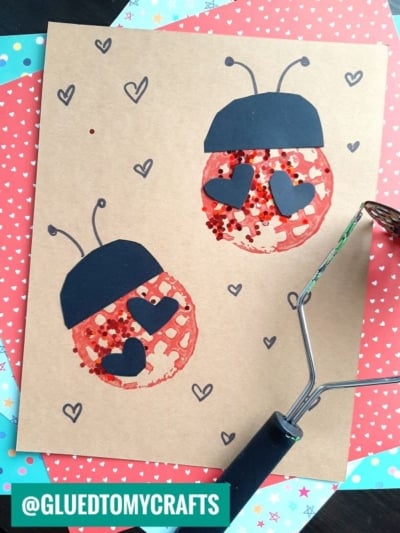
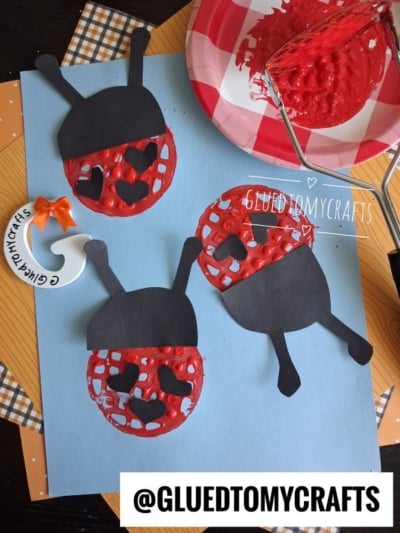
Looking for a craft that’s messy in all the best ways? This potato masher stamped ladybug is a total winner. Kids get to grab a kitchen tool, dip it in paint, and press out perfectly textured little ladybug bodies. It’s simple, it’s playful, and the results are downright adorable.
The best part? You probably have most of the supplies at home already. This craft works great for a rainy afternoon, a classroom activity, or a cozy Valentine’s Day project. Little hands can do most of the work, and every finished ladybug looks a bit different, which makes each one special. Let’s dive in!
Craft Supplies:
Gather these supplies before you start so everything is within reach:
- Brown kraft paper (for the background)
- Red paint
- A potato masher
- Black construction paper
- A black marker
- Glue
- Red and gold glitter
- Scissors
That’s it! A quick tip before you begin: cover your work surface with newspaper or a plastic sheet. Paint plus glitter can get a little wild, and that’s part of the fun.
Directions:
Step 1: Stamp the Ladybug Bodies
Pour a little red paint onto a plate or shallow dish. Press the bottom of the potato masher into the paint, making sure the grid pattern gets coated. Then press it firmly onto the brown kraft paper.
Lift it straight up and you’ll see a bright red circle with a cool waffle-like texture. Make two circles for two ladybugs, spacing them out across the paper. Kids love watching the pattern appear like magic.
Step 2: Add Glitter While the Paint Is Wet
Work quickly here! While the red paint is still wet, sprinkle red and gold glitter over each circle. The wet paint acts like glue and holds the glitter in place.
Give it a gentle shake to knock off any extra, then set the paper aside to dry for a few minutes.
Step 3: Cut and Glue the Heads
While the paint dries, cut two small semicircles from the black construction paper. These will be your ladybug heads.
Add a dab of glue to the flat edge of each semicircle and stick one to the top of each red circle. Now your ladybugs are starting to take shape!
Step 4: Draw the Antennae
Using the black marker, draw two curved lines coming out from the top of each black head. Finish each line with a small filled-in dot at the tip.
These little antennae add so much personality. Let your child draw them freehand for extra charm.
Step 5: Cut and Glue Heart Spots
Instead of plain round spots, this craft uses tiny hearts! Cut two small hearts from the black construction paper for each ladybug.
Glue them onto the red bodies. The hearts give your ladybugs a sweet, playful twist that’s perfect for Valentine’s Day or any day you want a little extra cute.
When done decorating, allow your piece to dry completely.
RELATED —> Torn Paper Ladybug Craft for Mother’s Day
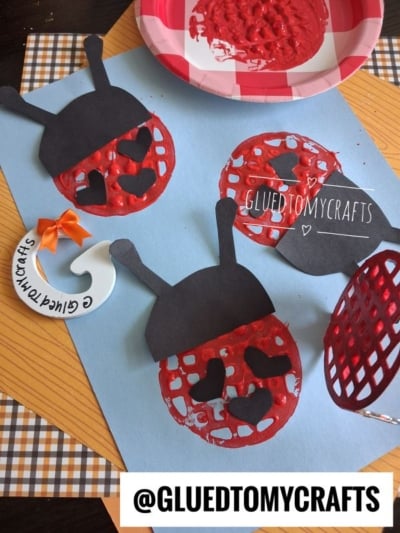
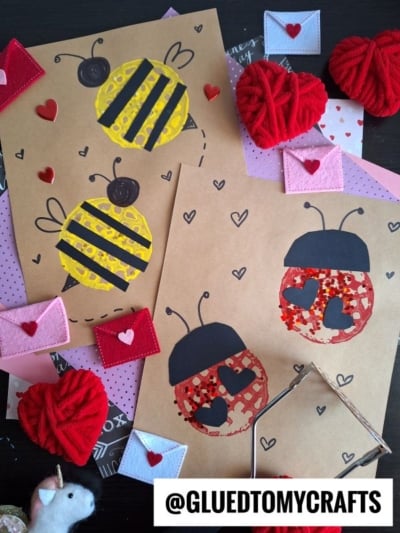
Once your craft dries, hang it on the fridge, tape it to a window, or gift it to grandma. These cheerful ladybugs brighten up any spot.
We’d love to see what you and your little ones create. Snap a photo of your finished ladybugs and share it with friends and family. Happy crafting, my friends!

Potato Masher Stamped Ladybug Craft Idea For Kids
Here’s your checklist of supplies to bring this craft to life:
- School Glue
Prepare your creative haven by laying down a protective cover before the crafting magic begins!
Directions:
- Pour a little red paint onto a plate or shallow dish. Press the bottom of the potato masher into the paint, making sure the grid pattern gets coated. Then press it firmly onto the brown kraft paper.
- Lift it straight up and you'll see a bright red circle with a cool waffle-like texture. Make two circles for two ladybugs, spacing them out across the paper. Kids love watching the pattern appear like magic.
- Work quickly here! While the red paint is still wet, sprinkle red and gold glitter over each circle. The wet paint acts like glue and holds the glitter in place.
- Give it a gentle shake to knock off any extra, then set the paper aside to dry for a few minutes.
- While the paint dries, cut two small semicircles from the black construction paper. These will be your ladybug heads.
- Add a dab of glue to the flat edge of each semicircle and stick one to the top of each red circle. Now your ladybugs are starting to take shape!
- Using the black marker, draw two curved lines coming out from the top of each black head. Finish each line with a small filled-in dot at the tip.
- These little antennae add so much personality. Let your child draw them freehand for extra charm.
- Instead of plain round spots, this craft uses tiny hearts! Cut two small hearts from the black construction paper for each ladybug.
- Glue them onto the red bodies. The hearts give your ladybugs a sweet, playful twist that's perfect for Valentine's Day or any day you want a little extra cute.
- When done decorating, allow your piece to dry completely.

Grab our favorite books via our Amazon affiliate link! In our Amazon storefront you will find books, toys and craft supplies we absolutely love using for our Glued To My Crafts tutorials!