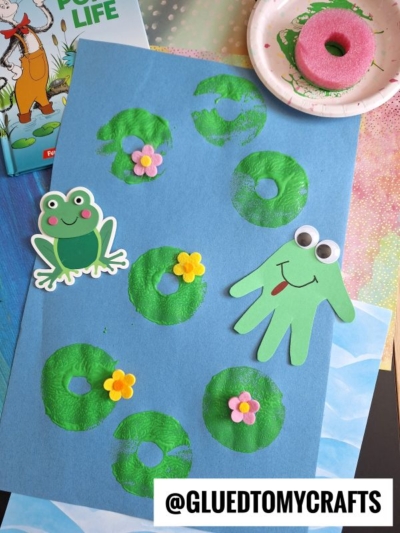
Spring brings a wonderful opportunity to shake off the winter chill and dive right into bright, colorful projects with your kids.
If you need a fresh, engaging activity to celebrate the changing seasons, we have the perfect afternoon project for you. This pool noodle stamped lily pad craft is incredibly simple, requires minimal setup, and offers fantastic tactile fun for little hands.
Whether you manage a bustling preschool classroom or just want a quiet weekend activity at the kitchen table, this craft fits the bill. You will transform a simple slice of a summer pool noodle into a brilliant stamp, creating a beautiful pond scene right on your paper!
Craft Supplies You Will Need
Before you sit down to start creating, gather your materials. Keeping everything within arm’s reach helps maintain focus and minimizes the chance of paint spills.
- Blue construction paper or cardstock: This serves as the water base for your pond scene.
- Green washable craft paint: Acrylic works fine for older kids, but washable tempera paint is best for toddlers and preschoolers.
- A standard foam pool noodle: You only need a small section of it.
- A serrated knife: For adult use only, to cut the pool noodle.
- A paper plate: This acts as your disposable paint palette.
- Small felt or foam flowers: You can buy these pre-cut at any craft store. Look for bright spring colors like pink and yellow.
- School glue or glue dots: To secure the flowers to the paper.
Step-by-Step Instructions
Ready to bring your pond scene to life? Follow these simple steps to create your stamped lily pads.
Step 1: Prepare the Pool Noodle Stamp
- Note: This step requires adult supervision and execution. Take your pool noodle and carefully slice off a section about two inches thick using a serrated knife. You want the piece to be thick enough for tiny hands to grip comfortably without getting their fingers completely covered in paint. Because most standard pool noodles have a hollow center, the slice will naturally look like a thick ring. This center hole is the secret to getting that perfect lily pad shape!
Step 2: Set Up the Paint Station
- Squirt a generous amount of green washable paint onto your paper plate.
- Spread it out slightly so it covers an area larger than the diameter of your pool noodle slice.
- Lay your blue construction paper flat on the table. To protect your surfaces, you might want to place a piece of newspaper or a plastic tablecloth underneath the blue paper.
Step 3: Stamp the Lily Pads
- Now it is time for the kids to take over. Have them press the flat side of the pool noodle slice firmly into the green paint on the paper plate. Encourage them to gently tap it a few times to ensure the bottom is evenly coated.
- Next, they can stamp the painted noodle onto the blue construction paper. Press down firmly and lift straight up to reveal a wonderful, textured green circle with a hole in the middle.
- Let them stamp as many lily pads as they want across their blue “pond.” They can overlap them or spread them far apart.
Step 4: Add the Spring Flowers
- Once the stamping is complete, you need to let the green paint dry. Depending on how thick the paint was applied, this usually takes about fifteen to twenty minutes.
- When the paint is dry to the touch, grab your felt or foam flowers and your glue. Have your child place a drop of school glue onto the edge of a few lily pads, or simply use mess-free glue dots.
- Press the small colorful flowers right onto the lily pads. A mix of pink and yellow flowers adds a beautiful, vibrant pop of color against the green and blue background.
- Add any other embellishments you see fit.
- When done decorating, allow it to dry completely.
RELATED —> Pool Noodle Stamped Bear Craft Idea
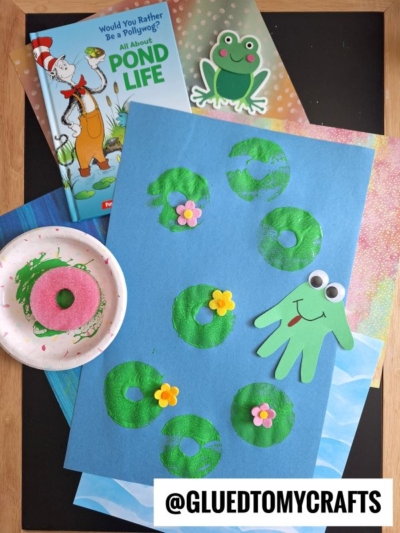
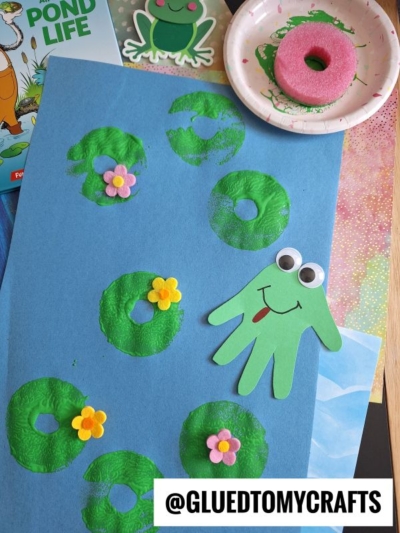
Projects like this pool noodle stamped lily pad craft remind us that creativity does not have to be complicated to be beautiful.
By using everyday objects in new ways, you teach children to look at the world with an imaginative eye. Plus, you get a bright, cheerful piece of art to hang on the refrigerator.
Grab your leftover pool noodles, set up a painting station, and enjoy making some spring memories. If you try this craft with your kids or students, display their unique pond scenes on a classroom bulletin board or a sunny window at home!

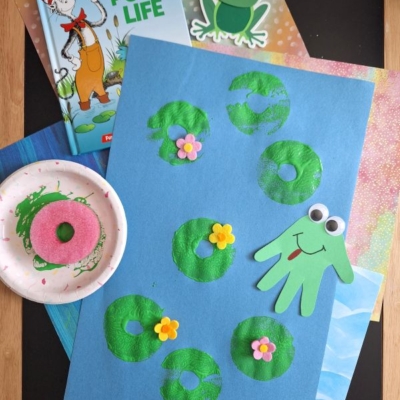
Pool Noodle Stamped Lily Pad Craft Idea For Spring
Looking for a fun spring activity? Learn how to make an easy and colorful pool noodle stamped lily pad craft with your kids. Perfect for home or school!
Here’s your checklist of supplies to bring this craft to life:
- Cardstock Paper
- Craft Paint
- Pool Noodle Slice
- Wiggle Eyes
- Embellishments
Prepare your creative haven by laying down a protective cover before the crafting magic begins!
Directions:
- Note: This step requires adult supervision and execution. Take your pool noodle and carefully slice off a section about two inches thick using a serrated knife. You want the piece to be thick enough for tiny hands to grip comfortably without getting their fingers completely covered in paint. Because most standard pool noodles have a hollow center, the slice will naturally look like a thick ring. This center hole is the secret to getting that perfect lily pad shape!
- Squirt a generous amount of green washable paint onto your paper plate.
- Spread it out slightly so it covers an area larger than the diameter of your pool noodle slice.
- Lay your blue construction paper flat on the table. To protect your surfaces, you might want to place a piece of newspaper or a plastic tablecloth underneath the blue paper.
- Now it is time for the kids to take over. Have them press the flat side of the pool noodle slice firmly into the green paint on the paper plate. Encourage them to gently tap it a few times to ensure the bottom is evenly coated.
- Next, they can stamp the painted noodle onto the blue construction paper. Press down firmly and lift straight up to reveal a wonderful, textured green circle with a hole in the middle.
- Let them stamp as many lily pads as they want across their blue "pond." They can overlap them or spread them far apart.
- Once the stamping is complete, you need to let the green paint dry. Depending on how thick the paint was applied, this usually takes about fifteen to twenty minutes.
- When the paint is dry to the touch, grab your felt or foam flowers and your glue. Have your child place a drop of school glue onto the edge of a few lily pads, or simply use mess-free glue dots.
- Press the small colorful flowers right onto the lily pads. A mix of pink and yellow flowers adds a beautiful, vibrant pop of color against the green and blue background.
- Add any other embellishments you see fit.
- When done decorating, allow it to dry completely.

Grab our favorite books via our Amazon affiliate link! In our Amazon storefront you will find books, toys and craft supplies we absolutely love using for our Glued To My Crafts tutorials!
If you've enjoyed our content or have any thoughts to share, we'd love to hear from you! Mention @gluedtomycrafts or tag #gluedtomycrafts on Instagram!