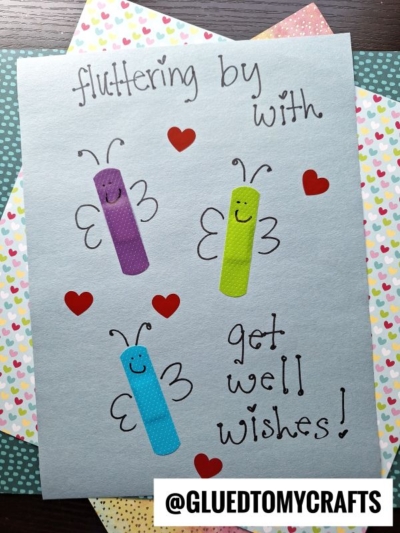
Turn a simple first-aid item into a work of art with this delightful Band-Aid butterfly craft! It’s an incredibly fun and easy activity, perfect for little hands. Using just a few common household supplies, you can help your kids create a whole kaleidoscope of colorful butterflies.
This project is a wonderful way to spark creativity and is especially fitting for a cozy afternoon indoors or a fun spring-themed activity. Let’s get started!
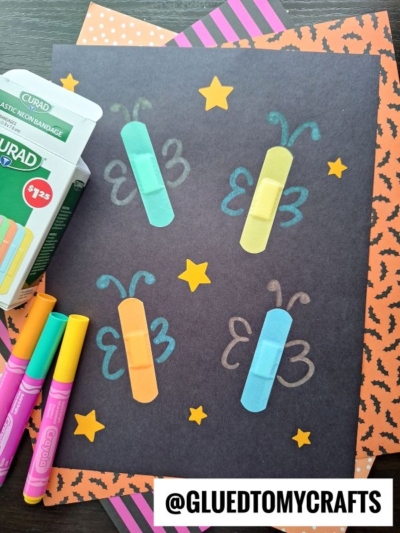
Learn how to make a stunning butterfly craft for spring using colorful bandages and your favorite markers.
What You’ll Need
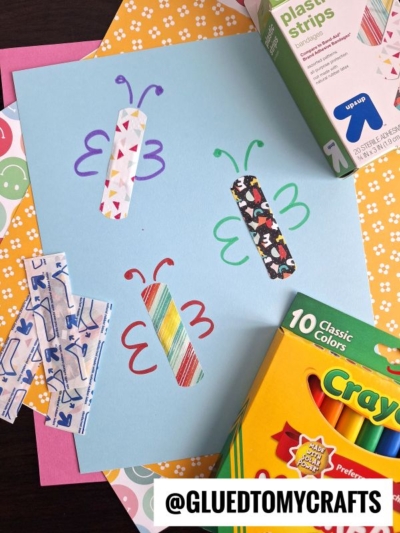
This craft uses simple materials you likely already have at home. Here’s a quick list to gather before you begin:
- Colorful plastic bandages (neon or patterned ones work best!)
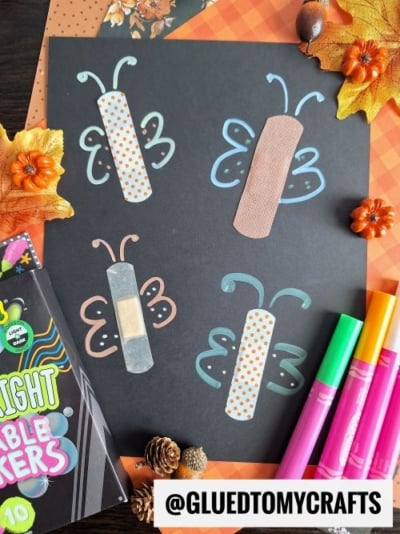
- Dark-colored paper (black or gray makes the colors pop)
- Markers (a variety of colors is great, but even a single pen works)
- Optional: glitter glue or or stickers for extra decoration
Step-by-Step Instructions
Follow these simple steps to create your beautiful bandage butterflies.
Step 1: Set Up Your Craft Space
Lay your sheet of dark-colored paper on a flat surface like a table or the floor. This will be the canvas for your butterfly scene. Arrange your bandages and markers nearby so everything is within easy reach for your little artist.
Step 2: Create the Butterfly Body
Peel the protective wrappers off a colorful bandage. Carefully place the sticky side down onto the paper. This bandage will form the body of your first butterfly. Don’t worry about placing it perfectly! You can position it straight up and down, or at a slight angle. Repeat this step for as many butterflies as you want to create on your page.
Step 3: Draw the Wings
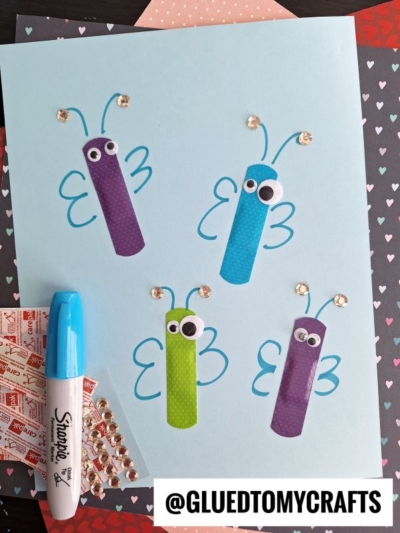
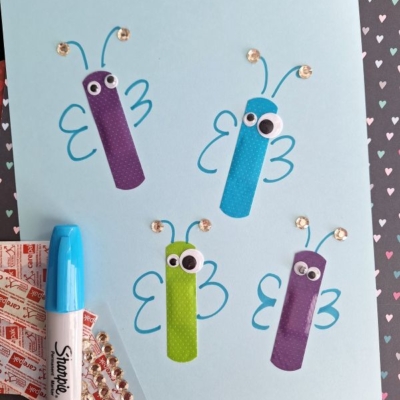
Now for the magical part! Take a marker and draw a set of wings on either side of the bandage. You can draw simple loopy wings, detailed patterned wings, or whatever shape your imagination comes up with. Encourage kids to try different colors for each butterfly to make them unique.
Step 4: Add the Antennae
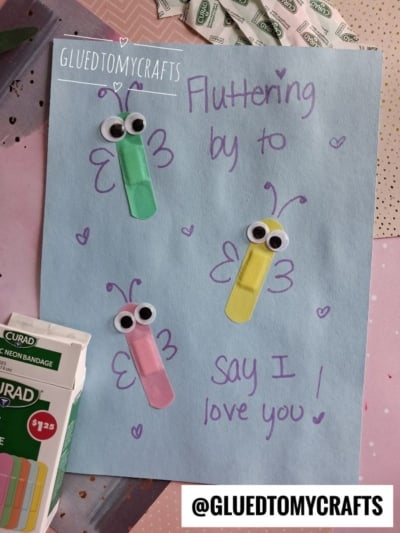
Every butterfly needs antennae. Using a marker, draw two small lines extending from the top of the bandage. You can add little dots or curls at the end of each antenna to give them more character.
Step 5: Decorate Your Scene
Your butterflies are complete, but why stop there? Use your optional craft supplies to bring the entire scene to life. Scatter some star stickers to create a night sky, or add a little glitter to the wings for some sparkle. Let your child’s creativity run wild!
RELATED —> Paper Plate Butterfly Craft Idea
There you have it – a simple, adorable, and creative butterfly craft that transforms an everyday object into something beautiful. This Band-Aid butterfly project is perfect for parents, teachers, and caregivers looking for a quick and engaging activity that kids of all ages will love.
It’s a fantastic way to spend a rainy day, add a handmade touch to your seasonal decor, or simply enjoy a moment of creative fun. Happy crafting, my friends!

Easy Band-Aid Butterfly Craft for Kids
Here’s your checklist of supplies to bring this craft to life:
- Band-Aids
- Cardstock Paper
- Wiggle Eyes
- Embellishments
Prepare your creative haven by laying down a protective cover before the crafting magic begins!
Directions:
- Lay your sheet of dark-colored paper on a flat surface like a table or the floor. This will be the canvas for your butterfly scene. Arrange your bandages and markers nearby so everything is within easy reach for your little artist.
- Peel the protective wrappers off a colorful bandage. Carefully place the sticky side down onto the paper. This bandage will form the body of your first butterfly. Don't worry about placing it perfectly! You can position it straight up and down, or at a slight angle. Repeat this step for as many butterflies as you want to create on your page.
- Now for the magical part! Take a marker and draw a set of wings on either side of the bandage. You can draw simple loopy wings, detailed patterned wings, or whatever shape your imagination comes up with. Encourage kids to try different colors for each butterfly to make them unique.
- Every butterfly needs antennae. Using a marker, draw two small lines extending from the top of the bandage. You can add little dots or curls at the end of each antenna to give them more character.
- Your butterflies are complete, but why stop there? Use your optional craft supplies to bring the entire scene to life. Scatter some star stickers to create a night sky, or add a little glitter to the wings for some sparkle. Let your child's creativity run wild!
CLICK HERE TO PRINT THE DIRECTIONS FOR THIS CRAFT