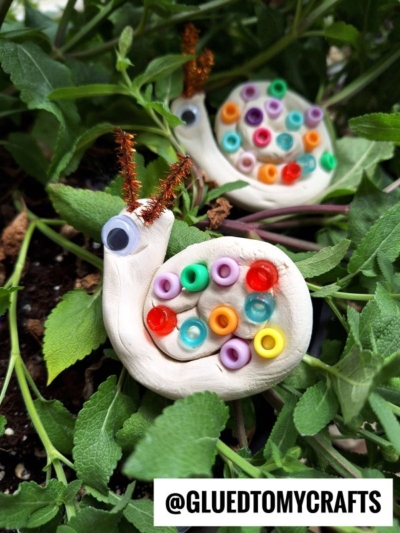
Are you looking for a creative and fun craft project for kids? This Pony Bead and Air Dry Clay Snail Craft is perfect! It’s simple, colorful, and a great way to spark creativity this spring season! Follow these easy steps to make your own adorable snail friends today!
Materials Needed:
- Air-dry clay (any light color)
- Pony beads (variety of colors)
- Googly eyes {small}
- Pipe cleaners (brown or sparkly for antennae)
- Craft tray or workspace
- Optional: Craft glue (for extra hold)
Craft Directions:
-
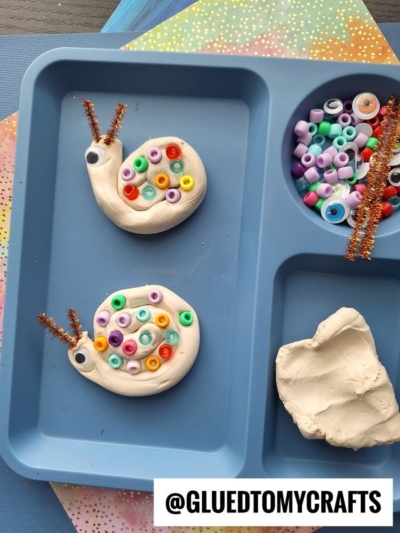
Prepare Your Workspace:
- Lay out all your materials on a craft tray or a clean surface. This will keep everything organized and easy to access.
-
Shape the Snail Body:
- Take a small amount of air-dry clay and roll it into a long, thick strip.
- Curl one end of the strip into a spiral to form the snail’s shell. Leave the other end straight for the body.
-
Decorate the Shell:
- Press colorful pony beads into the spiral shell. Let the kids get creative with patterns and colors!
-
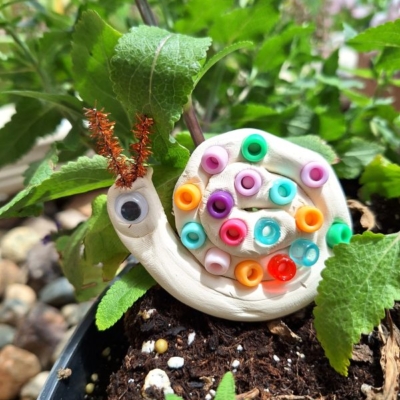
Add the Antennae:
- Cut two small pieces of pipe cleaner and stick them into the top of the snail’s head to create antennae. Bend the ends slightly for a whimsical touch.
-
Attach the Googly Eyes:
- Place one or two googly eyes on the snail’s head. If needed, use a small dab of craft glue to secure them.
-
Let It Dry:
- Allow the snail to dry completely. Depending on the clay, this may take 24-48 hours.
-
Display Your Snails:
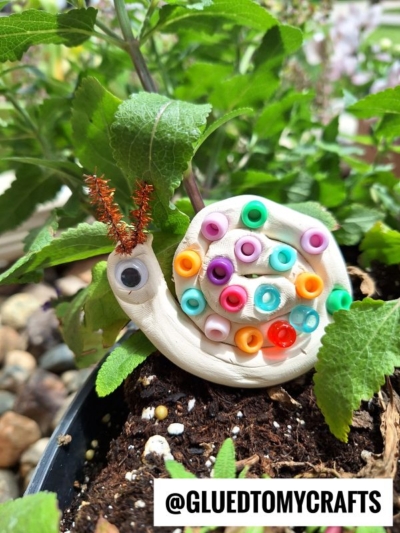
- Once dry, your snails are ready to be displayed! Place them in a plant pot, on a windowsill, or use them as playful decorations.
RELATED —> Heart Shaped Valentine Snail Craft Idea
This craft is not only a fun activity but also a great way to develop fine motor skills and creativity in kids. Happy crafting!

Pony Bead and Air Dry Clay Snail Craft Idea for Kids
Create a fun air dry clay snail with colorful beads and googly eyes. Easy steps for a delightful craft project.
Here’s your checklist of supplies to bring this craft to life:
- Air-dry clay (any light color)
- Pony beads (variety of colors)
- Googly eyes {small}
- Pipe cleaners (brown or sparkly for antennae)
- Craft Tray
- Craft Glue
Prepare your creative haven by laying down a protective cover before the crafting magic begins!
Directions:
- Lay out all your materials on a craft tray or a clean surface. This will keep everything organized and easy to access.
- Take a small amount of air-dry clay and roll it into a long, thick strip.
- Curl one end of the strip into a spiral to form the snail's shell. Leave the other end straight for the body.
- Press colorful pony beads into the spiral shell. Let the kids get creative with patterns and colors!
- Cut two small pieces of pipe cleaner and stick them into the top of the snail's head to create antennae. Bend the ends slightly for a whimsical touch.
- Place one or two googly eyes on the snail's head. If needed, use a small dab of craft glue to secure them.
- Allow the snail to dry completely. Depending on the clay, this may take 24-48 hours.
- Once dry, your snails are ready to be displayed! Place them in a plant pot, on a windowsill, or use them as playful decorations.
CLICK HERE TO PRINT THE DIRECTIONS FOR THIS CRAFT
If you've enjoyed our content or have any thoughts to share, we'd love to hear from you! Mention @gluedtomycrafts or tag #gluedtomycrafts on Instagram!