
Christmas morning at the North Pole calls for something warm, golden, and stacked high. Santa needs a good breakfast before (and after!) his big night, and this craft lets little hands whip one up with no stove, no batter, and no sticky syrup spills.
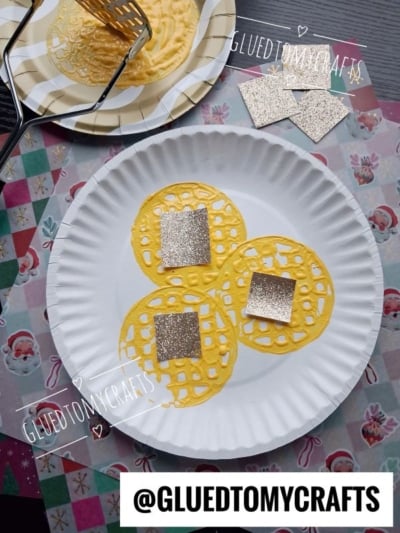
The secret ingredient is hiding in your kitchen drawer: a potato masher. Dip the grid in yellow paint, press it onto a paper plate, and you get a waffle print with perfect little squares. Top each one with a sparkly gold “butter pat,” and you’ve got a breakfast fit for Santa himself.
This craft is quick, budget-friendly, and easy for kids of all ages. It works for a Breakfast With Santa event, a classroom holiday party, a library story time, or a cozy afternoon at the kitchen table. Let’s get stamping!
Craft Supplies:
Here’s everything you need to make one plate of Santa’s waffles:
- 1 white paper plate (this will be your breakfast plate)
- 1 potato masher with a grid-style head
- Yellow washable paint
- Gold glitter paper, cut into small squares for the “butter pats”
- Elmer’s glue stick
- 1 extra paper plate to hold the paint
Optional extras: scissors (for a grown-up to cut the glitter paper), paper towels, a smock or old T-shirt, and a plastic tablecloth for easy cleanup.
Directions:
1. Set up your crafting space
Cover your table with a plastic tablecloth or newspaper. Pop a smock on your little chef, and keep some paper towels close by. Paint and potato mashers make a fun mess!
2. Prep the butter pats
Before you start painting, cut the gold glitter paper into small squares, about 1 inch wide. You’ll need one square for each waffle. This is a good job for a grown-up, though older kids can help if they’re comfy with scissors.
3. Pour the paint
Squeeze a puddle of yellow paint onto your extra paper plate. Spread it out into a thin, even layer that’s a little bigger than the masher’s head. For a toasty golden-brown look, mix a bit of orange into the yellow.
4. Load the potato masher
Press the masher’s grid straight down into the paint. Lift it up and check that the whole grid is coated. If it’s dripping, dab it once on a clean part of the plate to remove the extra.
5. Stamp your first waffle
Hold the masher by the handle and press it firmly onto the white paper plate. Push straight down, hold for a second, and then lift straight up. No wiggling! Ta-da: you just made a waffle!
6. Make the stack
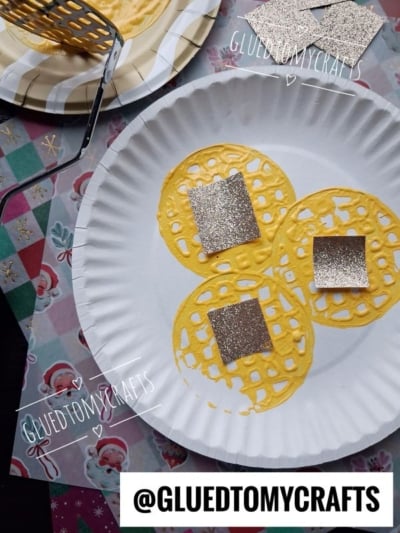
Reload the masher with paint and stamp again. Make three waffles across the plate, leaving a little space between each one. Kids can add more if they want a bigger breakfast. Santa has a big appetite, after all!
7. Let it dry
Set the plate aside and let the paint dry completely. This usually takes about 15 to 30 minutes, depending on how thick the paint is. Now is a great time to wash the potato masher with warm, soapy water.
8. Add the butter
Once the waffles are dry, rub the glue stick on the back of a gold glitter square. Press it gently onto the center of a waffle. Repeat until every waffle has its own shiny pat of butter.
9. Serve it up!
Your Breakfast With Santa waffles are ready! Display them on the fridge, set them out at a holiday party, or leave them on the table for Santa to “find” on Christmas Eve.
RELATED —> Cupcake Liner Waffle Card Craft
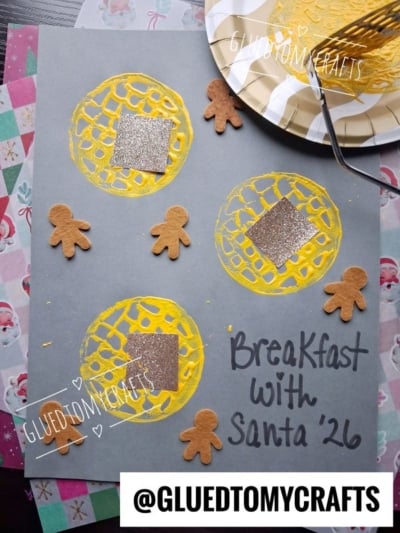
That’s it! With just a potato masher, a little paint, and a sprinkle of sparkle, your kids can make a breakfast that’s sure to land them on the nice list. The best part is watching their faces light up when they lift that masher and see a real-looking waffle staring back at them.
We’d love to see your little chefs’ creations! Share your stamped waffles and tag us @gluedtomycrafts so we can cheer you on.
Happy crafting, and Merry Christmas from all of us at Glued To My Crafts!
