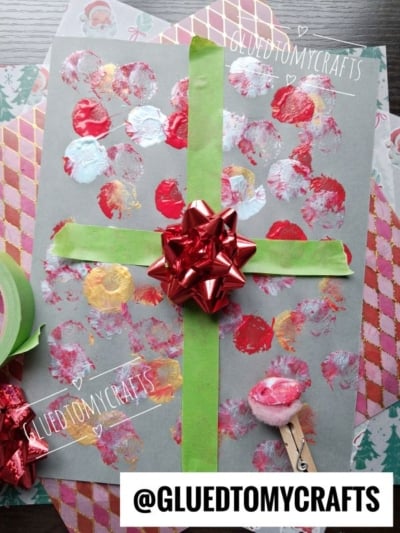
There’s something magical about watching a toddler discover paint. The squish, the color, the happy little “boop!” every time they press something onto paper. This Pom Pom Stamped Christmas Present craft builds on that joy and turns it into a festive piece of art you’ll want to hang on the fridge all season long.
The idea is simple. Your little one stamps bright, cheerful circles all over paper using a pom-pom clipped into a clothespin. Then you add two strips of painter’s tape to create a “ribbon,” and suddenly that painted page looks just like a wrapped Christmas gift. Add a shiny red bow on top, and it’s ready for display.
This craft works beautifully for toddlers at home, in daycare, or in a preschool classroom. It’s low-prep, easy to clean up, and the results look amazing every single time.
Craft Supplies:
- Construction paper or cardstock paper (any color you like)
- Washable paint in festive colors (red, gold and silver work wonderfully)
- Pom-poms (medium or large sizes are easiest for toddlers)
- Wooden clothespins (one per paint color, if possible)
- A paper plate to use as a paint palette
- Painter’s tape (we used GREEN)
- Medium sized gift bow (we used RED)
- Optional: a smock, old t-shirt, or newspaper to protect clothes and tables
Directions:
Step 1: Set Up Your Craft Space
Cover your table with newspaper or a plastic tablecloth. Pop a smock on your little artist, too. Then lay a sheet of construction paper in front of them, oriented vertically so it looks like a tall gift box.
Step 2: Make Your Pom Pom Stampers
Clip a pom-pom into the end of each wooden clothespin. Squeeze the clothespin open, slide the pom-pom in, and let it snap shut. Making one stamper for each paint color keeps the colors bright and stops them from turning muddy too fast.
Step 3: Add Paint to Your Palette
Squeeze small dollops of each paint color onto a paper plate. Keep the amounts small. A little paint goes a long way with pom-poms, and toddlers love to dunk!
Step 4: Show Them the “Dip and Boop” Move
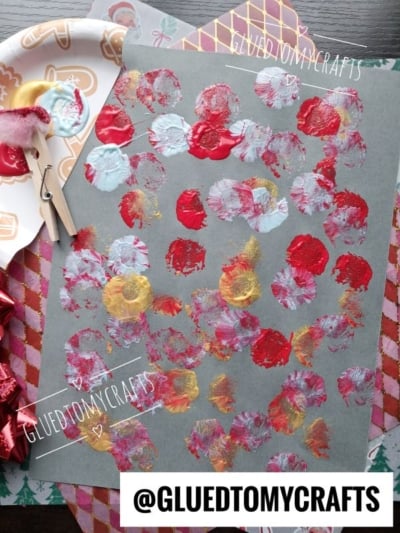
Demonstrate how to dip the pom-pom into the paint and press it firmly onto the paper. Lift it straight up to reveal a fuzzy, textured circle. Toddlers learn best by watching, so do a few stamps together before handing over the stamper.
Step 5: Let Them Stamp Away
Now comes the fun part. Encourage your toddler to stamp circles all over their paper. They can switch colors, overlap circles, or stamp the same spot again and again. Every print adds to the gift wrap pattern.
Step 6: Let the Paint Dry Completely
Set the artwork aside until it’s fully dry. Depending on how generous your little one was with the paint, this could take 30 minutes to a couple of hours. Dry paint helps the tape stick properly in the next step.
Step 7: Add the Painter’s Tape Ribbon
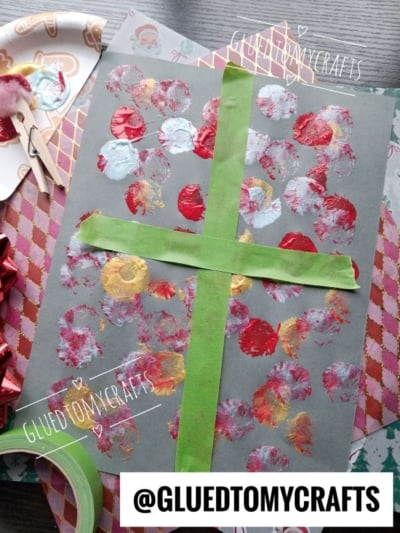
Tear a strip of green painter’s tape long enough to run from the top of the paper to the bottom. Press it down the center. Next, tear a second strip and lay it horizontally across the paper to form a cross or plus shape. Just like that, your stamped page becomes a wrapped present!
Older toddlers can help with this step. Painter’s tape tears easily and repositions without fuss, so it’s very forgiving for small hands.
Step 8: Top It Off With a Bow
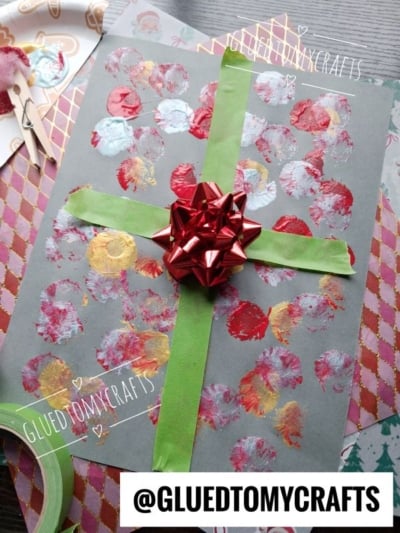
For an extra festive finish, stick a shiny red gift bow right where the two tape strips meet. Most stick-on bows already have adhesive on the back. If yours doesn’t, a small piece of double-sided tape or a dab of glue will do the trick.
Now display their polka dot covered holiday present piece proudly for ALL to see!
RELATED —> Christmas Present Photo Ornament
We absolutely love seeing what your little artists create. Every pom-pom present turns out a little different, and that’s what makes each one so special. Snap a photo of your toddler’s finished gift and share it with us by tagging @gluedtomycrafts. We can’t wait to see your colorful creations!
Happy crafting, and may your holidays be filled with creativity!!! 🎁
