
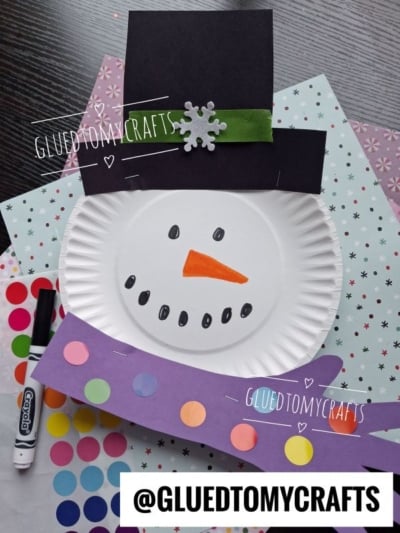
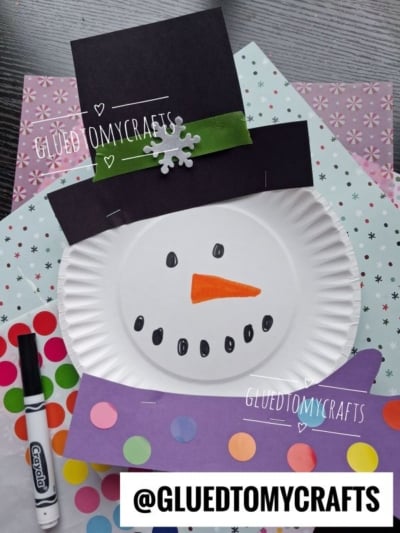
This little snowman is pure joy on a paper plate. He has a dapper top hat, a cheeky carrot nose, and a beautiful polka dot scarf that ends in your child’s very own handprint. It looks like a wave hello, and that’s what makes this craft so special.
This project is quick, low-mess, and made with supplies you probably already have. It works for toddlers, preschoolers, and early elementary kids, whether you’re crafting at the kitchen table or with a whole classroom. When you’re done, you’ll have a festive decoration and a sweet keepsake of how small those hands were this winter.
Let’s build a snowman with no shoveling and no frozen fingers!
Craft Supplies:
- White paper plate – 1 per snowman craft
- Black construction paper
- Construction paper – any color you like!
- Black marker
- Orange marker
- Colorful dot stickers
- Pencil
- Stapler
- Scissors
Directions:
Step 1: Cut Out a Top Hat
Grab your black construction paper and draw a simple top hat shape. Think of a tall rectangle sitting on top of a wider, flat rectangle for the brim. Make it about as wide as the top third of your plate so it looks nice and bold.
Cut it out. Older kids can do this on their own, while younger ones may need a grown-up to handle the trickier corners.
Step 2: Staple the Hat to the Plate
Place the hat along the top edge of the paper plate so the brim overlaps the plate a little. Add one staple right in the middle of the hat to hold it in place.
Safety note: An adult should handle the stapler, especially with younger kids. Let your child pick the spot, and you do the pressing.
Step 3: Draw the Eyes and Carrot Nose
Now your snowman starts to come alive. Use the black marker to draw two tall oval eyes near the center of the plate, then color them in.
Next, switch to the orange marker. Just below the eyes, draw a long, pointy carrot nose. Angling it off to one side gives your snowman extra personality. Kids love adding little lines across the carrot for texture, too.
Step 4: Draw a Dotted Smile
Pick up the black marker again and draw a row of small circles in a gentle curve below the nose. Think of the coal pieces on a real snowman. Seven dots is a great number, but any amount works.
Step 5: Make the Handprint Scarf
Here comes the star of the show. Start with a long piece of construction paper – think of it like a tree trunk shape. Have your child place their hand flat at one end of the paper, fingers pointing outward. Trace around their hand with a pencil, then carefully cut along the outline so the handprint flows right out of the strip – one single, continuous piece from scarf to fingertips.
Step 6: Decorate the Scarf With Sticker Dots
Time for color. Hand over the sticker dots and let your child go to town on the scarf and handprint.
Some kids will make neat patterns. Others will cover every inch. Both are perfect. Peeling and placing stickers is also fantastic practice for those tiny finger muscles.
Step 7: Staple the Scarf to the Plate
Lay the scarf across the bottom third of the plate, with the handprint end sticking out past the edge. Add a staple on the opposite side to secure it.
Step back and admire your handiwork. Your snowman is officially ready for the holidays!
RELATED —> Paper Plate Reindeer with Scarf Craft Idea
GRAB RAINBOW COLORED DOT STICKERS VIA OUR AMAZON AFFILIATE LINK
That’s it, friends. One plate, a few scraps of paper, and a handful of stickers add up to a smiling snowman and a memory you’ll treasure.
We’d love to see how yours turns out. Snap a photo of your little one’s creation and share it by tagging @GLUEDTOMYCRAFTS on Facebook and Instagram. And if this tutorial brought some cheer to your day, pass it along to another parent or teacher who could use an easy winter activity. Happy crafting, and stay frosty!
