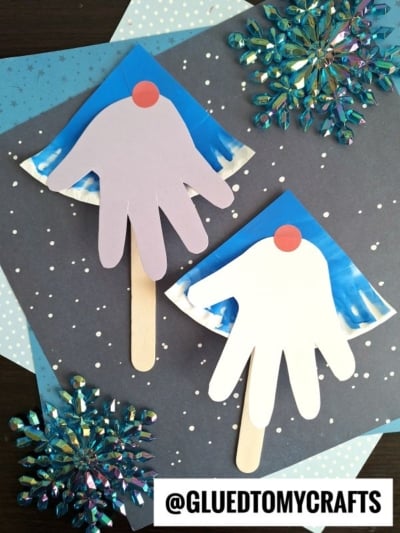
Winter gnomes have a special kind of magic. They’re cozy, a little mysterious, and impossible to look at without smiling. This paper plate and handprint gnome puppet is one of our favorite cold-weather crafts because it’s simple and sweet, and it turns your child’s tiny hand into a keepsake you’ll want to hold onto.
The best part is that the whole project uses supplies you probably already have. A paper plate becomes a tall, pointy hat and body. A traced handprint turns into a big, fluffy beard. A little pink circle adds the perfect button nose. Then a popsicle stick turns the whole thing into a puppet that’s ready for snowy-day stories and silly voices.
This craft works well in a classroom, at the kitchen table, or as a rainy (or snowy!) afternoon activity. Let’s make some gnomes!
Craft Supplies:
Gather these supplies before you begin so little hands stay busy and happy:
- Paper plates. One per gnome. Sturdy, uncoated plates hold paint best.
- Craft paint. Washable tempera or acrylic works great.
- Paintbrush or sponge.
- Cardstock. This is for the handprint beard.
- Dot stickers. This is for the nose.
- Popsicle sticks. Jumbo craft sticks are easier for small hands to grip.
- Pencil or marker. This is for tracing.
- Scissors. Use kid-safe scissors for children and regular scissors for adults.
- Glue. A glue stick, white school glue, or a low-temp glue gun (adults only).
Directions:
Step 1: Paint the Paper Plate
Lay down newspaper or a plastic tablecloth first. Trust us on this one!
Have your child paint the entire front of the paper plate blue. Encourage them to cover the rim, too. That curved edge becomes the bottom of the hat.
Set the plate aside to dry completely. This usually takes 20–30 minutes.
Tip: Paint the plate first, then do the tracing and cutting steps while it dries.
Step 2: Trace and Cut the Handprint Beard
This is the step kids love most! Place your child’s hand flat on a piece of white or gray cardstock with the fingers slightly spread. Trace around the hand and wrist with a pencil or marker.
Cut out the handprint carefully. Older kids can try this themselves, while adults may want to handle it for little ones.
Flip the handprint upside down so the fingers point downward. Those fingers are now a long, wispy gnome beard!
Tip: Write your child’s name and the year on the back of the handprint. You’ll love finding it years from now.
Step 3: Cut Your Paper Plate
When the paper plate is dry enough, cut it into FOUR equal sized triangle slices. One triangle piece will become your gnome.
Step 4: Assemble the Gnome Layers
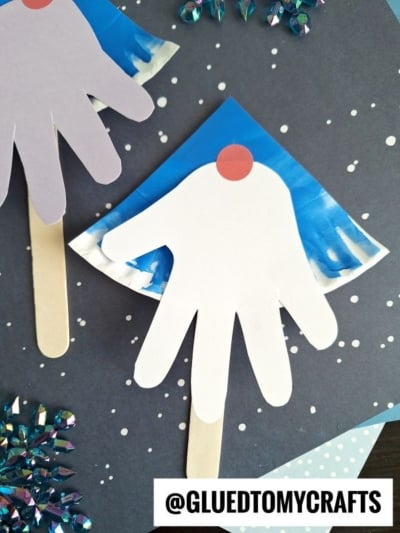
Now it all comes together. Take your paper plate piece and glue the handprint cutout to the center.
Add a dot sticker/circle nose right at the top of the handprint, where the beard meets the hat.
That’s it! The hat hides the gnome’s eyes, the nose peeks out, and the beard does the rest. Simple shapes, so much personality.
Step 5: Attach the Popsicle Stick Handle
Time to turn your gnome into a puppet!
- Flip the gnome over carefully.
- Glue a popsicle stick to the back so it runs up behind the handprint and extends below the beard.
- Press firmly and hold for a few seconds.
- Let the glue dry fully before playtime. With white glue, give it at least 30 minutes.
Tip: For the strongest hold, an adult can use a low-temp glue gun on the popsicle stick.
RELATED —> Popsicle Stick Bearded Christmas Gnome Craft Idea
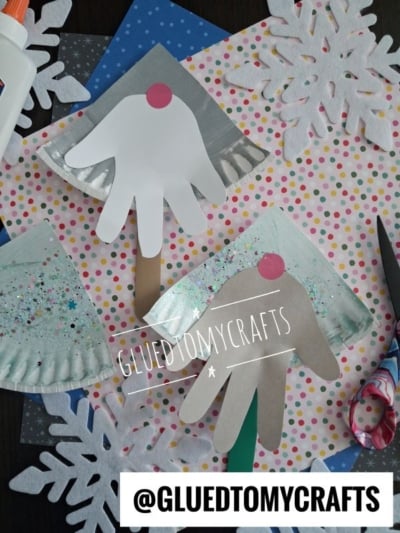
Crafts like this one aren’t really about perfect results. They’re about the giggles while tracing wiggly fingers, the proud grin when the nose goes on, and the silly gnome voices that follow. Years from now, that tiny handprint beard will remind you just how small those hands once were.
So grab a paper plate, pull out the blue paint, and make some winter magic together. We’d love to see your gnome creations! Share a photo of your little ones’ puppets, tell us what you named them, and let us know which fun variations you tried. Happy crafting, and stay cozy!