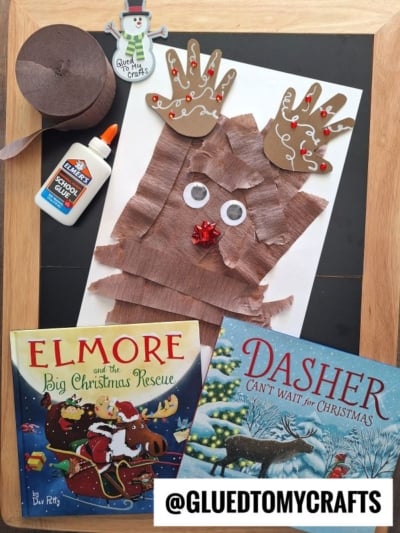
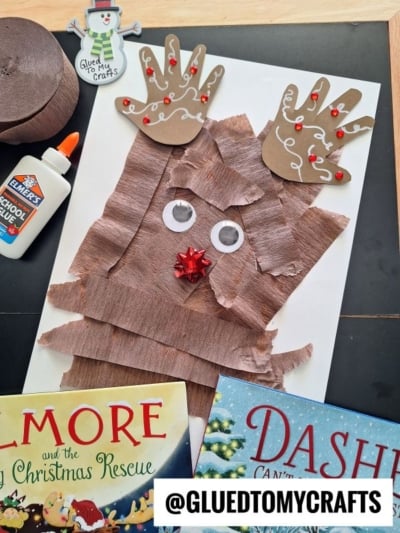
Your kids can make a fluffy, shaggy reindeer this Christmas with a roll of crepe paper, a bottle of glue, and their own two hands. Their handprints become the antlers, a shiny gift bow becomes Rudolph’s glowing nose, and the torn paper adds a texture kids love.
This craft takes about 30 to 45 minutes. It works for a cozy afternoon at home, a classroom holiday party craft, or a story time activity. You don’t need scissors for most of it, because tearing paper is the fun part.
Craft Supplies:
- Brown crepe paper or streamer roll
- Large sheet of white construction paper (one sheet per reindeer)
- Elmer’s Washable School Glue
- 2 large googly eyes
- 1 small red gift bow
- Brown construction paper or cardstock for the handprint antlers
- Scissors
- A pencil
Directions:
Step 1: Trace the Handprint Antlers
- Place your child’s hand flat on the brown paper with fingers spread wide.
- Trace around the hand with a pencil.
- Repeat for a second handprint. You can flip the same hand over, or trace both hands.
Wide fingers make bigger, fuller antlers, so encourage your kids to stretch them out.
Step 2: Cut Out the Handprints
- Cut along the traced lines.
- Set both handprints aside for later.
Younger kids may need a grown-up for this step, especially around the fingers. Older kids can usually handle it on their own.
Step 3: Sketch the Reindeer Face
- Lightly draw a large oval or rounded head shape on the white cardstock.
- Leave space at the top for the antlers.
Your reindeer face can be a long oval, a teardrop, or a rounded rectangle. A slightly narrower bottom gives it a snout-like look.
Step 4: Tear the Crepe Paper Strips
- Unroll a section of brown crepe paper.
- Tear it into strips about 4 to 6 inches long.
- Make a small pile of 15 to 25 strips.
Don’t aim for perfect edges. Rough, uneven tears give your reindeer that soft, furry texture. Mixing longer and shorter strips adds even more character.
Step 5: Glue the Crepe Paper Onto the Face
- Spread glue over a small section of the face shape, starting at the bottom.
- Lay strips across the glue horizontally.
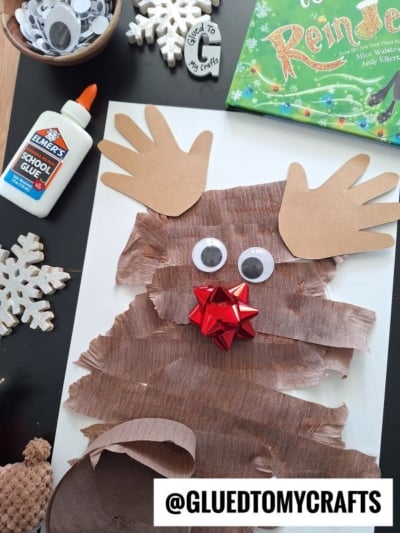
- Overlap each new row slightly over the last one as you work upward.
- Add a few diagonal strips for extra fluff.
- Keep going until the whole face is covered.
Avoid this common mistake: Too much glue can soak through crepe paper and make the color bleed. A thin layer works best. Squeeze, then spread with a finger or a cotton swab.
Step 6: Add the Googly Eyes
- Place a dot of glue on the back of each googly eye.
- Press them onto the upper middle of the face.
- Hold for a few seconds so they stick.
Want a sillier reindeer? Try mismatched eye sizes or tilt them at fun angles.
Step 7: Attach the Red Bow Nose
- Peel the backing off the gift bow, or add a generous dot of glue.
- Press it just below the eyes, near the bottom of the face.
That shiny red bow instantly turns your reindeer into Rudolph. Kids usually cheer at this step.
Step 8: Glue On the Handprint Antlers
- Add glue to the bottom of each handprint (the wrist area).
- Tuck them behind or along the top edges of the head, one on each side.
- Angle the fingers up and out.
Step 9: Let It Dry
Lay the craft flat for at least one hour. Thick spots of glue under the bow or eyes may need a little longer.
RELATED —> Handprint Reindeer Keepsake Poem Ornament
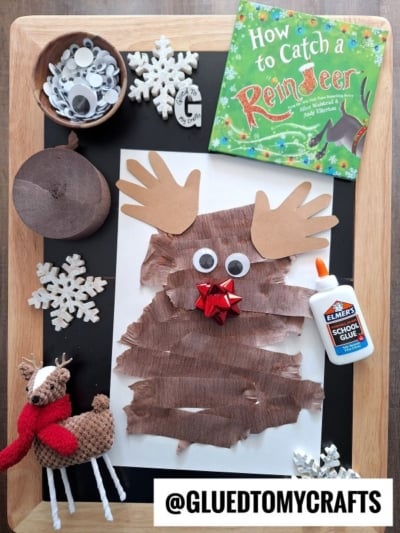
Make it a full holiday activity by reading a reindeer picture book before or after crafting. A few favorites {affiliate links}
-
Dasher: How a Brave Little Doe Changed Christmas Eve by Matt Tavares
-
Elmore and the Big Christmas Rescue by Dev Petty
-
How To Catch A Reindeer by Alice Walstead
Reading first gets kids excited, and crafting afterward helps them remember the story. Display the finished reindeer next to the book for a sweet holiday reading corner.
Make your own torn crepe paper reindeer this Christmas and tag @GluedToMyCrafts so we can see your kids’ cute creations!