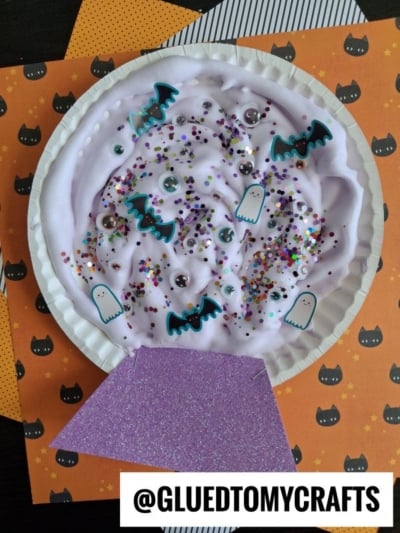
Today’s paper plate crystal ball tutorial is one of our favorite Halloween crafts because it’s simple, squishy, and a little bit spooky. Kids get to mix their own fluffy puffy paint, swirl it into a “magic” globe, and fill it with bats, ghosts, and eyeballs. The paint dries into a soft, raised texture that kids love to touch. The best part? You probably have most of the supplies at home already.
It’s a great fit for classroom parties, rainy afternoons, or a cozy craft night before trick-or-treating. Little ones practice fine motor skills as they place tiny eyes and stickers, and older kids can get creative with their own “fortunes.”
Craft Supplies:
- Large, white paper plate
- Homemade puffy paint
- 1 cup foam shaving cream
- 1/4 to 1/2 cup white school glue
- Purple paint or food coloring (or mix red and blue)
- Multicolored glitter (chunky craft glitter adds extra sparkle)
- Googly eyes in different sizes
- Bat and ghost stickers or paper cutouts
- Sparkly purple glitter cardstock
- Stapler
- Scissors
- Mixing bowl and spoon (or a paper cup and craft stick)
Directions:
Step 1: Make the Crystal Ball Base
We like to start here so the plate is ready to go before the paint gets messy.
Cut a trapezoid shape from your cardstock paper. Think of a short, wide stand: narrow at the top and wider at the bottom. About 4 inches wide at the base and 2.5 inches tall is a good size for a standard plate.
Place the narrow end of the trapezoid behind the bottom edge of the plate. Then staple it in place with two staples. Now your plate looks like a crystal ball sitting on its stand!
Step 2: Mix the Puffy Paint
Now for the fun part! Add the shaving cream to your bowl. Pour in the glue and stir gently. You want to keep as many air bubbles as you can, because that’s what makes the paint puffy.
Add a few drops of purple paint or food coloring and fold it in slowly. Keep adding color until you get a dreamy lavender shade. Want a deeper, more mysterious purple? Just add a bit more.
The mixture should feel thick and fluffy, like whipped frosting.
Step 3: Fill the Crystal Ball
Scoop the puffy paint into the center of the paper plate. Spread it out with a spoon or jumbo craft stick. Fill the whole circle in the middle of the plate. This is your magic globe.
Let kids swirl the paint in circles for a misty, magical look. Aim for a nice thick layer so the decorations have something to sink into.
Step 4: Decorate Your Spooky Crystal Ball
Work quickly while the paint is still wet. This is how everything sticks without extra glue!
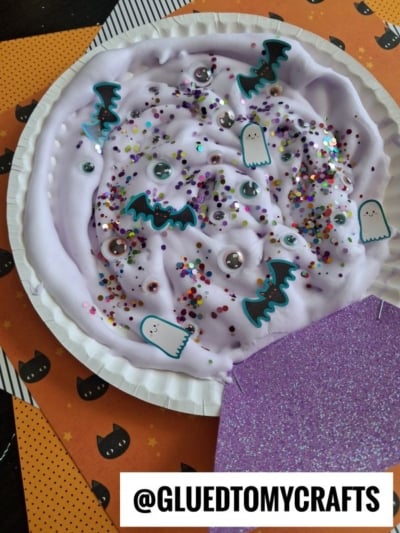
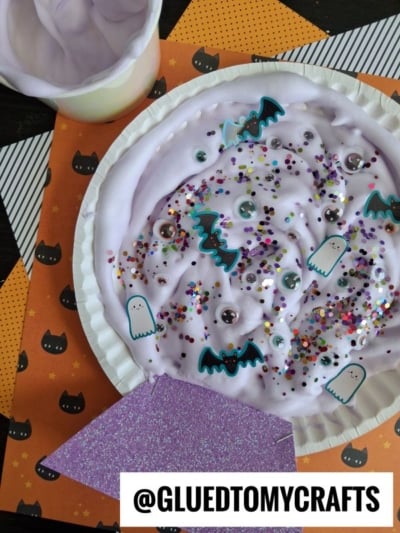
- Add the eyes. Press googly eyes of all sizes into the puffy paint. Mix big and small eyes for a “who’s watching me?” effect. Some kids love clustering them together, while others scatter them everywhere.
- Sprinkle the glitter. Shake multicolored glitter over the top. A generous sprinkle makes the ball look enchanted and sparkly.
- Place the bats and ghosts. Gently press bat and ghost stickers or cutouts into the paint.
There’s no wrong way to decorate. Every crystal ball tells its own spooky story!
Step 5: Let It Dry
Set the plate flat in a safe spot to dry. Thin layers may dry in a few hours, but thicker layers often need overnight. Once dry, the paint stays puffy and soft to the touch. Now display it proudly for all to see!
RELATED —> Cupcake Liner Bat Craft Idea For Kids
This paper plate puffy paint crystal ball is proof that Halloween crafts don’t need to be complicated to be magical. With a few simple supplies, kids can make something squishy, sparkly, and just the right amount of creepy.
Whether you’re crafting at the kitchen table or with a whole classroom, we hope this project brings plenty of giggles and a little Halloween magic. We see lots of googly-eyed fun in your future!
Happy crafting, and have a spook-tacular Halloween! 🔮👻🦇
