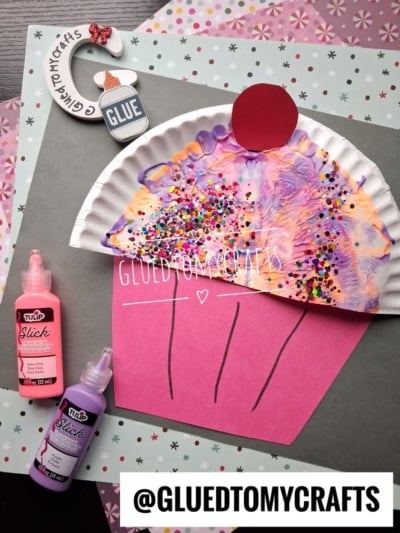
Sprinkles, swirls, and a whole lot of squishing. This paint splat cupcake craft gives kids the fun of decorating a sweet treat without the sticky frosting fingers.
Kids press craft paint onto a half paper plate to create a swirly frosting top. Then they add a paper wrapper and finish with a sparkly shower of glitter “sprinkles.” It’s a simple, satisfying craft that looks almost good enough to eat.
This easy craft needs only a few basic supplies and very little prep. Every child ends up with a bright, frosted cupcake to show off. Try it at a birthday party, a Valentine’s Day celebration, a classroom art activity, or a rainy afternoon at home.
Craft Supplies:
You’ll need just a few simple supplies:
- Paper plates, cut in half (one half per child)
- Washable paint in colors such as light pink, hot pink, lavender and neon orange
- Loose craft glitter (fine glitter works best)
- Construction paper or cardstock for the wrapper (any color, though pastels and bright colors look sweet)
- Scissors
- Glue stick or school glue
- Marker or crayon for drawing wrapper lines
- Optional: a sheet of colored paper to mount the finished cupcake on
- Optional: paint smocks and a tray or newspaper for the table
Directions:
Step 1: Cut and Fold the Plate
Start off by cutting your large paper plate in half. One half equals ONE cupcake. Go ahead and fold your paper plate in half and open it back up.
Place the half paper plate on the table with the flat, cut edge at the bottom and the curved edge at the top. That rounded top is your frosting swirl.
Step 2: Add Dollops of Paint
Have kids squeeze or spoon small blobs of paint all over the plate half. Encourage them to mix colors, like a few hot pink dots, some purple, and a touch of light pink or lavender. There’s no wrong way to do this. More variety makes a sweeter-looking cupcake.
Step 3: Squish and Splat
Now fold the paper plate back up and have kids smoosh the paint with their hands. Be sure they press and rub all over so the colors spread and swirl together underneath.
Gently open the paper plate back up. The paint will have a marbled, swirly texture that looks just like fluffy cupcake frosting.
Step 4: Sprinkle on the Sprinkles
While the paint is still wet, have kids shake pink or purple glitter (and real sprinkles, if you like) over the frosting. These are the “sprinkles.” The wet paint acts like glue, so everything sticks right on.
Step 5: Let It Dry
Set the cupcake top aside to dry. This usually takes 20 to 30 minutes, depending on how thick the paint is. It’s a great time for a snack, a quick clean-up, or a silly “cupcake shop” pretend play break.
Step 6: Decorate the Wrapper
While the paint dries, kids can decorate their trapezoid wrapper. Have them draw straight lines from top to bottom to look like the pleats on a real cupcake liner. They can also add dots, stripes, or patterns.
Step 7: Attach the Wrapper
Once the cupcake top is dry, flip the trapezoid so the wide side is at the top. Glue the top of the wrapper behind the flat edge of the plate, letting the plate overlap the wrapper slightly. Now it looks like the frosting is piled high above its liner.
Step 8: Mount and Display (Optional)
Glue the finished cupcake onto a sheet of colored paper. Kids can write their name and a sentence like “My cupcake is topped with…” or “I would share my cupcake with…” and fill in their own idea.
RELATED —> Pom Pom Stamped Gnome Cupcake Craft Idea
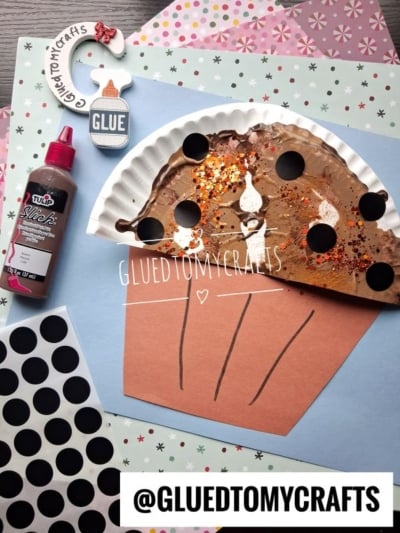
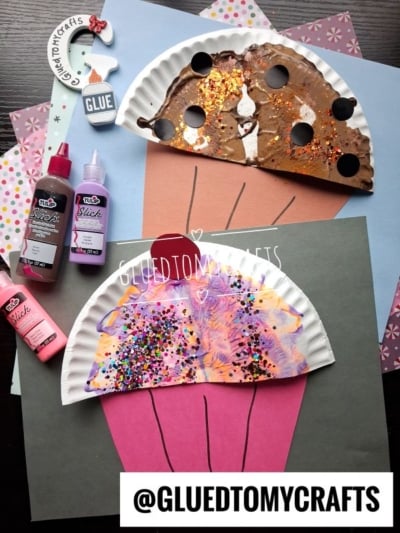
The best part of this craft isn’t the finished cupcake. It’s the giggles when the paint squishes under their fingers, and the proud grins when the glitter sparkles. It’s also the way kids keep talking about their colorful creations long after the craft is done.
Pair this activity with a birthday celebration, a classroom art day, or a Valentine’s Day party, when pinks and purples feel just right. You can even save the cupcakes and send them home with a note so families can display them together.
However you use it, this paper plate cupcake craft turns a simple afternoon into a hands-on memory. Set out the paint, pass out the plates, and let your young bakers frost away. Just don’t be surprised if someone asks for extra sprinkles. Happy crafting, my friends!
