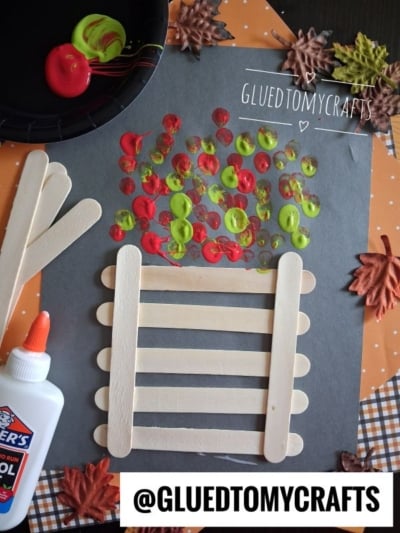
There’s something magical about the first crisp days of autumn. The leaves start to turn, the air smells like cinnamon, and suddenly everyone wants to talk about apple picking. If you’re looking for a simple way to bring that cozy harvest feeling indoors, this apple basket craft is a total winner.
It uses supplies you probably already have in your craft bin, and it works beautifully for little hands. Kids build a wooden crate from popsicle sticks, then fill it with colorful apples using nothing but their thumbs and a dab of paint. It’s low-mess, low-stress, and full of that hands-on fun children love. Let’s make some apples!
Craft Supplies:
Gather these simple materials before you begin:
- Jumbo popsicle sticks (about 7 to 9 per child)
- Elmer’s school glue (washable is your best friend here)
- Red & green paint (washable tempera or acrylic)
- Construction paper (one sheet per child)
- A paper plate to use as a paint palette
- Optional: pom-poms if you’d rather stamp with those instead of fingers
- Optional: baby wipes or a damp cloth for quick clean-up
Directions:
- Start by laying two popsicle sticks vertically on the gray construction paper. Space them apart to form the two sides of your crate. These are the posts that will hold everything together, so leave enough room between them for the horizontal slats.
- Squeeze a small dot of Elmer’s glue onto the ends of your two vertical sticks. Then lay a popsicle stick horizontally across the top, connecting both posts. Keep going, gluing 5 to 7 horizontal sticks down the frame. Space them out evenly so they look like the wooden slats of a real apple crate. Press each stick gently and let the glue set for a minute or two.
- While the glue dries, squeeze a small dollop of red paint and a small dollop of lime green paint onto your paper plate. Keep the two colors close but separate.
- Here comes the fun part. Have your child dip a thumb into the red paint, then press it firmly onto the gray paper right above the basket. Lift straight up for a clean, round apple. Repeat with the green paint, then mix things up by stamping some thumbprints that blend both colors for a marbled, real-apple look.
- Cluster the apples together so they look like they’re spilling out of the top of the crate. Scatter a few extras above the pile for that just-picked, overflowing effect. Prefer less mess? Dip a pom-pom into the paint and stamp with that instead.
- Once your apples are stamped, let everything dry completely. Then stand back and admire your bushel of homemade apples!
RELATED —> Potato Masher Apple Basket Craft for Kids
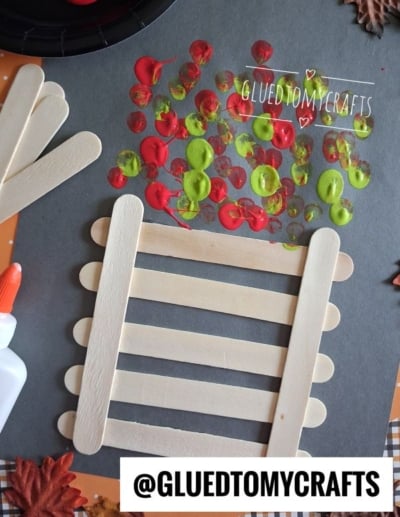
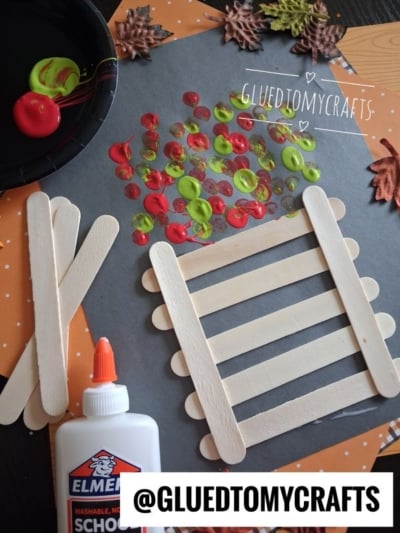
And there you have it, a charming apple basket that celebrates everything wonderful about fall. This project checks all the boxes for a great fall activity. It’s open-ended, so no two baskets look the same. The thumbprint stamping builds fine motor skills, and the finished art makes adorable classroom or fridge decor. Best of all, it comes together in about 20 minutes, which is perfect for short attention spans.
So on a final note, whether you’re crafting at the kitchen table or with a whole classroom, this project brings big smiles and beautiful results.
We’d love to see your creations, so snap a photo and share your little one’s apple harvest with us. Happy crafting, my friends!

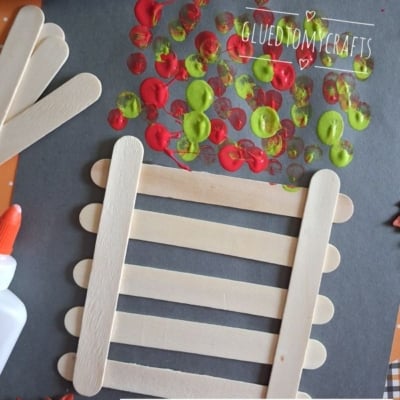
Thumbprint and Popsicle Stick Apple Basket Craft Idea
This easy fall kids craft turns popsicle sticks and thumbprint painting into a cute apple basket. Grab the simple tutorial and start crafting today!
Here’s your checklist of supplies to bring this craft to life:
- 6 Jumbo Popsicle Sticks
- Construction Paper
- Craft Paint
- Embellishments
- School Glue
Prepare your creative haven by laying down a protective cover before the crafting magic begins!
Directions:
- Start by laying two popsicle sticks vertically on the gray construction paper. Space them apart to form the two sides of your crate. These are the posts that will hold everything together, so leave enough room between them for the horizontal slats.
- Squeeze a small dot of Elmer's glue onto the ends of your two vertical sticks. Then lay a popsicle stick horizontally across the top, connecting both posts. Keep going, gluing 5 to 7 horizontal sticks down the frame. Space them out evenly so they look like the wooden slats of a real apple crate. Press each stick gently and let the glue set for a minute or two.
- While the glue dries, squeeze a small dollop of red paint and a small dollop of lime green paint onto your paper plate. Keep the two colors close but separate.
- Here comes the fun part. Have your child dip a thumb into the red paint, then press it firmly onto the gray paper right above the basket. Lift straight up for a clean, round apple. Repeat with the green paint, then mix things up by stamping some thumbprints that blend both colors for a marbled, real-apple look.
- Cluster the apples together so they look like they're spilling out of the top of the crate. Scatter a few extras above the pile for that just-picked, overflowing effect. Prefer less mess? Dip a pom-pom into the paint and stamp with that instead.
- Once your apples are stamped, let everything dry completely. Then stand back and admire your bushel of homemade apples!


Grab our favorite books via our Amazon affiliate link! In our Amazon storefront you will find books, toys and craft supplies we absolutely love using for our Glued To My Crafts tutorials!
If you've enjoyed our content or have any thoughts to share, we'd love to hear from you! Mention @gluedtomycrafts or tag #gluedtomycrafts on Instagram!