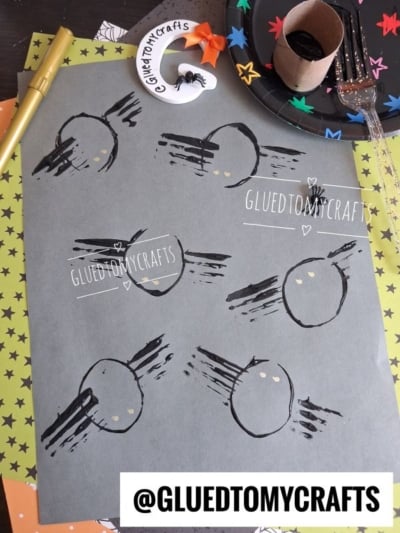
Looking simple Halloween craft that costs almost nothing? This easy toilet paper roll stamped activity uses items you already have at home to make a page full of creepy-cute spiders. It’s perfect for a rainy afternoon, a classroom party, or a cozy October craft session.
By the end, your kids will have painted a whole gray “web” of spiders using just a cardboard tube and a plastic fork. Let’s get crafting!
Craft Supplies:
- Cardstock paper (a spooky, spider-friendly background)
- Black paint (washable is best for little hands)
- Empty toilet paper roll
- Plastic fork
- Gold metallic marker
- Paper plate (for holding the paint)
Grab an apron or an old shirt too. Paint gets everywhere, and that’s half the fun.
Directions:
- Squeeze a small pool of black paint onto the paper plate. Spread it out a little so it’s easy to dip into. Lay your cardstock paper flat in front of your child.
- Dip one open end of the toilet paper roll into the black paint. Press it firmly onto the cardstock, then lift straight up. Repeat to make as many spider bodies as you like.
- Dip the tines of the plastic fork into the black paint. Press the tines onto one side of a circle so the lines look like legs. Do the same on the other side. Each spider needs eight legs, so stamp four on each side.
- Grab the gold metallic marker. Add two small dots inside each black circle for eyes. These little gold dots make your spiders pop against the dark bodies.
- Set the cardstock aside for 15 to 20 minutes. Once completely dry, display it proudly for all to see!
RELATED —> Paint Splat and Crepe Paper Spider Craft Idea
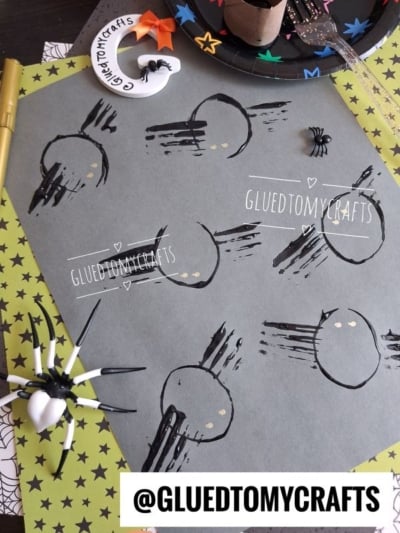
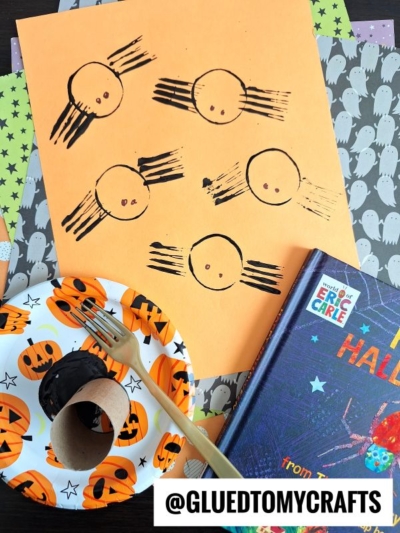
Now tape your child’s finished spider page to a window, the fridge, or a classroom bulletin board for instant Halloween decor. You can also cut out individual spiders and string them up for a spooky garland.
We’d love to see your creepy crawlies! Snap a photo of your kids’ spiders and tag @GluedToMyCrafts so we can cheer them on. Happy crafting, my friends!

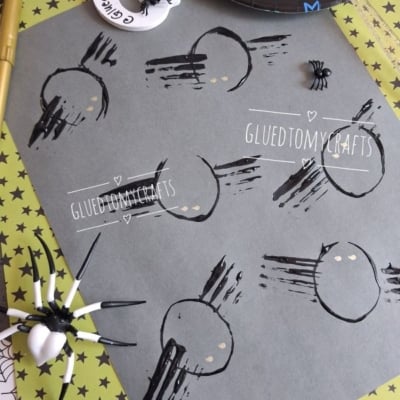
Toilet Paper Roll and Fork Painted Halloween Spider Craft Idea
Make toilet paper roll spiders with a fork, black paint, and cardstock! An easy Halloween craft for kids that parents and teachers will love. Try it today.
Here’s your checklist of supplies to bring this craft to life:
- Cardstock Paper
- Craft Paint
- Toilet Paper Roll
- Embellishments
Prepare your creative haven by laying down a protective cover before the crafting magic begins!
Directions:
- Squeeze a small pool of black paint onto the paper plate. Spread it out a little so it's easy to dip into. Lay your cardstock paper flat in front of your child.
- Dip one open end of the toilet paper roll into the black paint. Press it firmly onto the cardstock, then lift straight up. Repeat to make as many spider bodies as you like.
- Dip the tines of the plastic fork into the black paint. Press the tines onto one side of a circle so the lines look like legs. Do the same on the other side. Each spider needs eight legs, so stamp four on each side.
- Grab the gold metallic marker. Add two small dots inside each black circle for eyes. These little gold dots make your spiders pop against the dark bodies.
- Set the cardstock aside for 15 to 20 minutes. Once completely dry, display it proudly for all to see!

Grab our favorite books via our Amazon affiliate link! In our Amazon storefront you will find books, toys and craft supplies we absolutely love using for our Glued To My Crafts tutorials!
If you've enjoyed our content or have any thoughts to share, we'd love to hear from you! Mention @gluedtomycrafts or tag #gluedtomycrafts on Instagram!