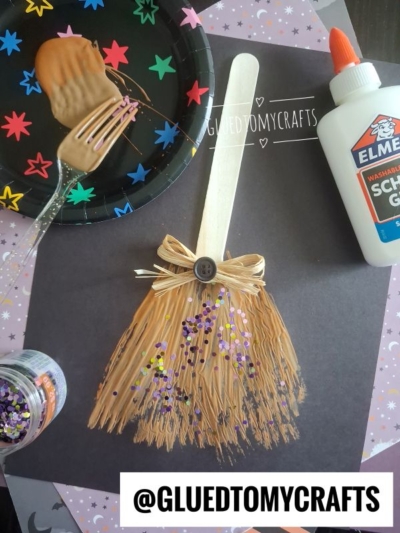
Grab your paint and get ready for a little Halloween magic! This fork-painted witch broom is one of those crafts that looks impressive but takes almost no skill to pull off. Kids love it because they get to make messy, satisfying paint textures. You’ll love it because the supplies are cheap and probably already sitting in your kitchen drawer.
The best part? A humble plastic fork does all the hard work. Drag it through brown paint and poof – you’ve got scratchy broom bristles that look just like the real thing. Add a popsicle stick handle, a sweet raffia bow, and a sprinkle of glitter, and you’ve got a spooky-cute masterpiece ready for the fridge.
This project is perfect for classrooms, playdates, or a cozy afternoon at home. Let’s make some brooms!
Craft Supplies:
Gather these simple supplies before you start:
- 1 popsicle stick (wooden craft stick) for the broom handle
- Brown paint (washable is best for little hands)
- 1 plastic fork – your secret texture tool
- Black or purple cardstock or heavy paper as your base
- Ribbon for a little bow in the center
- Elmer’s washable school glue
- Glitter or sequins
You’ll also want a paper plate for holding the paint and some newspaper to protect your table.
Directions:
- Squeeze a small puddle of brown paint onto your paper plate. Lay your cardstock down in front of you and place the popsicle stick where you want the broom handle to go – usually near the top center, standing upright.
- Give the kids a moment to plan their layout. It helps them picture the finished broom.
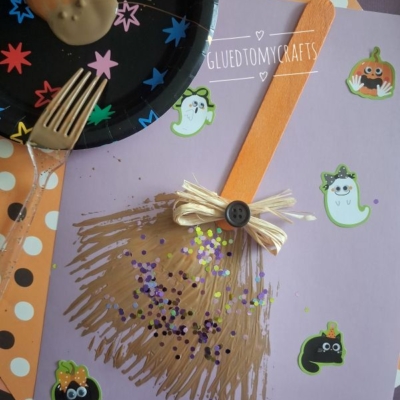
- Here’s the fun part. Dip the tines of the plastic fork right into the brown paint. Then, starting just below the bottom of the popsicle stick, drag the fork downward across the paper.
- Fan the strokes out slightly as you go so the bristles spread wide at the bottom. Repeat, re-dipping the fork as needed, until you build up a full, textured broom base. The scratchy lines from the fork tines create that perfect straw-like look. Don’t aim for neat! Messy and layered looks the most realistic.
- While the paint dries a little, add a line of Elmer’s glue to the back of the popsicle stick. Press it firmly onto the paper so the bottom of the stick overlaps the top of the painted bristles. This connects the handle to the broom. Hold it in place for a few seconds to help it stick.
- Take a long piece of ribbon and tie it into a small bow. Then glue the bow right at the spot where the popsicle stick meets the painted bristles. This hides the seam and gives your broom that charming, tied-together look.
- Now for the sparkle! Add small dots of glue over the painted bristles, then sprinkle loose craft glitter or sequins on top. Shake off the extra glitter onto your paper plate. This is where each broom becomes truly one-of-a-kind. Let everything dry completely before moving it.
- If you’re using Halloween stickers, now’s the time to place them around your broom. Ghosts, pumpkins, black cats, and bats all make cheerful companions for your witchy broom. When done decorating, allow your piece to dry completely before displaying proudly for all to see!
RELATED —> Paper Plate Melted Witch Craft
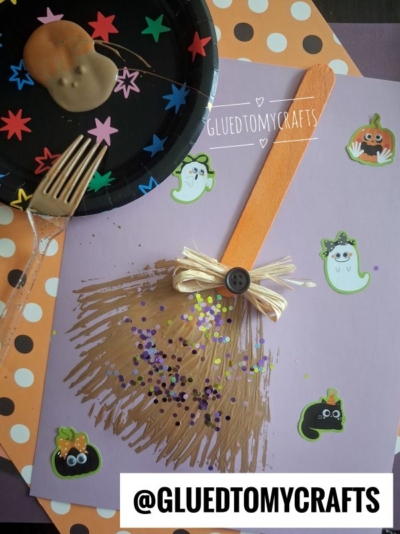
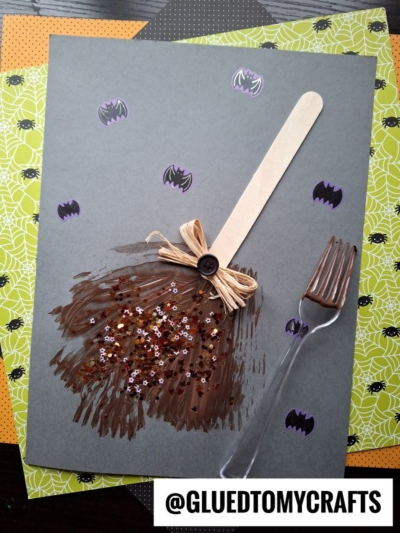
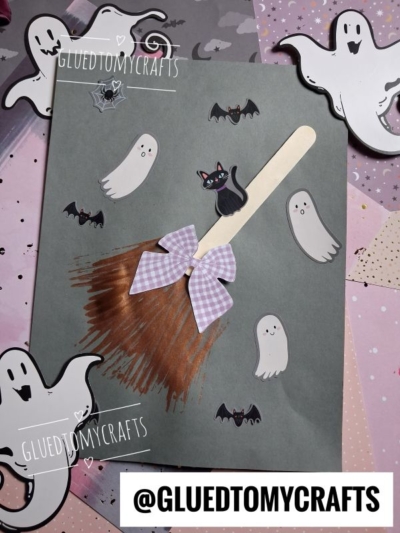
Remember, there’s no wrong way to make this broom. Let the kids experiment, get a little messy, and add their own personality to each one. That’s what makes handmade crafts so special.
Happy crafting, and happy Halloween! 🧹✨

Popsicle Stick and Fork Painted Witch Broom Craft Idea
Make an easy witch broom craft for kids using a popsicle stick, fork-painted bristles, and glitter. A fun, budget-friendly Halloween activity—get started today!
Here’s your checklist of supplies to bring this craft to life:
- Cardstock Paper
- Craft Paint
- Jumbo Popsicle Sticks
- Embellishments
Prepare your creative haven by laying down a protective cover before the crafting magic begins!
Directions:
- Squeeze a small puddle of brown paint onto your paper plate. Lay your cardstock down in front of you and place the popsicle stick where you want the broom handle to go - usually near the top center, standing upright.
- Give the kids a moment to plan their layout. It helps them picture the finished broom.
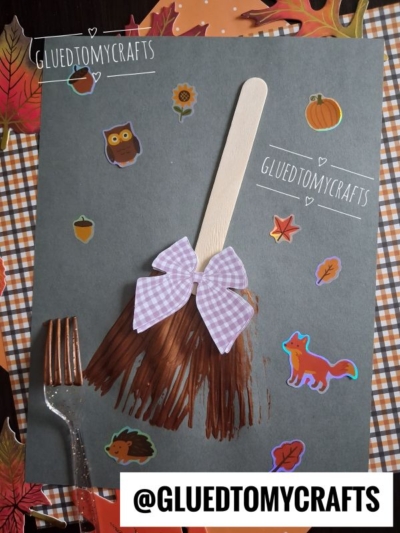
- Here's the fun part. Dip the tines of the plastic fork right into the brown paint. Then, starting just below the bottom of the popsicle stick, drag the fork downward across the paper.
- Fan the strokes out slightly as you go so the bristles spread wide at the bottom. Repeat, re-dipping the fork as needed, until you build up a full, textured broom base. The scratchy lines from the fork tines create that perfect straw-like look. Don't aim for neat! Messy and layered looks the most realistic.
- While the paint dries a little, add a line of Elmer's glue to the back of the popsicle stick. Press it firmly onto the paper so the bottom of the stick overlaps the top of the painted bristles. This connects the handle to the broom. Hold it in place for a few seconds to help it stick.
- Take a long piece of ribbon and tie it into a small bow. Then glue the bow right at the spot where the popsicle stick meets the painted bristles. This hides the seam and gives your broom that charming, tied-together look.
- Now for the sparkle! Add small dots of glue over the painted bristles, then sprinkle loose craft glitter or sequins on top. Shake off the extra glitter onto your paper plate. This is where each broom becomes truly one-of-a-kind. Let everything dry completely before moving it.
- If you're using Halloween stickers, now's the time to place them around your broom. Ghosts, pumpkins, black cats, and bats all make cheerful companions for your witchy broom. When done decorating, allow your piece to dry completely before displaying proudly for all to see!


Grab our favorite books via our Amazon affiliate link! In our Amazon storefront you will find books, toys and craft supplies we absolutely love using for our Glued To My Crafts tutorials!
If you've enjoyed our content or have any thoughts to share, we'd love to hear from you! Mention @gluedtomycrafts or tag #gluedtomycrafts on Instagram!