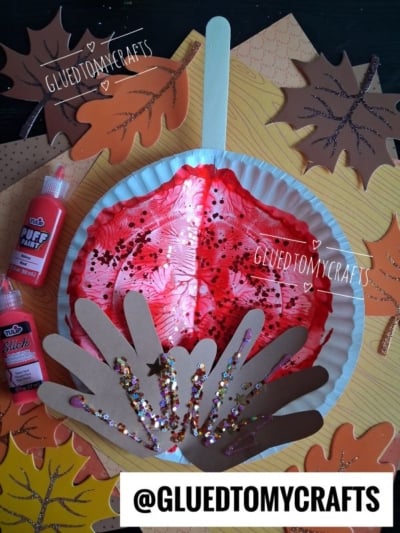
There’s something about fall that makes crafting feel extra cozy. Crunchy leaves, cooler mornings, and the sweet smell of caramel apples at every farm stand and festival. If your little ones love getting their hands messy (and let’s be honest, what kid doesn’t?), this Paper Plate & Paint Splat Caramel Apple craft is about to become your new favorite fall activity.
We combined a splatter-style paint effect with cute handprint “toppings” to create an apple that’s bursting with sparkle and personality. It’s simple enough for preschoolers, fun enough for older kids, and perfect for classrooms, playdates, or a rainy afternoon at home. Grab your supplies and let’s make something adorable together!
Craft Supplies:
Before you start, gather everything on this list. Most of these items are craft closet staples, so you may already have them on hand.
- 1 large white paper plate
- 1 wooden jumbo craft stick (popsicle stick)
- Tulip Puff Paint in Shiny Red
- Tulip Slick Dimensional Paint in Neon Red
- Brown or tan construction paper
- Loose craft glitter
- Glitter glue
- Scissors
- Glue
- Stapler
That’s it! Now let’s turn these simple supplies into a candy-shop-worthy apple.
Directions:
- Have your child place their hand flat on the brown or tan construction paper and trace around it with a pencil. Do this twice so you have two handprints. These will become the caramel “toppings” at the bottom of your apple, so a little imperfection just adds charm. Once traced, carefully cut out both handprints with scissors. Younger crafters may need a grown-up’s help here.
- Here’s the messy, fun part! Fold your paper plate in half. Open it back up and squirt several swirls of red paint on one side/inside the paper plate. Don’t worry about being neat. When ready, fold the paper plate back up and “squish” the paint inside so it transfers to both sides of the paper plate. Now open it back up to reveal the marbled candy-apple look.
- While the paint is still wet, sprinkle red glitter across the surface. The wet paint acts like glue and holds the glitter in place, giving your apple that shiny, mouthwatering shimmer. Give it a gentle shake to knock off any extra glitter.
- Take your wooden craft stick and staple it top of the paper plate, pointing straight up. This becomes the stick of your caramel apple, ready for dipping!
- Now grab those cut-out handprints. Overlap them slightly and glue them to the bottom edge of the plate, right over the painted surface. These represent the yummy chopped nuts or drizzle that pile up at the base of a real caramel apple. Fan the fingers out a little for a fun, playful look.
- Time for the finishing touches! Squeeze swirls of glitter glue across the handprints to mimic caramel or chocolate drizzle. Add loose craft glitter wherever you like. This is where each child’s apple becomes truly one-of-a-kind, so let their creativity run wild.
- Set your finished apple somewhere flat to dry completely, and admire your sweet, sparkly masterpiece!
RELATED —> Popsicle Stick & Torn Paper Caramel Apple
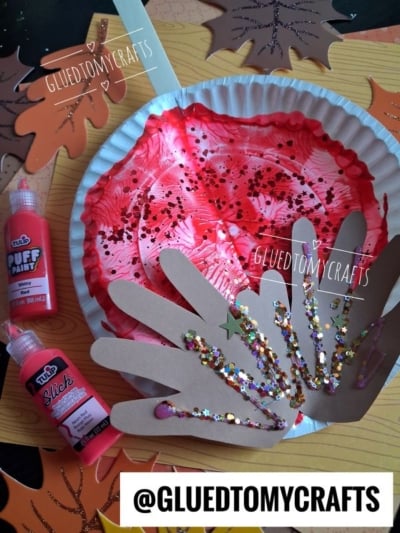
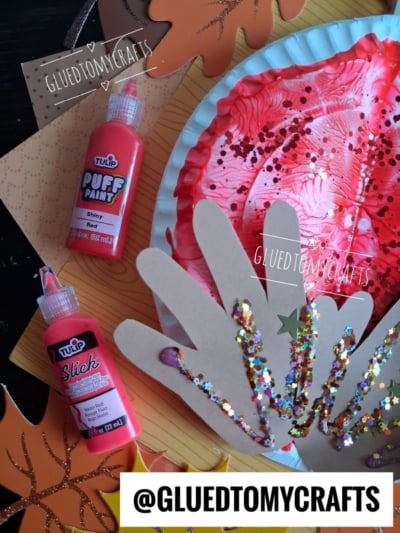
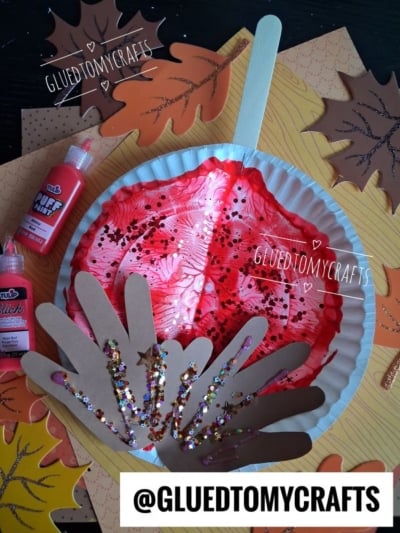
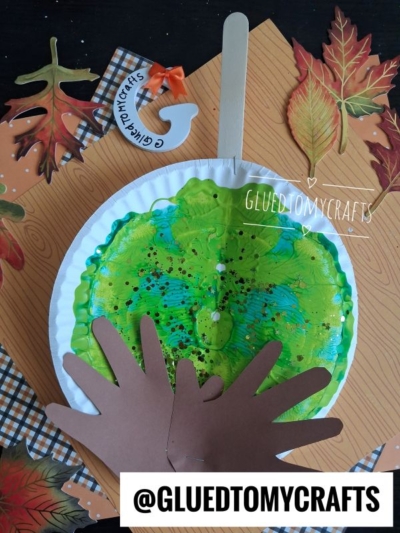
And there you have it, a bright, glittery candy apple that captures all the cozy magic of fall, no sticky fingers or dentist visits required. Whether you’re crafting with one little one at the kitchen table or a whole classroom full of eager artists, this project is guaranteed to bring big smiles.
We’d absolutely love to see how your paint splat caramel apples turned out! Snap a photo of your finished craft and tag us @GluedToCrafts so we can cheer on your little makers. Happy crafting, my friends!

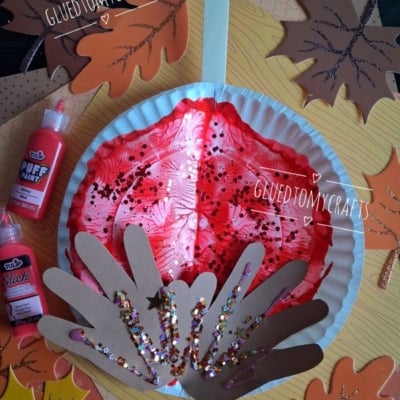
Paper Plate and Paint Splat Caramel Apple For Fall
Make an easy paper plate caramel apple craft this fall! Kids paint, splat, and add glittery handprint toppings. Simple steps for a sweet autumn activity.
Here’s your checklist of supplies to bring this craft to life:
Prepare your creative haven by laying down a protective cover before the crafting magic begins!
Directions:
- Have your child place their hand flat on the brown or tan construction paper and trace around it with a pencil. Do this twice so you have two handprints. These will become the caramel "toppings" at the bottom of your apple, so a little imperfection just adds charm. Once traced, carefully cut out both handprints with scissors. Younger crafters may need a grown-up's help here.
- Here's the messy, fun part! Fold your paper plate in half. Open it back up and squirt several swirls of red paint on one side/inside the paper plate. Don't worry about being neat. When ready, fold the paper plate back up and "squish" the paint inside so it transfers to both sides of the paper plate. Now open it back up to reveal the marbled candy-apple look.
- While the paint is still wet, sprinkle red glitter across the surface. The wet paint acts like glue and holds the glitter in place, giving your apple that shiny, mouthwatering shimmer. Give it a gentle shake to knock off any extra glitter.
- Take your wooden craft stick and staple it top of the paper plate, pointing straight up. This becomes the stick of your caramel apple, ready for dipping!
- Now grab those cut-out handprints. Overlap them slightly and glue them to the bottom edge of the plate, right over the painted surface. These represent the yummy chopped nuts or drizzle that pile up at the base of a real caramel apple. Fan the fingers out a little for a fun, playful look.
- Time for the finishing touches! Squeeze swirls of glitter glue across the handprints to mimic caramel or chocolate drizzle. Add loose craft glitter wherever you like. This is where each child's apple becomes truly one-of-a-kind, so let their creativity run wild.
- Set your finished apple somewhere flat to dry completely, and admire your sweet, sparkly masterpiece!


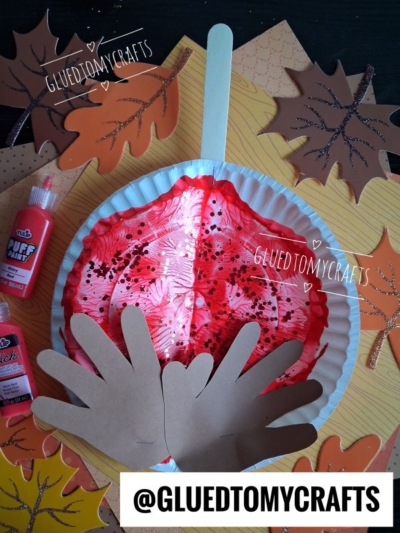
Grab our favorite books via our Amazon affiliate link! In our Amazon storefront you will find books, toys and craft supplies we absolutely love using for our Glued To My Crafts tutorials!
If you've enjoyed our content or have any thoughts to share, we'd love to hear from you! Mention @gluedtomycrafts or tag #gluedtomycrafts on Instagram!