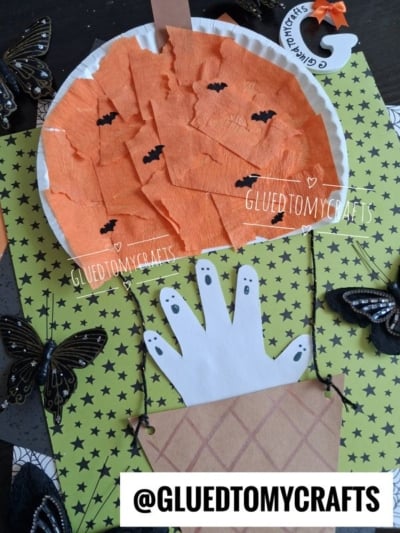
This paper plate haunted pumpkin hot air balloon is the Halloween craft that has it all – a little spooky, a lot of cute, and just the right amount of silly. A paper plate & crepe paper pumpkin floats above a tiny woven basket, and peeking out from inside are five little handprint ghosts ready for their spooky sky adventure.
Kids love this one because it feels like several crafts rolled into a single project. They get to rip and glue crepe paper, press their own handprint onto paper, and draw silly ghost faces. Parents and teachers love it because it uses basic supplies you probably already have in the craft bin.
It works beautifully for preschoolers, and older kids can add their own extra details. Let’s gather our supplies and start building!
Craft Supplies:
Here’s everything to pull this craft together:
- White paper plate – the base for your pumpkin balloon
- Orange crepe paper – torn into small pieces for that bumpy pumpkin texture
- Brown construction paper – for the pumpkin stem and the basket
- Yarn or twine – to connect the balloon to the basket
- White paper – for tracing and cutting the handprint
- Black marker – to draw the ghost faces and basket weave
- Glue – a stick or white school glue both work
- Scissors – for cutting paper and trimming twine
Feeling extra festive? Add some black bat stickers to your hot air balloon!
Directions:
- Start with your white paper plate. Cut a small section off so it looks more like a hot air balloon.
- Next tear the orange crepe paper into small squares, roughly an inch or two across. Perfect squares are not the goal here, so let kids rip freely.
- Spread glue across the plate and press the orange pieces down, overlapping them as you go. This layering creates that lumpy, textured pumpkin look. Cover the whole front of the plate until no white shows through.
- Cut a small rectangle from your brown construction paper and glue it to the top center of the plate. That’s your pumpkin stem.
- Trace your child’s hand onto white paper with the black marker. Cut out the handprint carefully, keeping all five fingers intact.
- Now for the fun part. Each finger becomes its own little ghost. Draw two small dots for eyes and a wide oval for an open, spooky mouth on every finger. Add a few silly expressions to give each ghost some personality. You’ll end up with five tiny ghosts riding together.
- Cut a trapezoid shape from your brown construction paper, wider at the top and narrower at the bottom. This is the balloon’s basket.
- Use the black marker to draw crisscrossing diagonal lines across the shape. Those overlapping lines create a woven, basket-like pattern. It’s a small detail, but it makes the basket look real.
- Lay out your pieces: the pumpkin balloon on top, the basket at the bottom, and the ghost handprint tucked so the fingers peek up out of the basket.
- Glue the handprint behind the basket so the ghosts appear to be standing inside. Then cut two pieces of yarn or twine. Attach one end of each to the bottom edges of the paper plate and the other end to the top corners of the basket. These are the balloon ropes that hold everything together.
- If desired, now is the time to decorate the paper plate with bat stickers or other Halloween embellishments.
- Let the glue dry, and your haunted pumpkin hot air balloon is ready to display.
RELATED —> Paper Plate Spider Web Craft Idea
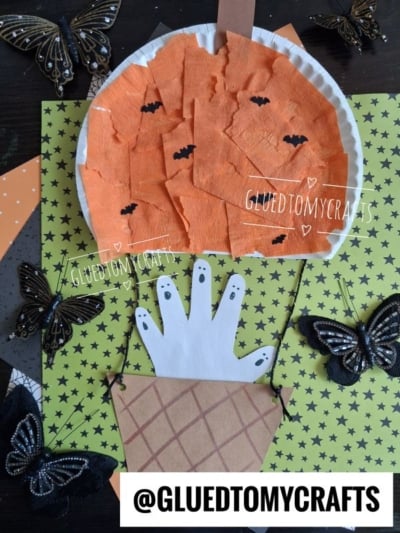
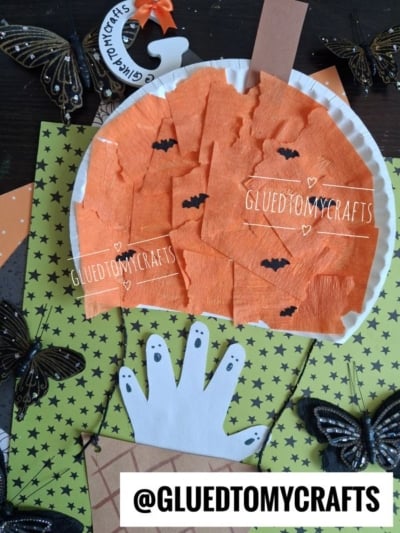
This haunted pumpkin hot air balloon is one of those crafts that keeps little hands busy and turns out adorable every single time. Whether you make it at home on a rainy afternoon or set it up as a classroom station, kids will be proud to show off their floating pumpkin full of friendly ghosts.
Gather your supplies, roll up your sleeves, and let the crafting begin. Happy Halloween!

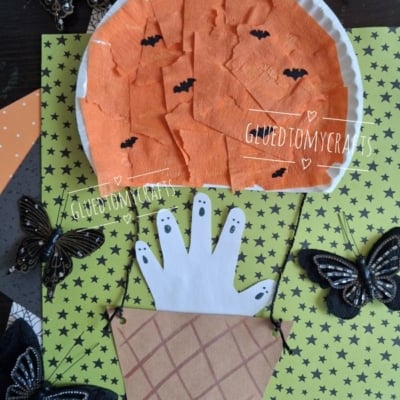
Paper Plate Halloween Hot Air Balloon Craft Idea
Make this Halloween paper plate craft with kids! Turn a pumpkin into a haunted hot air balloon with handprint ghosts and bats. Easy step-by-step fun.
Here’s your checklist of supplies to bring this craft to life:
- 1 Large Paper Plate
- Crepe Paper orange
- Cardstock Paper brown and white
- Ribbon or String
Prepare your creative haven by laying down a protective cover before the crafting magic begins!
Directions:
- Start with your white paper plate. Cut a small section off so it looks more like a hot air balloon.
- Next tear the orange crepe paper into small squares, roughly an inch or two across. Perfect squares are not the goal here, so let kids rip freely.
- Spread glue across the plate and press the orange pieces down, overlapping them as you go. This layering creates that lumpy, textured pumpkin look. Cover the whole front of the plate until no white shows through.
- Cut a small rectangle from your brown construction paper and glue it to the top center of the plate. That's your pumpkin stem.
- Trace your child's hand onto white paper with the black marker. Cut out the handprint carefully, keeping all five fingers intact.
- Now for the fun part. Each finger becomes its own little ghost. Draw two small dots for eyes and a wide oval for an open, spooky mouth on every finger. Add a few silly expressions to give each ghost some personality. You'll end up with five tiny ghosts riding together.
- Cut a trapezoid shape from your brown construction paper, wider at the top and narrower at the bottom. This is the balloon's basket.
- Use the black marker to draw crisscrossing diagonal lines across the shape. Those overlapping lines create a woven, basket-like pattern. It's a small detail, but it makes the basket look real.
- Lay out your pieces: the pumpkin balloon on top, the basket at the bottom, and the ghost handprint tucked so the fingers peek up out of the basket.
- Glue the handprint behind the basket so the ghosts appear to be standing inside. Then cut two pieces of yarn or twine. Attach one end of each to the bottom edges of the paper plate and the other end to the top corners of the basket. These are the balloon ropes that hold everything together.
- If desired, now is the time to decorate the paper plate with bat stickers or other Halloween embellishments.
- Let the glue dry, and your haunted pumpkin hot air balloon is ready to display.

Grab our favorite books via our Amazon affiliate link! In our Amazon storefront you will find books, toys and craft supplies we absolutely love using for our Glued To My Crafts tutorials!
If you've enjoyed our content or have any thoughts to share, we'd love to hear from you! Mention @gluedtomycrafts or tag #gluedtomycrafts on Instagram!