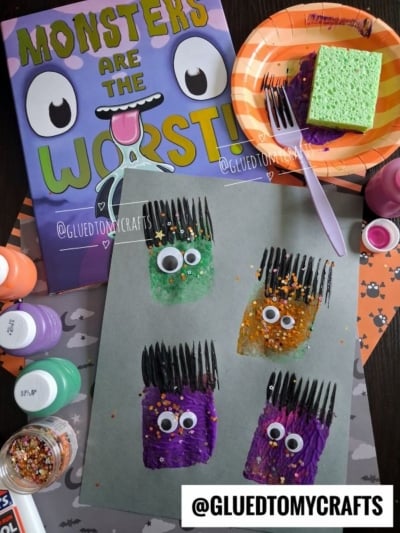
There’s something magical about watching kids turn simple supplies into silly, spooky creatures. This sponge painted monster craft is one of those activities that fills a room with giggles and gives little hands plenty to do. With wild fork-painted hair and googly eyes that seem to look everywhere at once, these monsters are perfect for Halloween parties, classroom fun, or a cozy afternoon at home.
The best part? You probably already have most of the materials in your kitchen drawer or craft closet. Let’s get messy!
Craft Supplies:
Gather these supplies before you start so little helpers don’t have to wait:
- Grey construction paper (one sheet per child)
- Kitchen sponges, cut into small rectangles
- Plastic fork
- Washable or acrylic paint in green, orange, purple, magenta/pink, and black
- Googly eyes in a mix of sizes
- Elmer’s school glue
- Loose craft glitter
- A paper plate to use as a paint palette
That’s it! Everything is easy to find and budget-friendly.
Directions:
- Squeeze small blobs of green, orange, purple, and magenta paint onto your paper plate. Keep the black paint in its own spot, since you’ll use it for the hair later. Cut your sponges into small rectangles, about the size of a domino. These will become your monster heads.
- Dip a sponge into one of the colors and gently press it onto the grey paper. Lift straight up to get that fun, textured look. Encourage kids to make each monster a different color and shape – whatever their imagination cooks up!
- You can fit four monsters on one sheet in a 2×2 grid, or spread them out however you like. Let the rectangle shapes dry for a few minutes before moving on.
- For a little Halloween sparkle, shake loose craft glitter over the top of the wet designs. Now your monsters shimmer and shine.
- Now for the wackiest part. Dip the tines of a plastic fork into the black paint, then press it down at the top of each monster head shape. Drag it upward slightly to create spiky “hair” lines. Rock the fork side to side for extra crazy hairstyles. This step always gets the biggest laughs.
- Let the black paint dry so the hair doesn’t smudge into the eyes.
- Once everything is dry, it’s time to bring your monsters to life. Add a small dot of Elmer’s glue to each monster’s face and press on the googly eyes. Mismatched sizes make the monsters look extra goofy, so let kids get creative. Some monsters might have two eyes, others might have five!
- Go ahead and add any other embellishments you see fit. Then let the finished artwork dry completely before hanging it up or sending it home.
RELATED —> Fork Painted Monster Hand Craft


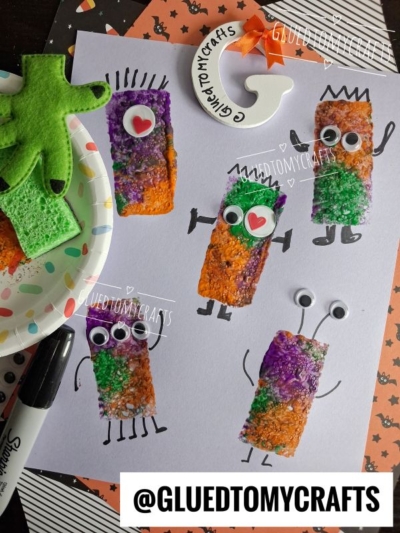
This craft is a great way to celebrate the season with minimal prep and maximum fun. Display the finished monsters on a bulletin board, string them up as Halloween décor, or let kids gift them to family members. However you use them, these colorful creatures are sure to bring smiles all around.
So grab your sponges, forks, and paint, and let the creativity flow. We hope your little ones have a blast making their very own spooky monsters this Halloween!

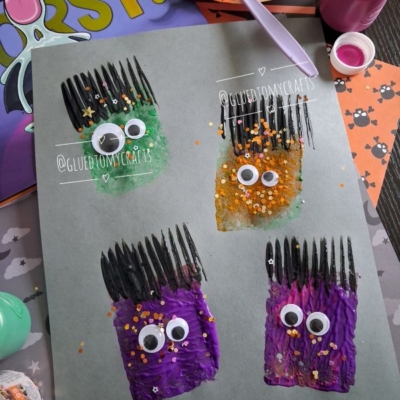
Halloween Sponge Painted Monster with Fork Painted Hair Craft Idea For Kids
Create fun sponge painted monsters with easy supplies. Let your kids explore their creativity with simple painting techniques.
Here’s your checklist of supplies to bring this craft to life:
- Cardstock Paper
- Craft Paint
- Embellishments
- Wiggle Eyes
- Kitchen Sponge
Prepare your creative haven by laying down a protective cover before the crafting magic begins!
Directions:
- Squeeze small blobs of green, orange, purple, and magenta paint onto your paper plate. Keep the black paint in its own spot, since you'll use it for the hair later. Cut your sponges into small rectangles, about the size of a domino. These will become your monster heads.
- Dip a sponge into one of the colors and gently press it onto the grey paper. Lift straight up to get that fun, textured look. Encourage kids to make each monster a different color and shape - whatever their imagination cooks up!
- You can fit four monsters on one sheet in a 2x2 grid, or spread them out however you like. Let the rectangle shapes dry for a few minutes before moving on.
- For a little Halloween sparkle, shake loose craft glitter over the top of the wet designs. Now your monsters shimmer and shine.
- Now for the wackiest part. Dip the tines of a plastic fork into the black paint, then press it down at the top of each monster head shape. Drag it upward slightly to create spiky "hair" lines. Rock the fork side to side for extra crazy hairstyles. This step always gets the biggest laughs.
- Let the black paint dry so the hair doesn't smudge into the eyes.
- Once everything is dry, it's time to bring your monsters to life. Add a small dot of Elmer's glue to each monster's face and press on the googly eyes. Mismatched sizes make the monsters look extra goofy, so let kids get creative. Some monsters might have two eyes, others might have five!
- Go ahead and add any other embellishments you see fit. Then let the finished artwork dry completely before hanging it up or sending it home.

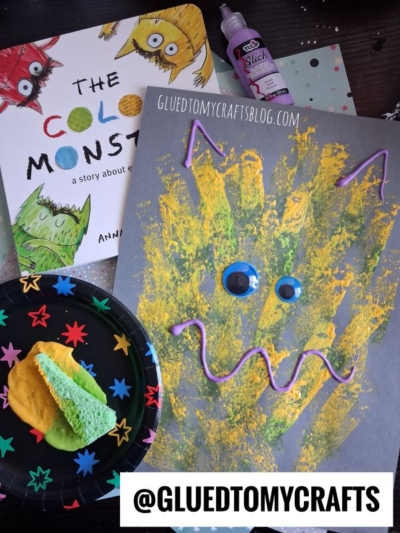
Grab our favorite books via our Amazon affiliate link! In our Amazon storefront you will find books, toys and craft supplies we absolutely love using for our Glued To My Crafts tutorials!
If you've enjoyed our content or have any thoughts to share, we'd love to hear from you! Mention @gluedtomycrafts or tag #gluedtomycrafts on Instagram!