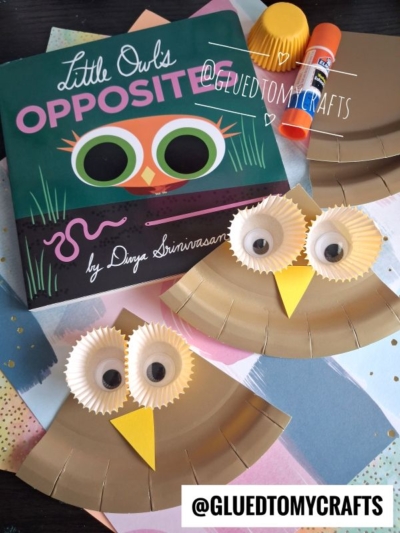
There’s something magical about turning everyday supplies into a wide-eyed little owl. This craft does exactly that, and it’s one of the easiest projects you’ll ever set up for kids.
Grab a paper plate, some cupcake liners, and a few odds and ends from the craft drawer. In just a few minutes, your little ones will have an adorable owl to show off. It’s perfect for a rainy afternoon, a classroom activity, or a cozy weekend at home.
Craft Supplies:
Gather these supplies before you start. Most of them are probably already sitting in your craft stash.
- Paper plates (pre-colored worked beautifully but plain white that you add paint to, are perfect too!)
- Cupcake liners (single color or patterned, for the eyes)
- Googly eyes (for the center of each eye)
- Orange or yellow paper (for the beak)
- Glue stick
- Scissors (child-safe if the kids are cutting)
That’s it! No fancy tools, no expensive kits. Just a handful of basics and a little imagination.
Directions:
Follow these steps and you’ll have a finished owl before you know it.
- Take your paper plate and cut it into FOUR equal triangle pieces. Each piece will become one owl’s body. We are going to work on ONE paper plate piece at a time.
- Next take two cupcake liners and glue them side by side near the top of one paper plate triangle piece. These are the owl’s big, round eyes. Press them down firmly so they stay put.
- Now for the fun part. Stick a googly eye in the center of each cupcake liner. This is where your owl really comes to life.
- Cut a small triangle from your orange or yellow paper. Glue it just below and between the eyes, with the point facing down. And there’s your owl! Go ahead and now repeat the four steps for the remaining THREE owls.
RELATED —> Toilet Roll Stamped Owl Craft Idea
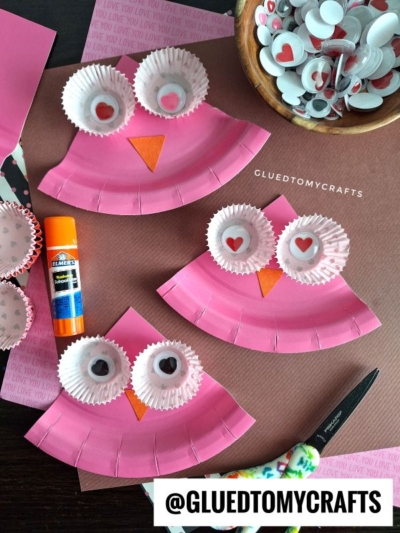
Half the fun of crafting is sharing the results. Snap a photo of your little one’s finished owl and let them show it to family and friends. Line up a whole family of owls on the windowsill, or hang them on the fridge for everyone to admire.
We’d love to see what you create! Every owl has its own personality, so don’t be shy about sharing your flock. Happy crafting!

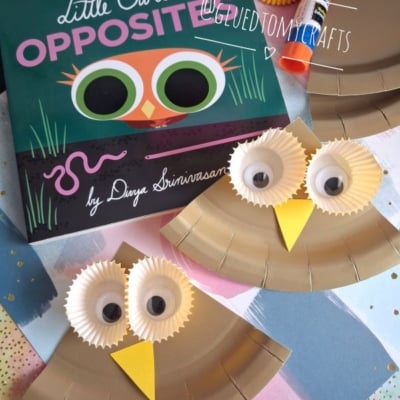
Paper Plate and Cupcake Liner Owl Craft Idea
Make a paper plate owl craft kids love! Use cupcake liners, googly eyes, and glue for easy step-by-step fun. Perfect for Valentine's Day or any day. Try it!
Here’s your checklist of supplies to bring this craft to life:
- School Glue
Prepare your creative haven by laying down a protective cover before the crafting magic begins!
Directions:
- Take your paper plate and cut it into FOUR equal triangle pieces. Each piece will become one owl's body. We are going to work on ONE paper plate piece at a time.
- Next take two cupcake liners and glue them side by side near the top of one paper plate triangle piece. These are the owl's big, round eyes. Press them down firmly so they stay put.
- Now for the fun part. Stick a googly eye in the center of each cupcake liner. This is where your owl really comes to life.
- Cut a small triangle from your orange or yellow paper. Glue it just below and between the eyes, with the point facing down. And there's your owl! Go ahead and now repeat the four steps for the remaining THREE owls.


Grab our favorite books via our Amazon affiliate link! In our Amazon storefront you will find books, toys and craft supplies we absolutely love using for our Glued To My Crafts tutorials!
If you've enjoyed our content or have any thoughts to share, we'd love to hear from you! Mention @gluedtomycrafts or tag #gluedtomycrafts on Instagram!