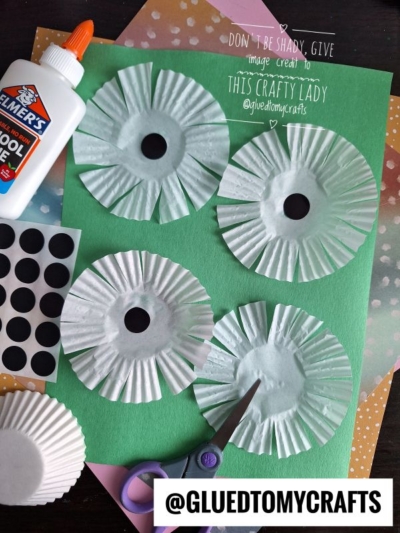
Spring is a wonderful time to bring out the craft supplies and create something cheerful. We love making simple projects that spark creativity without needing a lot of prep time. This cupcake liner white dandelion craft is a perfect afternoon activity for kids of all ages. You only need a few basic supplies to make these fun, textured spring flowers, and the cleanup is a breeze.
Materials You Will Need
To get started, gather these basic craft supplies:
- White cupcake liners (standard size)
- Black circular stickers (dot stickers work perfectly)
- Elmer’s Washable School Glue
- Scissors
- Green construction paper or cardstock for the background
Step-by-Step Instructions
1. Prep Your Liners
Take a white cupcake liner and flatten it out completely on your workspace. Use your scissors to make small cuts all the way around the outside edge of the liner. Leave the solid center intact. These little snips create a fringe effect that looks just like the fluffy seeds of a dandelion.
2. Glue the Flowers
Place a few drops of Elmer’s glue onto the back center of your flattened, fringed cupcake liner. Press the liner firmly onto your green construction paper. You can add as many dandelions as you want to fill your paper.
3. Add the Centers
Once your cupcake liners are securely glued to the page, take your black circular stickers. Place one black sticker right in the middle of each cupcake liner. This gives the dandelion a distinct center and covers up any messy glue spots.
4. Fluff and Display
Gently use your fingers to pull the fringed edges of the cupcake liners upward. This gives the dandelions a great 3D texture. Let the glue dry completely, and your beautiful spring craft is ready to display!
RELATED —> Potato Masher Stamped Dandelion Craft Idea
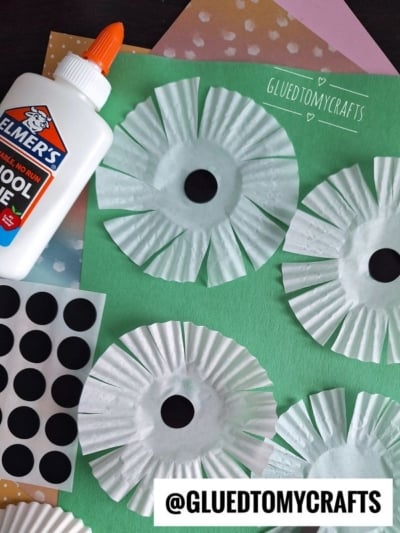
We’d love to see how your cupcake liner dandelion creations turn out! Share your finished craft with friends, classmates, or online using photos and your own creative touches – you might inspire someone else to give it a try. If you’re feeling adventurous, experiment with colored cupcake liners, add stems with green markers, or create a whole field of dandelions to make your artwork even more vibrant.
Looking for more inspiration? Try making other spring flowers or exploring different paper crafts to keep the creativity blooming all season long. Keep crafting, keep imagining, and most importantly – have fun making memories together!

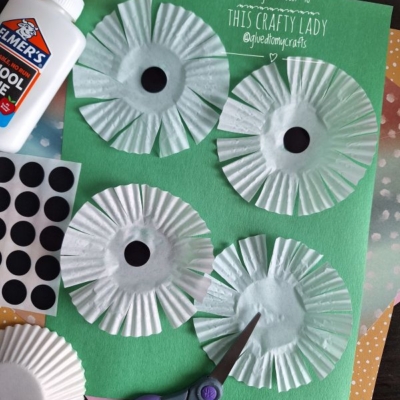
Cupcake Liner Dandelion Craft Idea For Kids
Here’s your checklist of supplies to bring this craft to life:
- Cardstock Paper
- Cupcake Liners
- Dot Stickers
- School Glue
Prepare your creative haven by laying down a protective cover before the crafting magic begins!
Directions:
- Take a white cupcake liner and flatten it out completely on your workspace. Use your scissors to make small cuts all the way around the outside edge of the liner. Leave the solid center intact. These little snips create a fringe effect that looks just like the fluffy seeds of a dandelion.
- Place a few drops of Elmer’s glue onto the back center of your flattened, fringed cupcake liner. Press the liner firmly onto your green construction paper. You can add as many dandelions as you want to fill your paper.
- Once your cupcake liners are securely glued to the page, take your black circular stickers. Place one black sticker right in the middle of each cupcake liner. This gives the dandelion a distinct center and covers up any messy glue spots.
- Gently use your fingers to pull the fringed edges of the cupcake liners upward. This gives the dandelions a great 3D texture. Let the glue dry completely, and your beautiful spring craft is ready to display!

Grab our favorite books via our Amazon affiliate link! In our Amazon storefront you will find books, toys and craft supplies we absolutely love using for our Glued To My Crafts tutorials!