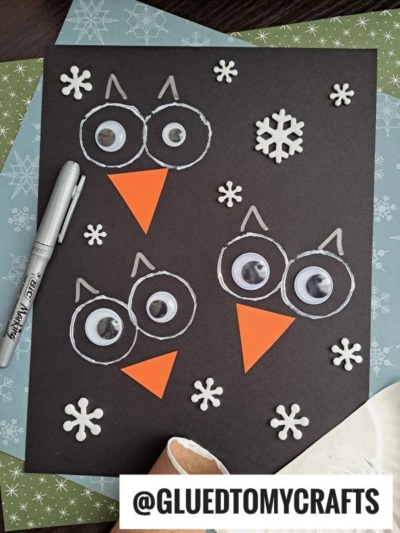
There’s something magical about owls in winter. These wise little birds love the cold, and they make the perfect subject for a cozy craft afternoon with the kids. Even better? You probably have everything you need sitting in your recycling bin and craft drawer right now.
This toilet roll stamped owl project turns an empty cardboard tube into a clever stamping tool. With a little white paint and a few simple supplies, you and your little ones will create a charming trio of snowy owls perched against a starry night sky. It’s mess-friendly, budget-friendly, and absolutely adorable.
Craft Supplies:
Gather these supplies before you start so everything is within easy reach:
- Black cardstock – one sheet, for that perfect nighttime backdrop
- Empty toilet paper roll – your stamping tool for the owl eyes
- White craft paint – washable is best for little ones
- Paint tray or paper plate – to hold the white paint
- Orange paper or craft foam – for the little triangle beaks
- Googly eyes – six total, two per owl
- Silver metallic marker – a metallic marker works beautifully for the ears
- Snowflake stickers or embellishments – a mix of big and small sizes
- Scissors – for cutting the beaks
- Craft glue – for attaching the eyes and beaks
That’s it! Simple supplies, big results.
Directions:
- Lay down your black cardstock in a vertical position. Pour a small puddle of white paint onto your paint tray or paper plate. Spread the paint out a little so it’s easy to dip into. Cover your table with newspaper or a craft mat to keep things tidy.
- Here comes the fun part. Take your empty toilet paper roll and dip one open end into the white paint, just enough to coat the rim. Press it firmly onto the black cardstock to make a clean white circle.
- Each owl needs two circles side by side, so stamp them as a touching pair. Repeat this for all three owls, spacing them across the page. Try placing one owl high on the left, one lower on the left, and one centered on the right. This staggered layout looks playful and balanced.
- While the paint dries, cut small triangles from your orange paper or foam. You’ll need three, one for each owl. Once the eyes are dry, dab a little glue on each triangle and place it pointing downward, right where the two white circles meet. This gives each owl a sweet little beak.
- Pick up your silver metallic marker. Above each pair of eyes, draw two short lines that form a “V” or little pointed tufts. These are the owl’s ears, and the silver shimmer adds a frosty, wintery touch. Don’t worry about making them perfect, slightly wonky ears only add to the charm.
- Glue one googly eye into the center of each white circle. Press gently and hold for a few seconds so they stick. The moment those wiggly eyes go on, your owls truly come to life. Kids love this step the most.
- Now for the finishing touch. Scatter your snowflake stickers across the black background, around and between the owls. Mix large glittery flakes with smaller simple ones for a real snowfall effect. Let your child place them wherever they like, there’s no wrong way to make it snow!
RELATED —> Handprint Christmas Owl Keepsake
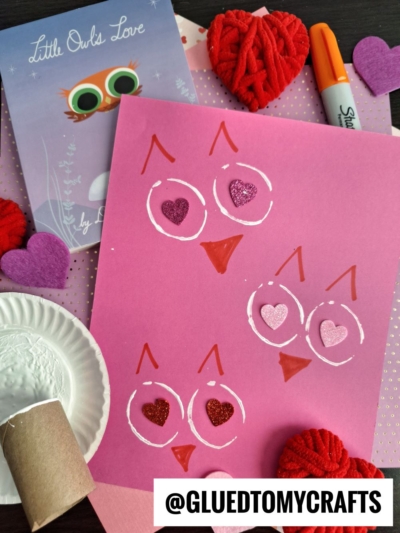
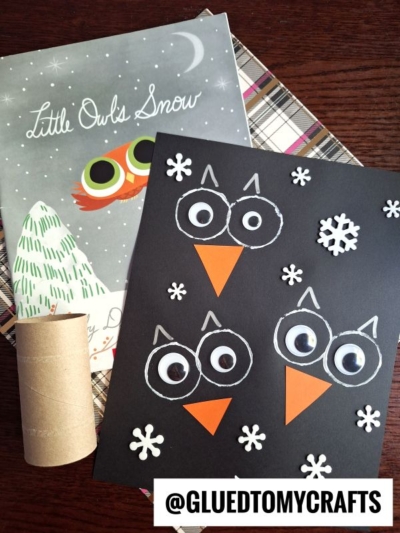
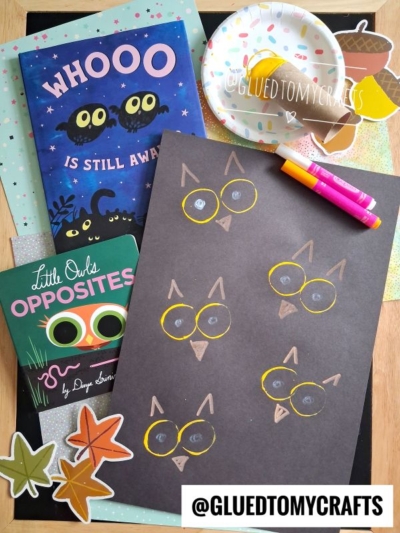
This little owl trio is proof that the simplest materials make the sweetest memories. Whether you’re crafting at home on a snowy afternoon or filling a classroom with handmade winter art, these stamped owls are sure to bring smiles.
Give it a try this week, and watch your kids beam with pride over their hooting handiwork. Snap a photo of your finished owls and share the joy, we’d love to see how your winter flock turns out!
Happy crafting, my friends. 🦉❄️

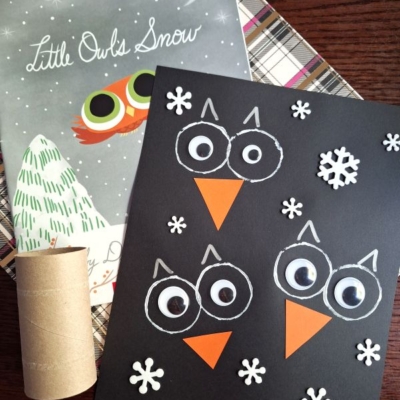
Toilet Roll Stamped Owl Craft Idea
Make a cute winter owl craft with kids using a toilet roll stamp, paint, googly eyes, and paper. A fun, easy winter art activity for home or classroom.
Here’s your checklist of supplies to bring this craft to life:
- Cardstock Paper
- Craft Paint
- Wiggle Eyes
- Embellishments
- School Glue
Prepare your creative haven by laying down a protective cover before the crafting magic begins!
Directions:
- Lay down your black cardstock in a vertical position. Pour a small puddle of white paint onto your paint tray or paper plate. Spread the paint out a little so it's easy to dip into. Cover your table with newspaper or a craft mat to keep things tidy.
- Here comes the fun part. Take your empty toilet paper roll and dip one open end into the white paint, just enough to coat the rim. Press it firmly onto the black cardstock to make a clean white circle.
- Each owl needs two circles side by side, so stamp them as a touching pair. Repeat this for all three owls, spacing them across the page. Try placing one owl high on the left, one lower on the left, and one centered on the right. This staggered layout looks playful and balanced.
- While the paint dries, cut small triangles from your orange paper or foam. You'll need three, one for each owl. Once the eyes are dry, dab a little glue on each triangle and place it pointing downward, right where the two white circles meet. This gives each owl a sweet little beak.
- Pick up your silver metallic marker. Above each pair of eyes, draw two short lines that form a "V" or little pointed tufts. These are the owl's ears, and the silver shimmer adds a frosty, wintery touch. Don't worry about making them perfect, slightly wonky ears only add to the charm.
- Glue one googly eye into the center of each white circle. Press gently and hold for a few seconds so they stick. The moment those wiggly eyes go on, your owls truly come to life. Kids love this step the most.
- Now for the finishing touch. Scatter your snowflake stickers across the black background, around and between the owls. Mix large glittery flakes with smaller simple ones for a real snowfall effect. Let your child place them wherever they like, there's no wrong way to make it snow!

Grab our favorite books via our Amazon affiliate link! In our Amazon storefront you will find books, toys and craft supplies we absolutely love using for our Glued To My Crafts tutorials!
If you've enjoyed our content or have any thoughts to share, we'd love to hear from you! Mention @gluedtomycrafts or tag #gluedtomycrafts on Instagram!