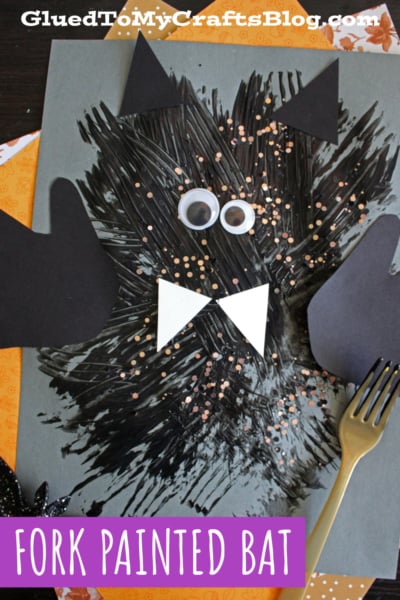
Bats are the perfect mix of spooky and sweet, which makes them a Halloween favorite for little crafters.
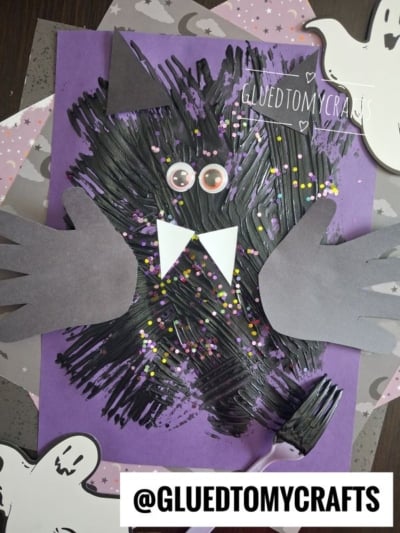
This project brings two kid-friendly techniques together: messy fork painting and adorable handprint tracing. The result is a textured, fuzzy-looking vampire bat with wings made from your child’s very own hands. It’s simple, low-cost, and uses supplies you probably already have at home.
Whether you’re planning a classroom activity, a rainy afternoon at home, or a party craft table, this bat delivers big smiles with very little prep. Let’s get gluing!
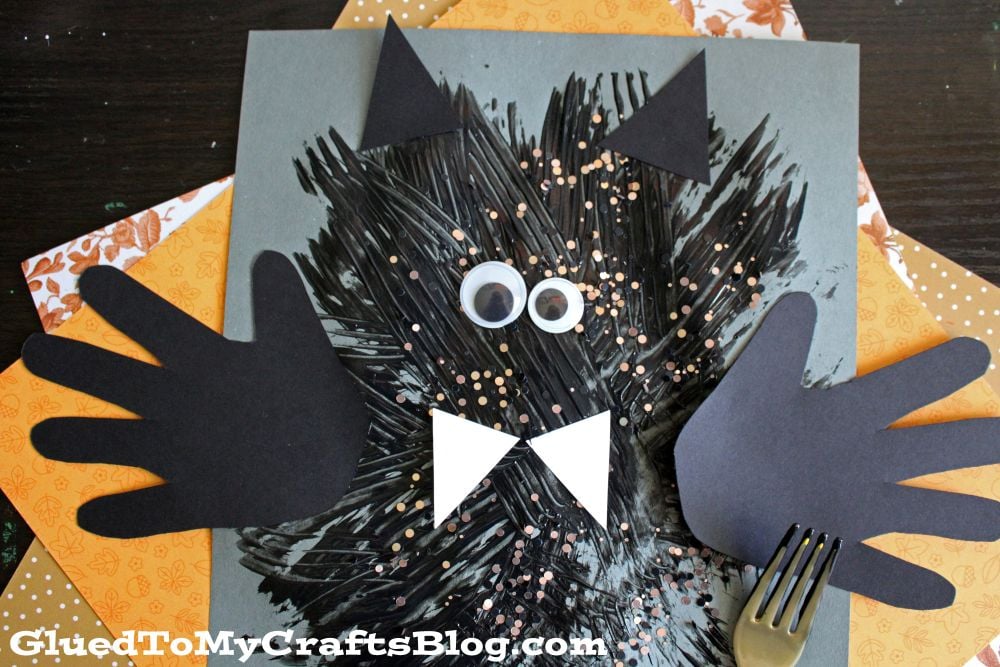
Add spooky charm to Halloween with this fork painted bat craft. A cute handprint bat kids can make and hang for festive holiday fun.
Craft Supplies:
Gather these supplies before you start:
- Choice of color cardstock paper (for the base)
- Black tempera or acrylic paint
- A plastic fork
- Black construction paper (for wings and ears)
- White paper (for the fangs)
- Googly eyes
- Scissors
- Glue
Tip: Cover your work surface with newspaper or a wipeable mat. Fork painting is fun, but it can get a little messy!
Directions:
1. Trace and cut out the handprints for wings
Have your child place both hands flat on the black construction paper, fingers spread out. Trace around each hand with a pencil, then carefully cut out the two handprint shapes. These become the bat’s spooky wings.
2. Cut out the bat ears
From the black construction paper, cut two small triangles. These will be the pointy ears that sit on top of your bat’s head.
3. Cut out the fangs
Grab the white paper and cut two tiny triangles. Keep them small and pointy so they look like sharp little vampire fangs.
4. Fork paint the bat’s body
Squeeze a little black paint onto a plate. Dip the tines of the plastic fork into the paint, then press and drag it across the center of your remaining cardstock. Work outward in short strokes to build a round, oval body. The fork leaves streaky lines that look just like fuzzy bat fur. Keep layering until the body looks nice and spiky, then let it dry.
5. Assemble your bat
Once the painted body is fully dry, it’s time to bring your bat to life:
- Glue the two black triangle ears at the top of the body, pointing up.
- Attach the handprint wings on each side, spreading out like the bat is ready to fly.
- Stick the googly eyes side by side near the top of the body.
- Add the white fangs just below the eyes.
Press each piece down firmly and let the glue set.
6. Let dry and then display!
When done decorating the fork painted bat design, allow it to dry completely before displaying it proudly for all to see!
RELATED —> Pom Pom Stamped Bat Craft Idea For Halloween
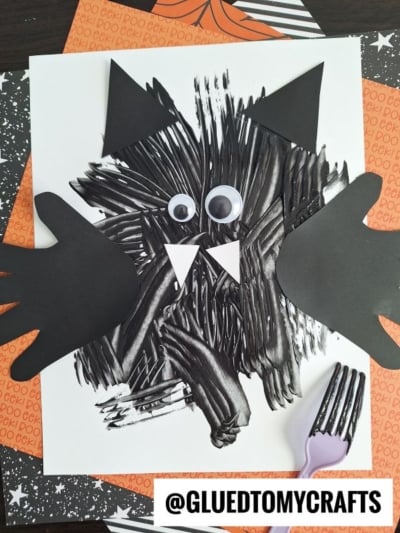
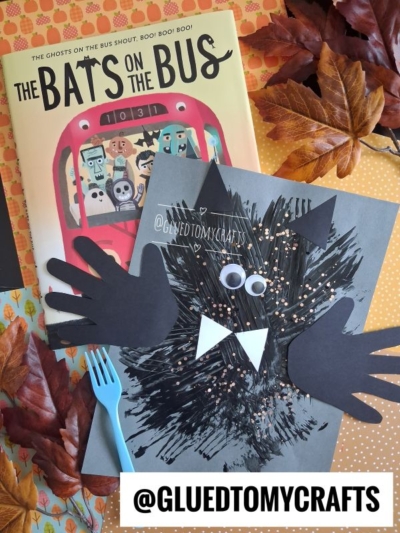
That’s it! You’ve made an adorable, fuzzy handprint bat that’s ready to swoop into your Halloween décor. Hang it on the fridge, tape it to a window, or turn a whole flock into a spooky wall display.
We’d love to see your creations, so snap a photo and share your batty masterpieces. Happy crafting and happy Halloween!

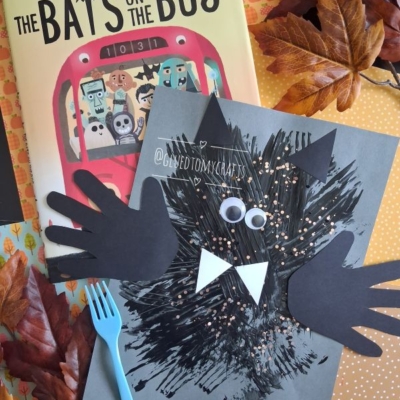
Fork Painted Black Bat Craft Idea For Halloween
Here’s your checklist of supplies to bring this craft to life:
- Cardstock Paper white and pink
- Craft Paint black
- 2 Googly Eyes
- School Glue
Prepare your creative haven by laying down a protective cover before the crafting magic begins!
Directions:
- Trace and cut out the handprints for wings
- Have your child place both hands flat on the black construction paper, fingers spread out. Trace around each hand with a pencil, then carefully cut out the two handprint shapes. These become the bat's spooky wings.
- From the black construction paper, cut two small triangles. These will be the pointy ears that sit on top of your bat's head.
- Grab the white paper and cut two tiny triangles. Keep them small and pointy so they look like sharp little vampire fangs.
- Squeeze a little black paint onto a plate. Dip the tines of the plastic fork into the paint, then press and drag it across the center of your remaining cardstock. Work outward in short strokes to build a round, oval body. The fork leaves streaky lines that look just like fuzzy bat fur. Keep layering until the body looks nice and spiky, then let it dry.
- Once the painted body is fully dry, it's time to bring your bat to life:
- Glue the two black triangle ears at the top of the body, pointing up.
- Attach the handprint wings on each side, spreading out like the bat is ready to fly.
- Stick the googly eyes side by side near the top of the body.
- Add the white fangs just below the eyes.
- Press each piece down firmly and let the glue set.
- When done decorating the fork painted bat design, allow it to dry completely before displaying it proudly for all to see!


Grab our favorite books via our Amazon affiliate link! In our Amazon storefront you will find books, toys and craft supplies we absolutely love using for our Glued To My Crafts tutorials!