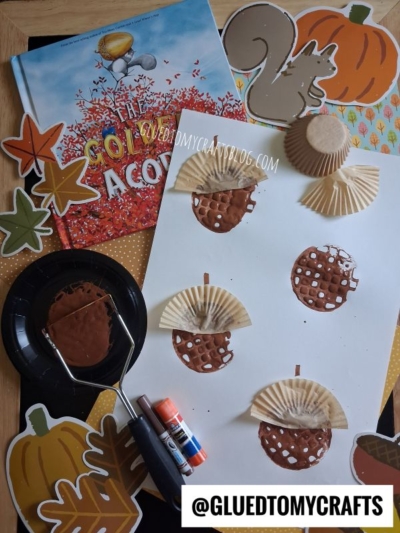
Looking for a fall craft that uses stuff you already have in the kitchen? This one turns an everyday potato masher into a stamping tool that makes the cutest textured acorns.
Kids love the squishy, pressing part, and you’ll love how simple the cleanup is. It’s perfect for a rainy autumn afternoon, a classroom activity, or a cozy weekend project at home.
The best part? There’s no wrong way to do it. Every acorn comes out a little different, and that’s exactly what makes them charming.
Craft Supplies:
Gather these supplies before you start:
- White paper or cardstock
- Brown craft paint
- A paper plate or paint tray
- A potato masher
- Tan cupcake liners
- A brown marker or crayon
- A glue stick
That’s it! Most of these are already hanging out in your kitchen drawers and craft bins.
Directions:
- Pour a small pool of brown paint onto your paper plate or paint tray. You don’t need much. Spread it out just enough so the head of the potato masher can dip into it evenly.
- Press the grid side of the potato masher into the paint, then lift it up. Give it a quick check to make sure the whole head is coated. Now press it firmly onto your white paper and lift straight up.
- Ta-da! You’ll see a round, brown shape with a fun waffle-like texture. That’s the body of your acorn. Try to press evenly so you get a nice, full print.
- Grab a tan cupcake liner and fold it in half so it makes a semi-circle. This folded shape becomes the acorn’s cap, and the pleated edges give it a sweet, realistic look.
- Fold one liner for each acorn body you stamped.
- Rub your glue stick across the flat side of a folded liner. Then press it down along the top edge of a stamped acorn body, with the rounded part sitting like a little hat. Hold it in place for a few seconds so it sticks.
- Repeat for each acorn.
- Take your brown marker or crayon and draw a short stem poking up from the top of each cap. A simple little line does the trick. This tiny detail brings the whole acorn to life.
- One acorn is cute, but a scattered pile of them across the page looks amazing. Encourage your little ones to stamp several bodies, add caps, and draw stems until the paper is full of acorns. Mix up the sizes and spacing for a natural, fallen-from-the-tree feel.
- When done crafting your acorns, allow your paper piece to dry completely before displaying proudly for all to see!
RELATED —> Popsicle Stick “A” is for Acorn Craft Idea
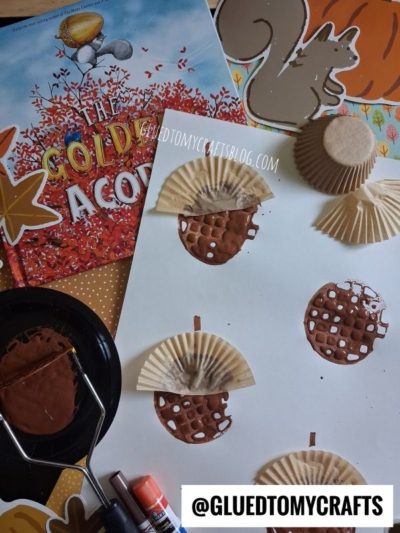
And there you have it: a batch of adorable potato masher acorns made from simple kitchen and craft supplies. This project is a wonderful way to welcome the season, sneak in some hands-on fun, and end up with artwork worth taping to the fridge.
Once you’re done, try hanging your acorns on the wall or turning them into a homemade autumn card. Happy crafting!

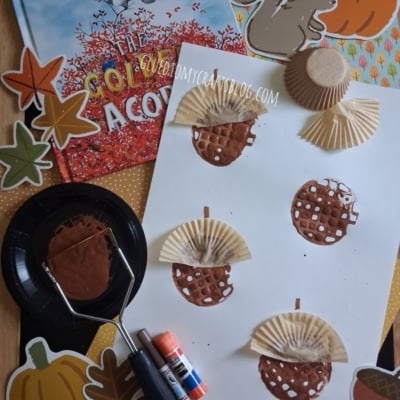
Potato Masher Stamped Acorn Craft Idea For Kids
Potato masher stamp meets acorn art! This easy fall kids craft uses paint, cupcake liners, and a marker. Learn how to make cute acorns today.
Here’s your checklist of supplies to bring this craft to life:
- School Glue
Prepare your creative haven by laying down a protective cover before the crafting magic begins!
Directions:
- Pour a small pool of brown paint onto your paper plate or paint tray. You don't need much. Spread it out just enough so the head of the potato masher can dip into it evenly.
- Press the grid side of the potato masher into the paint, then lift it up. Give it a quick check to make sure the whole head is coated. Now press it firmly onto your white paper and lift straight up.
- Ta-da! You'll see a round, brown shape with a fun waffle-like texture. That's the body of your acorn. Try to press evenly so you get a nice, full print.
- Grab a tan cupcake liner and fold it in half so it makes a semi-circle. This folded shape becomes the acorn's cap, and the pleated edges give it a sweet, realistic look.
- Fold one liner for each acorn body you stamped.
- Rub your glue stick across the flat side of a folded liner. Then press it down along the top edge of a stamped acorn body, with the rounded part sitting like a little hat. Hold it in place for a few seconds so it sticks.
- Repeat for each acorn.
- Take your brown marker or crayon and draw a short stem poking up from the top of each cap. A simple little line does the trick. This tiny detail brings the whole acorn to life.
- One acorn is cute, but a scattered pile of them across the page looks amazing. Encourage your little ones to stamp several bodies, add caps, and draw stems until the paper is full of acorns. Mix up the sizes and spacing for a natural, fallen-from-the-tree feel.
- When done crafting your acorns, allow your paper piece to dry completely before displaying proudly for all to see!


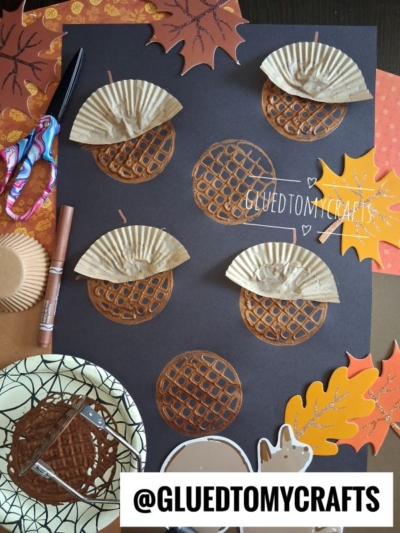
Grab our favorite books via our Amazon affiliate link! In our Amazon storefront you will find books, toys and craft supplies we absolutely love using for our Glued To My Crafts tutorials!
If you've enjoyed our content or have any thoughts to share, we'd love to hear from you! Mention @gluedtomycrafts or tag #gluedtomycrafts on Instagram!