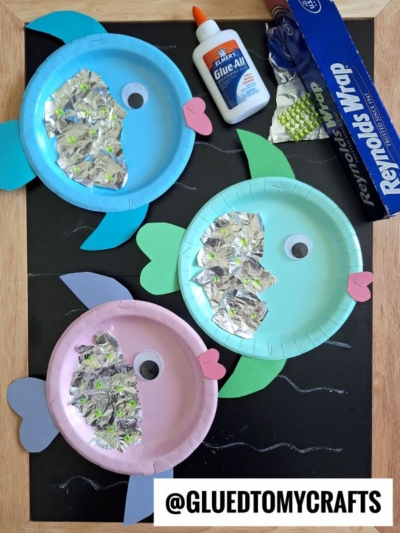
Bring a little sparkle to your next ocean-themed craft day with this Paper Plate & Aluminum Foil Fish project! This easy kids’ craft uses simple supplies like paper plates, construction paper, school glue, and aluminum foil to create shiny, colorful fish that are perfect for preschool, elementary school, summer camp, story time, or an under-the-sea classroom unit.
The best part? Each fish can look completely different. Kids can choose their own colors, add sparkly scales, glue on gems, and give their fish a sweet heart-shaped mouth. It’s a creative, hands-on activity that works well at home or in the classroom.
Craft Supplies:
To make your own paper plate fish, you will need:
- Paper plates {white or pre-colored}
- School glue
- Aluminum foil
- Construction paper or cardstock
- Googly eyes
- Small rhinestones, sequins, gems, or craft jewels
- Scissors
- Stapler
- optional – craft paint and paint brushes if using white paper plates
Directions:
- Start with a paper plate for the fish body. You can use plain white plates and decorate them with paint, markers, or crayons, or you can use colored paper plates for a faster version.
- Next, use construction paper or cardstock to cut out the fish pieces. You will need: 1 tail fin, 1 top fin, 1 bottom fin and 1 pair of lips
- Now place the paper plate on your work surface with the front side facing up. Attach the fins and tail to the back or edges of the plate using school glue or a stapler. Glue gives the craft a cleaner look, while a stapler can help hold heavier cardstock in place.
- Let the glue set for a few minutes before moving on.
- Next up – glue one large googly eye near the front of the fish.
- Now it is time to add the shiny scales! Tear small pieces of aluminum foil. The pieces can be different sizes and shapes. Crumple them gently, then flatten them a bit with your fingers. This gives the foil a textured, scale-like look that catches the light beautifully.
- Add a small amount of school to the paper plate, then press the foil pieces onto the fish body. You can cover the whole plate with foil scales or place just a few shiny patches in the center. For a simple classroom version, have each child glue 3 to 5 foil pieces onto their fish. Press each foil piece down gently so it sticks well.
- For extra shine, glue small rhinestones, sequins, gems, or craft jewels on top of the aluminum foil.
- Go ahead and add any other embellishments you see fit.
- Allow everything to dry completely before displaying.
RELATED —> Potato Masher Stamped Fish Craft Idea
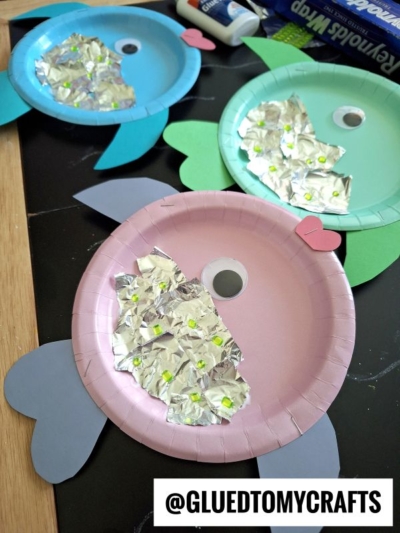
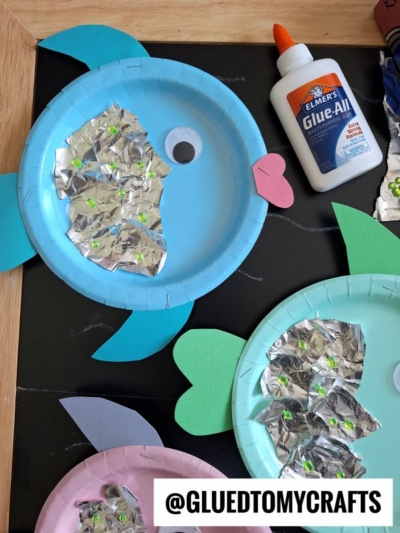
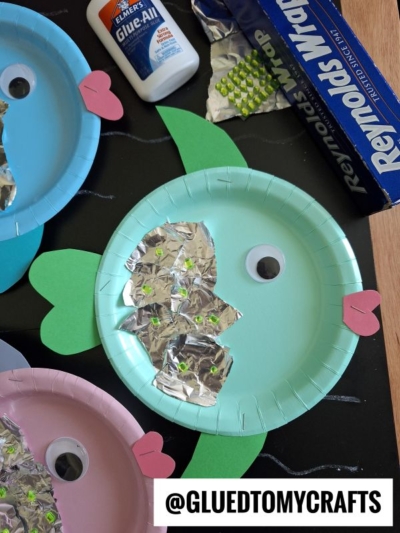
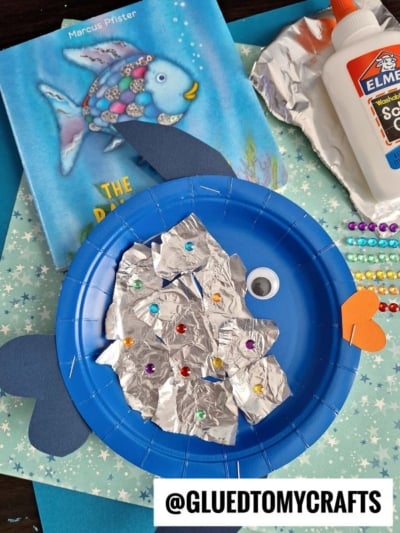
This DIY Paper Plate & Aluminum Foil Fish Craft Tutorial is a sweet and simple way to encourage creativity while exploring colors, textures, and ocean life. With shiny foil scales, bright fins, and a cute little mouth, each fish turns into a one-of-a-kind work of art.
Gather your paper plates, grab the school glue, tear off some Reynolds Wrap aluminum foil, and start crafting your own shimmering school of fish! Happy crafting, my friends!

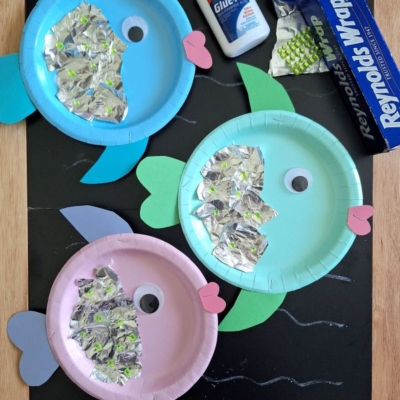
Paper Plate & Aluminum Foil Fish Craft Tutorial
Discover how to create a fun paper plate aluminum foil fish with colorful decorations and simple materials for kids.
Here’s your checklist of supplies to bring this craft to life:
- Paper plates {white or pre-colored}
- Aluminum foil
- Construction paper or cardstock
- Googly eyes
- Small rhinestones
Prepare your creative haven by laying down a protective cover before the crafting magic begins!
Directions:
- Start with a paper plate for the fish body. You can use plain white plates and decorate them with paint, markers, or crayons, or you can use colored paper plates for a faster version.
- Next, use construction paper or cardstock to cut out the fish pieces. You will need: 1 tail fin, 1 top fin, 1 bottom fin and 1 pair of lips
- Now place the paper plate on your work surface with the front side facing up. Attach the fins and tail to the back or edges of the plate using school glue or a stapler. Glue gives the craft a cleaner look, while a stapler can help hold heavier cardstock in place.
- Let the glue set for a few minutes before moving on.
- Next up - glue one large googly eye near the front of the fish.
- Now it is time to add the shiny scales! Tear small pieces of aluminum foil. The pieces can be different sizes and shapes. Crumple them gently, then flatten them a bit with your fingers. This gives the foil a textured, scale-like look that catches the light beautifully.
- Add a small amount of school to the paper plate, then press the foil pieces onto the fish body. You can cover the whole plate with foil scales or place just a few shiny patches in the center. For a simple classroom version, have each child glue 3 to 5 foil pieces onto their fish. Press each foil piece down gently so it sticks well.
- For extra shine, glue small rhinestones, sequins, gems, or craft jewels on top of the aluminum foil.
- Go ahead and add any other embellishments you see fit.
- Allow everything to dry completely before displaying.

Grab our favorite books via our Amazon affiliate link! In our Amazon storefront you will find books, toys and craft supplies we absolutely love using for our Glued To My Crafts tutorials!
If you've enjoyed our content or have any thoughts to share, we'd love to hear from you! Mention @gluedtomycrafts or tag #gluedtomycrafts on Instagram!