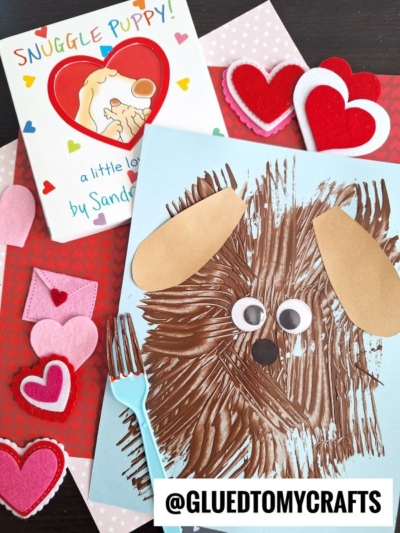
Today’s fork painted dog craft is simple, fun, and just a little bit messy in the best possible way. Kids get to use a plastic fork as a paintbrush to create fluffy, textured fur, then add ears, googly eyes, and a button nose to finish their furry friend. It’s a wonderful Valentine’s Day project, but honestly, it’s a hit any day of the year. Let’s get crafting!
Craft Supplies:
Gather these supplies before you begin. Most of them are probably already hiding in your craft drawer.
- Light blue construction paper (this becomes the background for your dog’s face)
- Brown paint (washable is best for little hands)
- A plastic fork (your secret painting tool)
- Tan paper (for the floppy ears)
- Googly eyes (the bigger, the better)
- Black paper (for the nose)
- Glue
- Scissors (for grown-ups or older kids)
- A paper plate or tray for the paint
Directions:
Step 1: Cut Out the Ears and Nose
Start by prepping the pieces. From the tan paper, cut two teardrop shapes for the floppy ears. Make them nice and big so your pup looks extra adorable. Next, cut a small circle from the black paper for the nose. If your little one is old enough, let them practice their scissor skills. Otherwise, you can handle this part while they cheer you on.
Step 2: Paint the Fluffy Fur
Here comes the fun part! Pour a little brown paint onto your paper plate. Dip the tines of the plastic fork into the paint, then drag and dab it across the light blue paper. The fork creates wonderful streaky lines that look just like real fur.
Cover the center of the paper where the dog’s face will be. Encourage your child to paint in different directions for a wild, fluffy look. Don’t worry about being neat here, messy fur means a happy pup. Once the paper is nicely covered, set it aside to dry.
Step 3: Assemble Your Dog
When the paint is completely dry, it’s time to bring your puppy to life. Glue the two tan ears onto the upper left and right sides of the painted fur. Then press two googly eyes near the center of the face. Finally, add the little black circle just below the eyes for the nose.
Step back and admire your work. You just made an adorable fork painted dog!
Helpful Tips
- Let it dry fully. Wet paint and glue don’t mix well, so give the fur plenty of drying time before adding the eyes and nose.
- Protect your surface. Lay down newspaper or a plastic mat. Forks fling paint in surprising directions!
- Use washable paint. Trust us, your clothes and table will thank you.
- Read first, craft second. Snuggle up and read Snuggle Puppy! together before you start. It sets the mood and gets little imaginations going.
RELATED —> Popsicle Stick Dog Craft Idea
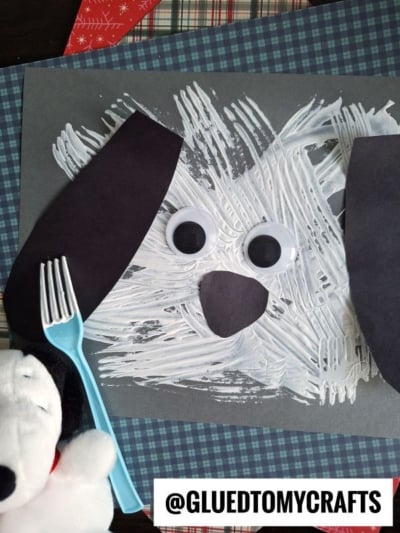
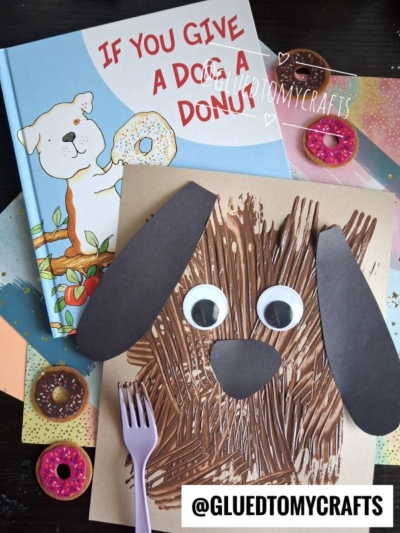
Crafts like this one do more than fill an afternoon. They build fine motor skills, spark creativity, and create cozy moments you’ll both remember. Whether you’re a parent looking for a rainy-day activity, a teacher planning a Valentine’s lesson, or a caregiver searching for something sweet and simple, this fork painted dog delivers smiles every time.
So grab a fork, dip into that paint, and let the snuggly fun begin. We can’t wait to see the happy puppies your little ones create! Happy crafting, my friends!

Fork Painted Dog Craft Idea For Kids
Here’s your checklist of supplies to bring this craft to life:
- Cardstock Paper
- Craft Paint
- Plastic Forks
- Wiggle Eyes
- School Glue
Prepare your creative haven by laying down a protective cover before the crafting magic begins!
Directions:
- Start by prepping the pieces. From the tan paper, cut two teardrop shapes for the floppy ears. Make them nice and big so your pup looks extra adorable. Next, cut a small circle from the black paper for the nose. If your little one is old enough, let them practice their scissor skills. Otherwise, you can handle this part while they cheer you on.
- Here comes the fun part! Pour a little brown paint onto your paper plate. Dip the tines of the plastic fork into the paint, then drag and dab it across the light blue paper. The fork creates wonderful streaky lines that look just like real fur.
- Cover the center of the paper where the dog's face will be. Encourage your child to paint in different directions for a wild, fluffy look. Don't worry about being neat here, messy fur means a happy pup. Once the paper is nicely covered, set it aside to dry.
- When the paint is completely dry, it's time to bring your puppy to life. Glue the two tan ears onto the upper left and right sides of the painted fur. Then press two googly eyes near the center of the face. Finally, add the little black circle just below the eyes for the nose.
- Step back and admire your work. You just made an adorable fork painted dog!

Grab our favorite books via our Amazon affiliate link! In our Amazon storefront you will find books, toys and craft supplies we absolutely love using for our Glued To My Crafts tutorials!