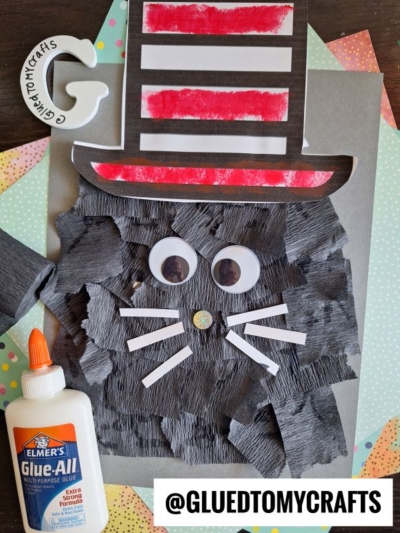
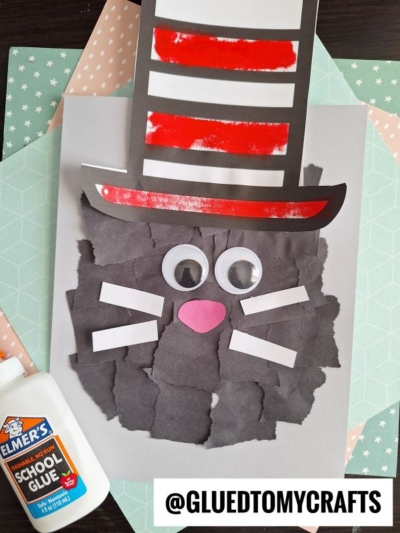
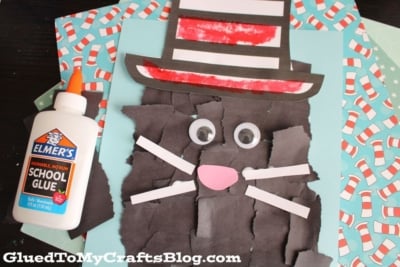
We'll guide you through a fun, easy-to-follow Torn Paper Cat in the Hat Craft idea that's purr-fect for kids of all ages.


March is a special time for book lovers, especially children, as we celebrate Read Across America Week.
This annual event encourages a love for reading and highlights the importance of literacy. What better way to honor the legacy of Dr. Seuss than by combining reading with some hands-on creativity? Enter today’s NEW Torn Paper Cat in the Hat Craft—a simple yet engaging activity inspired by one of Dr. Seuss’s most iconic characters.

This fun craft is a perfect way for kids to flex their artistic skills while adding a personal touch to “The Cat in the Hat” celebration. Whether you’re a teacher planning activities for your students or a parent looking for an afternoon of fun, this craft has you covered.
Craft Supplies:
The materials for this torn paper craft are likely things you already have at home or in the classroom. Here’s your checklist:
- Black Construction Paper
- Light Blue Cardstock Paper
- White Cardstock Paper
- Pink Cardstock Paper
- Top Hat Printable – on our landing page
- Red Crayon or Marker
- Scissors
- School Glue
- Googly Eyes {2 per craft}
Directions:
Follow these easy steps to create your very own Torn Paper Cat in the Hat masterpiece.
- First things first – making the cat’s face. Go ahead and tear your black construction paper into small squares.
- Next up – put a good amount of school glue all over your light blue cardstock paper.
- Lay the black paper squares in a circular formation on the paper.
- Once they are done creating the “fur” – set it aside.
- Next up – grab the hat printable and a red marker/crayon.
- Color in the hat design and trim it out.
- Out of the remaining pieces of paper, cut out a small nose and thin whiskers.
- Finally – the last step of this torn paper black cat craft is to glue all your cardstock pieces {and wiggle eyes} to the first decorated piece of paper.
- And you are done! Set aside to let it dry completely before displaying proudly!
RELATED —> Paper Bag Cat In The Hat Puppet
Torn paper crafts like this not only create cherished memories of celebrating stories and characters but also subtly reinforce the skills and values that build a lifelong love for learning and creativity. Whether it’s at home or in a classroom, this project is sure to bring joy to Read Across America Week.
Read Across America Week is more than just a time to read—it’s a celebration of everything that literacy brings to our lives. Crafts like today’s Torn Paper Cat in the Hat offer a tactile, engaging activity that creates lasting memories for kids and adults alike. On that note, we hope it inspire YOU today! Happy crafting, my friends!

Craft a Torn Paper Cat in The Hat Fun for Read Across America
We'll guide you through a fun, easy-to-follow Torn Paper Cat in the Hat Craft idea that's purr-fect for kids of all ages.
Here’s your checklist of supplies to bring this craft to life:
- School Glue
Prepare your creative haven by laying down a protective cover before the crafting magic begins!
Directions:
- First things first - making the cat's face. Go ahead and tear your black construction paper into small squares.
- Next up - put a good amount of school glue all over your light blue cardstock paper.
- Lay the black paper squares in a circular formation on the paper.
- Once they are done creating the "fur" - set it aside.
- Next up - grab the hat printable and a red marker/crayon.
- Color in the hat design and trim it out.
- Out of the remaining pieces of paper, cut out a small nose and thin whiskers.
- Finally - the last step of this torn paper black cat craft is to glue all your cardstock pieces {and wiggle eyes} to the first decorated piece of paper.
- And you are done! Set aside to let it dry completely before displaying proudly!


NEED MORE HELP DOWNLOADING OUR FREE PRINTABLES? PLEASE REFER TO OUR FAQ PAGE
If you've enjoyed our content or have any thoughts to share, we'd love to hear from you! Mention @gluedtomycrafts or tag #gluedtomycrafts on Instagram!