It's bright, creative & "oh so cute!" Plus it's easy, inexpensive & sure to stand up to the crowd this summer.

Engage your kids with a fun paper plate flamingo craft. This inexpensive project is perfect for summer creativity at home.

Are you looking for a creative, easy, and fun activity to keep your kids engaged this summer season? Then today’s paper plate flamingo tutorial is a perfect choice!
Whether it’s for a quiet afternoon at home, a classroom project, or a birthday party activity, this craft project is simple, budget-friendly, and an excellent way to spark your child’s imagination while building fine motor skills.
With just a few supplies and these easy instructions, your child can make their very own vibrant flamingo. Let’s get started!

Simple, fun, and creative! Learn how to make a paper plate flamingo craft with your kids. Perfect for classrooms, parties, or rainy day fun.
Craft Supplies:
The best part about this craft? You probably already have most of these items at home! Here’s what you’ll need:
- Large Paper Plate
- Pink Craft Paint
- Foam Paint Brush
- Craft Scissors
- School Glue
- Hand-Held Office Stapler
- Orange Pipe Cleaner
- Black Cardstock Paper
- Large Wiggle Eyes
Directions:
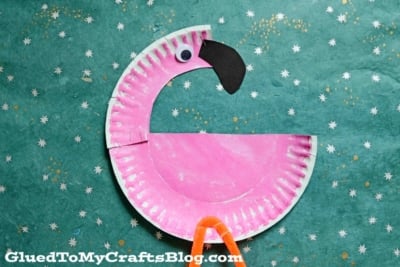
- First cut your paper plate in half. Straight up the center into two equal pieces.
- Set one piece aside and grab the other.
- Following along the rim of the paper plate, cut out a neck/head for your flamingo. Use my picture as an example.
- Discard the inner paper plate pieces that aren’t part of the head/neck.
- Now grab your pink craft paint and paint brush.
- Paint your paper plate pieces completely pink.
- Set aside to allow it to dry completely.
- Next grab your black cardstock paper.
- Cut out a long nose from it.
- To finish off your Paper Plate Flamingo – staple your cardstock piece, as well as your paper plate pieces in place.
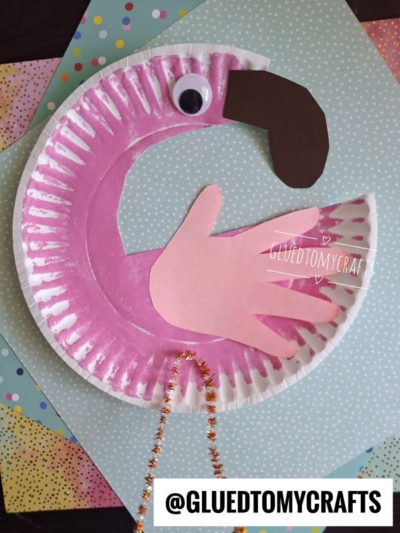
- Then glue on the orange pipe cleaner legs, as well as a wiggle eye so it can see.
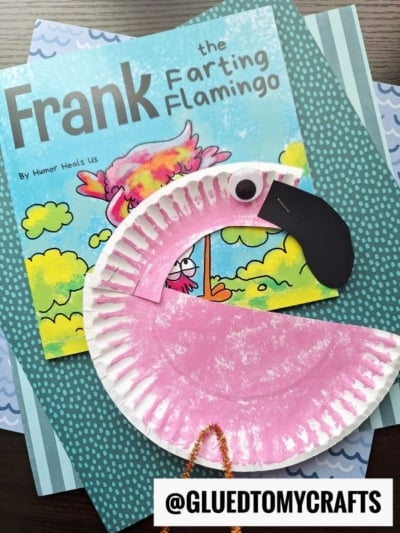
- Then add other embellishments you see fit {like some pink craft feathers} before displaying your flamingo craft proudly for all to see!
RELATED —> Handprint Flamingo Canvas
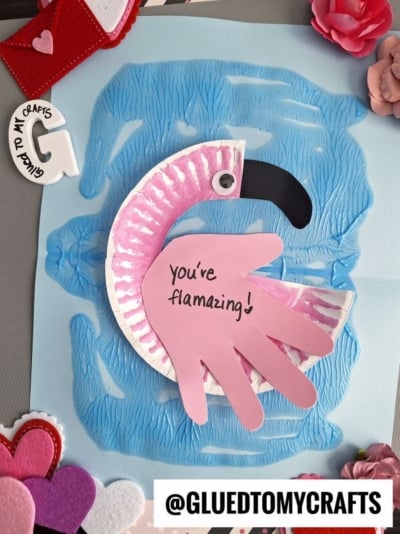
Crafting is an amazing way to bond with your kids while encouraging their creativity and developing essential skills. This paper plate pink flamingo craft is not only fun but also a fantastic way to spend quality time together. Your child will love creating their own vibrant flamingo masterpiece and learning more about these fascinating pink birds.
Take it a step further and share your creations! Snap a picture of your child’s flamingo and tag us on social media. Seeing everyone’s unique designs is the best part of crafting! Happy crafting!
FOLLOW US ON PINTEREST SO YOU NEVER MISS A NEW TUTORIAL FROM US!

Paper Plate Flamingo Craft Idea For Kids
It's bright, creative & "oh so cute!" Plus it's easy, inexpensive & sure to stand up to the crowd this summer.
Here’s your checklist of supplies to bring this craft to life:
- 1 Large Paper Plate
- Cardstock Paper
- Craft Paint
- 1 Large Wiggle Eye
- 1 Pipe Cleaner
Prepare your creative haven by laying down a protective cover before the crafting magic begins!
Directions:
- First cut your paper plate in half. Straight up the center into two equal pieces.1 Large Paper Plate
- Set one piece aside and grab the other.
- Following along the rim of the paper plate, cut out a neck/head for your flamingo.
- Discard the inner paper plate pieces that aren't part of the head/neck.
- Now grab your pink craft paint and paint brush.Craft Paint
- Paint your paper plate pieces completely pink.
- Set aside to allow it to dry completely.
- Next grab your black cardstock paper.Cardstock Paper
- Cut out a long nose from it.
- To finish off your Paper Plate Flamingo - staple your cardstock piece, as well as your paper plate pieces in place.
- Then glue on the orange pipe cleaner legs, as well as a wiggle eye so it can see.1 Large Wiggle Eye, 1 Pipe Cleaner
- Then add other embellishments you see fit {like some pink craft feathers} before displaying proudly!

CLICK HERE TO PRINT THE DIRECTIONS FOR THIS CRAFT
If you've enjoyed our content or have any thoughts to share, we'd love to hear from you! Mention @gluedtomycrafts or tag #gluedtomycrafts on Instagram!