
Brighten up your day with this delightful and easy craft project that kids will absolutely love! Using just a fork and some paint, your little ones can create beautiful tulip flowers that are perfect for celebrating spring or adding a pop of color to your home.
This activity is not only fun but also a wonderful way to spark creativity and make lasting memories together. Let’s get crafting!
Materials Needed:
- Plastic forks
- Paint (think spring colors such as yellow, pink and purple)
- Paper plate (for paint palette)
- Light blue construction paper (or any background color of your choice)
- Green marker or crayon
Instructions:
-
Prepare Your Workspace:
Lay down some newspaper or a craft mat to keep your area clean. Pour small amounts of paint onto a paper plate. -
Create the Tulip Petals:
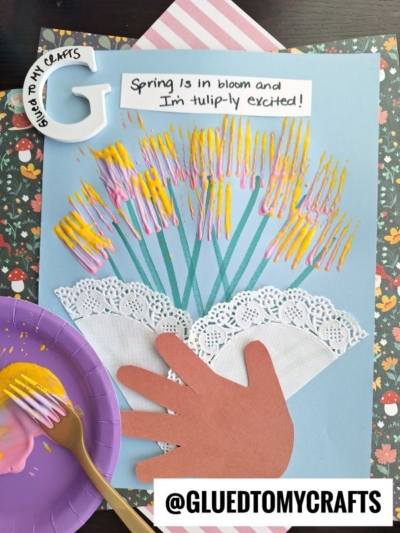
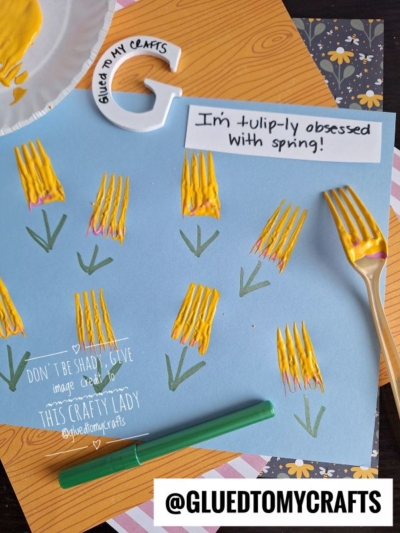
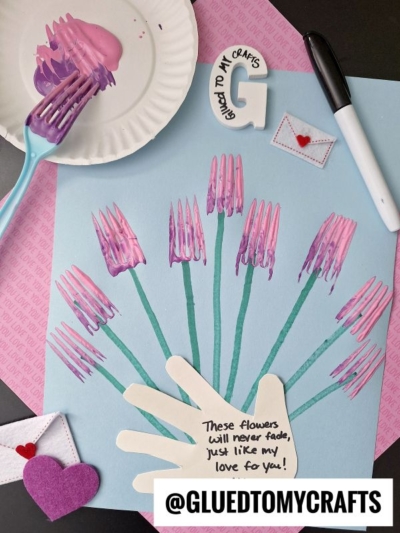
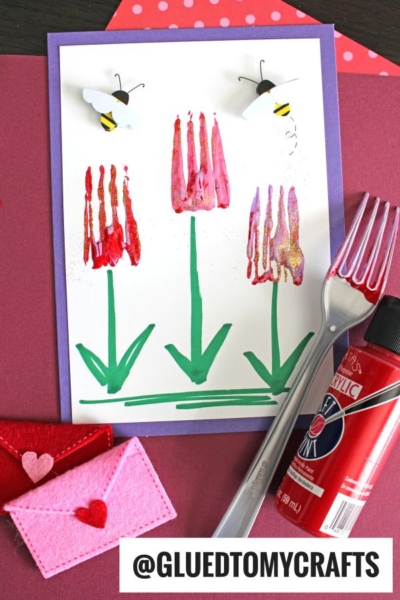
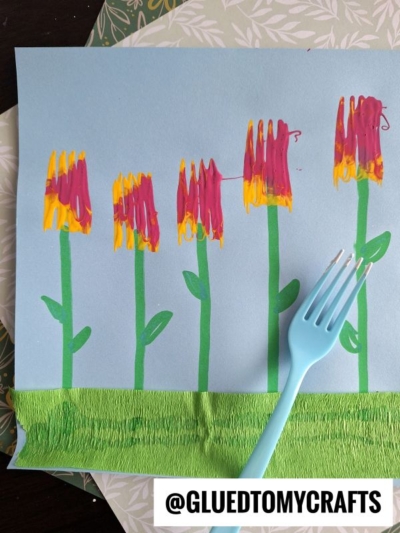
Dip the back of a plastic fork into pink paint (or any color you like for the tulips). Press the fork onto the light blue construction paper to create the tulip petals. Repeat this step to make multiple tulips across the paper. -
Add Stems and Leaves:
Once the paint is dry, use a green marker or crayon to draw stems and leaves below each tulip. You can make them as simple or detailed as you like! -
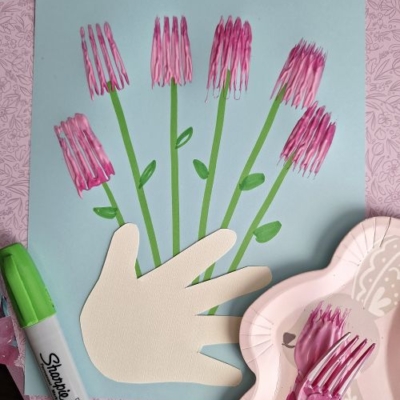
Personalize Your Craft:
Add a special touch by writing a message on the paper or attaching handprint cutout with a heartfelt note. For example, “These flowers will never fade, just like my love for you!” -
Let It Dry:
Allow the paint to dry completely before displaying your masterpiece. -
Show It Off:
Hang your artwork on the fridge, gift it to a loved one, or use it as a cheerful spring decoration!
RELATED —> Paper Plate & Paint Splat Tulip Craft

And there you have it – a simple, fun, and creative way to bring a touch of spring into your home! This fork-painted tulip craft is a wonderful activity for kids to explore their artistic side while creating something truly special.
Whether you display it proudly, gift it to a loved one, or simply enjoy the process, this craft is sure to leave everyone smiling. Happy crafting, and don’t forget to share your masterpieces with us – we’d love to see them bloom!

Fork Painted Tulip Flower Craft Idea For Kids
Here’s your checklist of supplies to bring this craft to life:
Prepare your creative haven by laying down a protective cover before the crafting magic begins!
Directions:
- Lay down some newspaper or a craft mat to keep your area clean. Pour small amounts of paint onto a paper plate.
- Dip the back of a plastic fork into pink paint (or any color you like for the tulips). Press the fork onto the light blue construction paper to create the tulip petals. Repeat this step to make multiple tulips across the paper.
- Once the paint is dry, use a green marker or crayon to draw stems and leaves below each tulip. You can make them as simple or detailed as you like!
- Add a special touch by writing a message on the paper or attaching handprint cutout with a heartfelt note. For example, "These flowers will never fade, just like my love for you!"
- Allow the paint to dry completely before displaying your masterpiece.
- Hang your artwork on the fridge, gift it to a loved one, or use it as a cheerful spring decoration!
CLICK HERE TO PRINT THE DIRECTIONS FOR THIS CRAFT