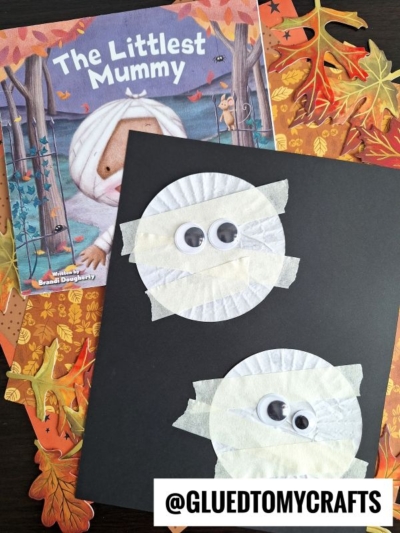
Are you looking for a delightfully spooky activity to entertain your little ones this fall? Halloween crafting does not have to be complicated or expensive. You can create adorable, festive art using simple supplies you probably already have in your kitchen cupboards and craft drawer.
This Cupcake Liner and Painter’s Tape Mummy craft is an absolute winner for toddlers, preschoolers, and early elementary students. It requires minimal prep time, keeps little hands busy, and results in a cute, customized decoration you will want to display all season long. Plus, tearing and placing the tape acts as a fantastic fine motor skill exercise for growing children.
Materials You Will Need
Before you sit down to create your mummy friends, gather up these basic craft supplies. You might not even need to make a trip to the store!
- White Cupcake Liners: You will need one liner for each mummy head you plan to make. Standard size or jumbo both work perfectly.
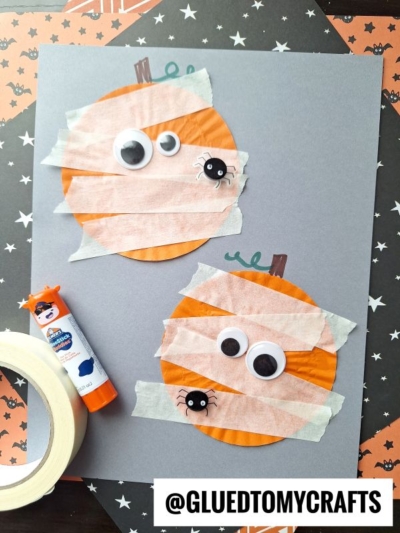
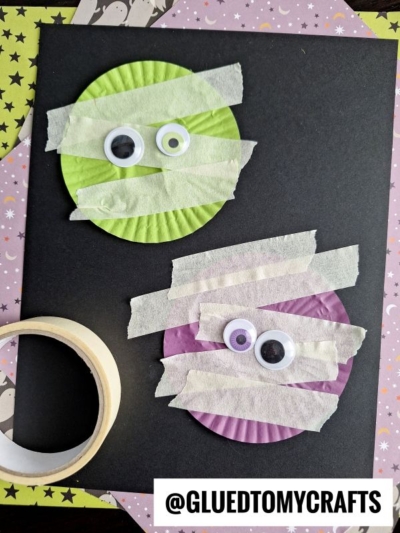
- Painter’s Tape or Masking Tape: Off-white masking tape gives a classic mummy look, while blue or green painter’s tape adds a fun pop of color.
- Googly Eyes: Grab a handful of plastic googly eyes in various sizes. Mixing a large eye with a small eye gives the mummy a fun, silly expression.
- Black Cardstock: A dark background makes the white mummy pop. Heavy cardstock works best to support the tape and glue.
- Glue Stick: You need a simple glue stick or a small bottle of school glue to secure the liners and eyes.
Step-by-Step Instructions
Ready to start crafting? Follow these simple steps to bring your cupcake liner mummies to life.
Step 1: Flatten the Liners
Take your white cupcake liners and use your hands to flatten them out into circles. Let your child press down firmly on the liners. The crinkled edges give the mummies a wonderful textured border.
Step 2: Secure the Base
Apply a generous amount of glue to the back of the flattened cupcake liners. Press them firmly onto your piece of black cardstock. You can place one large mummy right in the center, or space out two or three liners to create a whole family of mummies.
Step 3: Give Them Sight
Next, use a small dab of glue to attach two googly eyes onto the top half of each white cupcake liner. Encourage kids to get silly here. Placing the eyes slightly off-center or using mismatched sizes makes the final result look much more playful.
Step 4: Wrap the Bandages
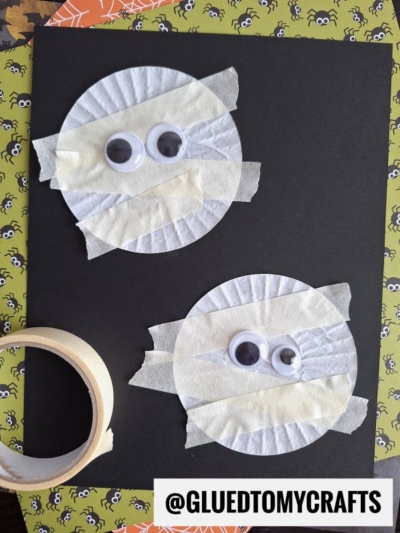
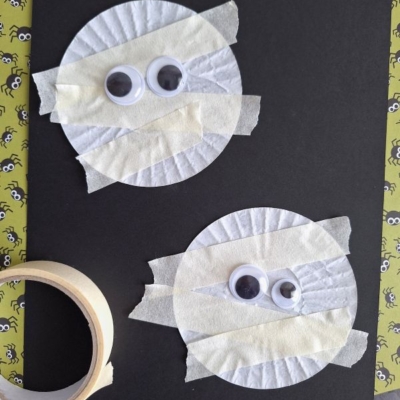
Now comes the most engaging part of the project! Have your child tear small strips of masking tape or painter’s tape. Layer these strips horizontally and diagonally across the white cupcake liner to look like mummy wrappings.
Make sure they overlap the tape strips slightly and let some pieces extend past the edges of the liner onto the black paper. Remind them to leave a small gap so the googly eyes peek out from under the bandages!
Step 5: Add Embellishments and Display
Add any other embellishments you see fit. Then once done decorating, let your masterpiece dry completely and display your mummy proudly for everyone to admire!
RELATED —> Torn Paper Mummy Craft Idea
Crafting with children is all about enjoying the process and celebrating their creativity. We hope you and your little ones have a blast putting together this quick Cupcake Liner and Painter’s Tape Mummy craft this Halloween.
Gather your supplies, set up your craft station, and let the spooky fun begin! Happy crafting, my friends!

Cupcake Liner Mummy Craft Idea For Halloween
Here’s your checklist of supplies to bring this craft to life:
- Cardstock Paper
- Wiggle Eyes
- Embellishments
Prepare your creative haven by laying down a protective cover before the crafting magic begins!
Directions:
- Take your white cupcake liners and use your hands to flatten them out into circles. Let your child press down firmly on the liners. The crinkled edges give the mummies a wonderful textured border.
- Apply a generous amount of glue to the back of the flattened cupcake liners. Press them firmly onto your piece of black cardstock. You can place one large mummy right in the center, or space out two or three liners to create a whole family of mummies.
- Next, use a small dab of glue to attach two googly eyes onto the top half of each white cupcake liner. Encourage kids to get silly here. Placing the eyes slightly off-center or using mismatched sizes makes the final result look much more playful.
- Now comes the most engaging part of the project! Have your child tear small strips of masking tape or painter's tape. Layer these strips horizontally and diagonally across the white cupcake liner to look like mummy wrappings.
- Make sure they overlap the tape strips slightly and let some pieces extend past the edges of the liner onto the black paper. Remind them to leave a small gap so the googly eyes peek out from under the bandages!
- Add any other embellishments you see fit. Then once done decorating, let your masterpiece dry completely and display your mummy proudly for everyone to admire!
CLICK HERE TO PRINT THE DIRECTIONS FOR THIS CRAFT