When engaging in craft activities, it is important for young children to have adult supervision at ALL times. It is also recommended to use supplies that are suitable for your child’s age. Feel free to modify materials or steps to meet your specific requirements.

This delightful activity combines the joy of stamping with the charm of a duck pond scene, making it perfect for kids of all ages.
With just a few simple materials – like bubble wrap, paint, and our free duck printable – you can create a masterpiece that’s as fun to make as it is to display. So, roll up your sleeves, grab your crafting supplies, and let’s make some quacking-good memories together!

In today’s “duck pond” craft tutorial, children can recreate their very own spring scene, with an inexpensive paper plate, craft paint and bubble wrap!
The best part? Our bubble wrap stamped duck pond tutorial is a creative art project that requires little to no prep time. Simply download our free duck printable and grab your materials to bring it to life!

Click Here To Grab The Free Printable On Our Landing Page
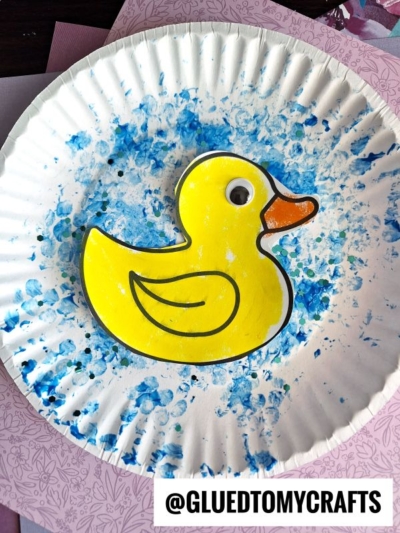
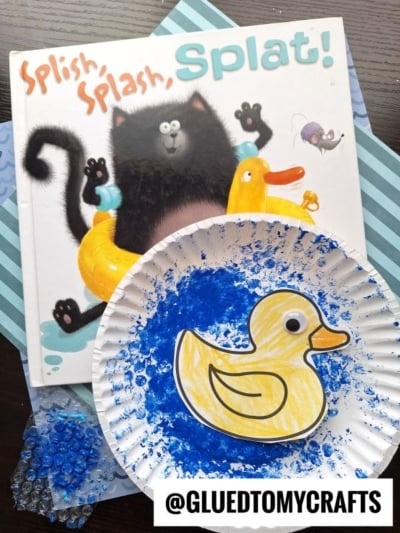
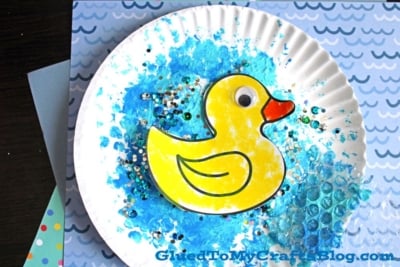
To “splish splash” up this super fun duck pond craft idea, simply start off by having children use a small piece of bubble wrap to stamp the blue “pond” all over a large paper plate. If desired, sprinkle some loose craft glitter on top of the wet paint.
From there, children will take our free printable and color in one of the duck designs. You can then help them trim it out and glue it onto their decorated plate. And that’s it! So easy peasy!
So on that note, I hope you have fun recreating this duck pond craft with your little crafter today!
Happy crafting, my friends! May those spring days stuck indoors be extra crafty because of us here at Glued To My Crafts!


Bubble Wrap Stamped Duck Pond Craft Idea For Kids
Create a cute duck pond craft using bubble wrap stamping. Enjoy the process and have fun with this creative and engaging art activity!
Here’s your checklist of supplies to bring this craft to life:
- Cardstock Paper
- Duck Printable - Landing Page
- Craft Paint
- Embellishments
Prepare your creative haven by laying down a protective cover before the crafting magic begins!
Directions:
- First things first - simply start off by having children use a small piece of bubble wrap to stamp the blue "pond" all over a large paper plate.
- If desired, sprinkle some loose craft glitter on top of the wet paint.
- From there, children will take our free printable and color in one of the duck designs.
- Help them trim it out and glue it onto their decorated plate.
- Add any other embellishments you see fit.
- Allow it to dry completely before displaying proudly.

NEED MORE HELP DOWNLOADING OUR FREE PRINTABLES? PLEASE REFER TO OUR FAQ PAGE
If you've enjoyed our content or have any thoughts to share, we'd love to hear from you! Mention @gluedtomycrafts or tag #gluedtomycrafts on Instagram!