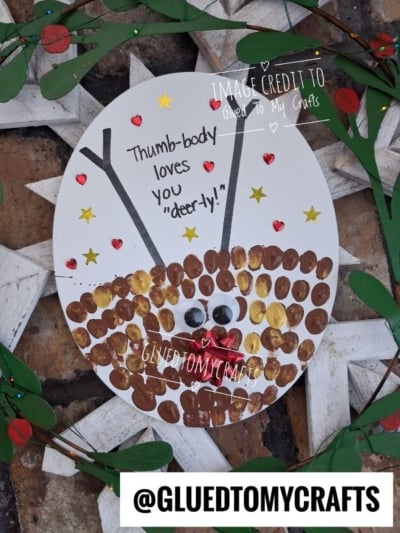
Little thumbs grow up fast. One year they’re sticky and small enough to fit in your palm, and the next they’re tapping away on a tablet. This thumbprint reindeer canvas saves that tiny-thumb stage in the sweetest way.
Each brown and gold print forms the reindeer’s fuzzy face, so the finished piece is a festive record of how small your child’s hands once were. Add googly eyes, a shiny red bow nose, and a pun that makes everyone smile: “Thumb-body loves you deer-ly!” Now you have a holiday keepsake worth pulling out every December.
This craft works well for parents at the kitchen table, teachers with a classroom of eager elves, or grandparents planning a cozy afternoon. It takes about an hour, plus drying time, and needs no special art skills. The messier the thumbs, the better.
Craft Supplies:
- White oval canvas (an 8×10-inch size gives little hands plenty of room)
- Brown paint, washable or non-toxic acrylic
- Metallic gold paint
- 2 large googly eyes
- 1 small red metallic gift bow for that Rudolph nose
- Black permanent marker with a thick tip for the antlers
- Metallic heart and star stickers
Handy Extras
- Pencil and eraser
- Paper plate or palette for paint
- Small paintbrush or foam brush
- Craft glue, tacky glue, or glue dots (adults may prefer a hot glue gun for the bow)
- Baby wipes and paper towels
- An old shirt or smock
Directions:
Step 1: Set Up Your Workspace
Cover your table with newspaper or a plastic tablecloth. Squeeze a small puddle of brown paint and a small puddle of gold paint onto a paper plate. Keep wipes within reach, because paint will travel faster than you expect.
With a pencil, lightly sketch a large half-circle along the lower half of the oval. This is your guide for the reindeer’s face. Keep the lines faint so they’ll disappear under the paint.
Step 2: Stamp the Thumbprint Reindeer Face
This is the best part, so let your little one take the lead.
- Use a brush to coat your child’s thumb with a thin, even layer of brown paint. Brushing works better than dipping, which can leave blobs.
- Press the thumb firmly onto the canvas inside your pencil guide, then lift it straight up.
- Wipe the thumb clean and repeat with gold paint.
- Keep alternating brown and gold, overlapping the prints slightly so they blend into one rounded, fuzzy face.
Fill the half-circle from the bottom up until the shape feels full and cozy. A few crooked prints only add charm. If you’re working with toddlers, gently guide their hand and turn it into a game: “Brown! Gold! Brown! Gold!”
Let the paint dry completely, about 20 to 30 minutes. Acrylic paint dries faster in a warm room.
Step 3: Draw the Antlers
Once the face is dry, grab the black marker. Starting at the top edge of the thumbprint face, draw two thick lines that stretch toward the upper edges of the canvas, one on each side.
Near the end of each line, add two or three short branches to create the antler shape. Older kids can draw these on their own. For younger children, an adult can sketch the antlers in pencil first so little artists can trace over them.
Step 4: Add the Googly Eyes and Red Bow Nose
Now your reindeer gets its personality.
- Eyes: Place a dot of craft glue on the back of each googly eye. Press them onto the thumbprint face, slightly above the center, and hold for a few seconds.
- Nose: Position the red metallic bow just below the eyes. Many gift bows come with a sticky back, but a glue dot or a dab of hot glue (adults only) will keep Rudolph’s nose glowing for years.
Tilting the eyes a little, or placing them off-center, gives your reindeer a goofy, lovable look. Every reindeer turns out different, and that’s what makes each one special.
Step 5: Write the Message
In the open space on the upper left of the canvas, lightly pencil in the message:
Thumb-body
loves
you
“deer-ly!”
Stack the words on separate lines and let them slant a bit for a playful look. Trace over the pencil with black marker, then erase any lines that still show once the ink dries.
Kids who are learning to write can trace the letters themselves. A wobbly, kid-written message becomes a treasure in its own right.
Step 6: Decorate with Stickers
Hand over the metallic heart and star stickers and let your child sprinkle them across the white space. Scatter them around the antlers, near the message, or along the edges of the canvas.
There’s no wrong way to do this. A handful of red hearts and gold stars adds sparkle and balances the design.
Step 7: Stage and Display Your Masterpiece
Your reindeer is ready for its close-up. For a festive display:
- Set the canvas on a white wooden snowflake so the points peek out around the edges.
- Drape green garland above and below the canvas.
- Weave a strand of battery-operated fairy lights through the greenery for a warm, twinkling glow.
This setup looks lovely on a mantel, entryway table, or bookshelf. It’s also perfect for snapping a photo to share with family who live far away.
RELATED —> Thumbprint Christmas Ornament Poem Printable
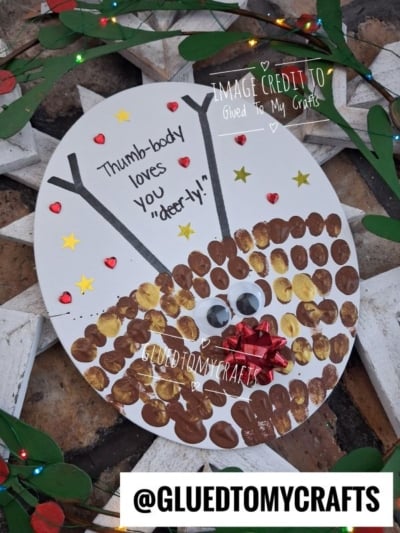
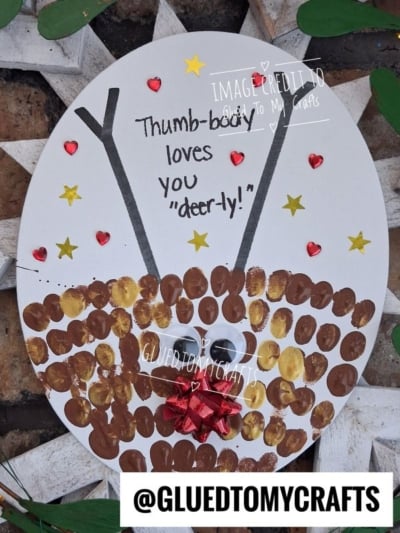
This thumbprint reindeer keepsake canvas idea only takes an afternoon to make, but it lasts far longer. Years from now, you’ll look at those tiny brown and gold prints and remember the giggles, the paint-covered fingers, and the season your little one was this small.
So gather your supplies, roll up those sleeves, and make some memories. After all, thumb-body loves you deer-ly! Happy crafting, my friends!