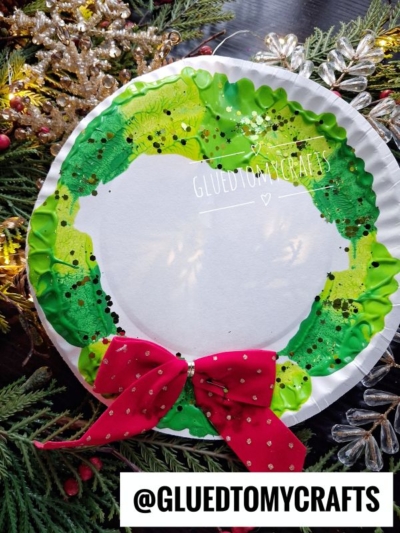
Fold, squirt, press — that’s really all there is to it.
A paper plate, three shades of green, and one satisfying fold — that’s the magic behind this holiday craft. Kids press the paint between the plate, peel it open, and find a ready-made wreath staring back at them. Add a little glitter and a red bow, and you’ve got something genuinely cute hanging on the wall before snack time.
Perfect for preschoolers, big kids, classroom parties, or a quiet afternoon at home. Grab some plates and let’s get started!
Craft Supplies:
- White paper plates (sturdy ones with a ridged rim work best)
- Washable paint in 2–3 shades of green, such as dark green, grass green, and lime green
- Loose craft glitter
- Craft ribbon/bow
- Stapler or craft glue
- Newspaper, a plastic tablecloth, or scrap paper to protect your work surface
- Paper towels or wipes for quick cleanups
- Hole punch and string or yarn (optional, for hanging)
Directions:
- Cover the table with newspaper or a plastic tablecloth. Pop a smock or an old T-shirt on your little artist, too. Paint and glitter like to travel, so a little prep now saves a lot of scrubbing later.
- Fold your paper plate in half, with the eating side facing in. This fold is what creates the paint splat effect — the two sides will press together to spread the paint into a wreath shape.
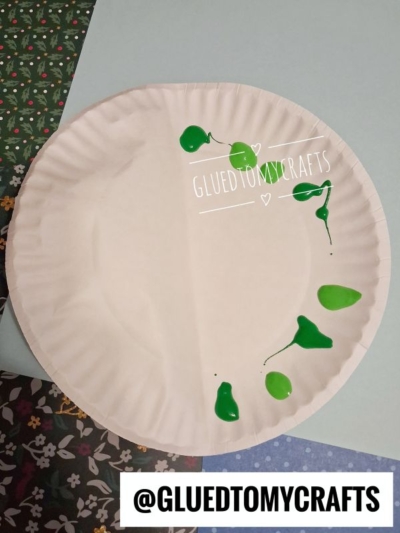
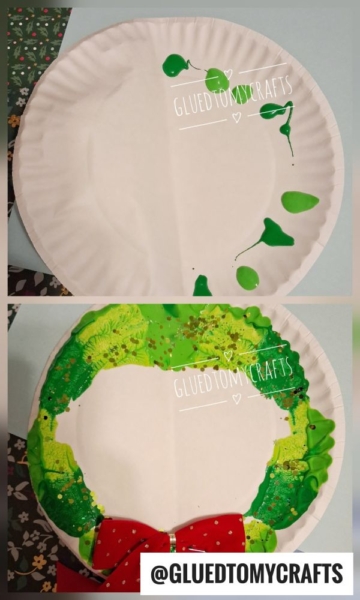
- With the plate folded, squirt small dollops of each green shade along the rim of just one side. Mix up the colors as you go: a dark green blob here, a lime green dot there, a grass green drop next to it. Keep the paint only on the rim — the center stays bare. Aim for blobs about the size of a grape or a nickel, spaced close together so they’ll blend easily when you fold the plate back up.
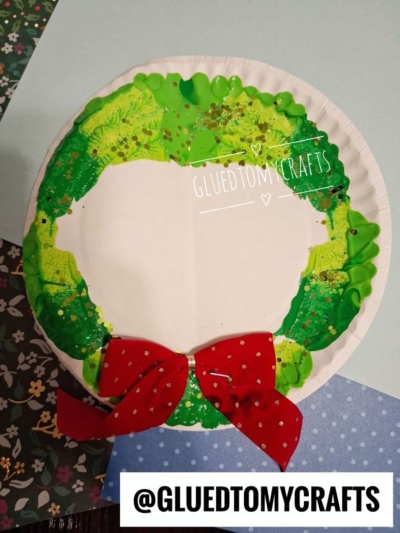
- Fold the plate back up and press the two sides together firmly. Then peel it open slowly to reveal the paint splat effect. When you press the plate together, the paint spreads and blends across the rim — creating that marbled, leafy look on both sides. Those streaks of light and dark green are what give the wreath its textured, just-like-real-branches feel.
- While the paint is still wet, sprinkle loose craft glitter over the green ring. The wet paint acts like glue, so there’s no need for extra adhesive.
- Set the wreath somewhere flat and safe to dry completely.
- Place your bow at the bottom center of the green ring. Secure it with a staple through the middle of the bow, or use a dab of craft glue.
- (optional) Punch a small hole at the top of the plate’s rim. Thread a piece of string, yarn, or leftover ribbon through and tie a loop. Now your wreath is ready to hang on a door, window, or classroom wall.
RELATED —> Handprint Santa Wreath Craft Idea For Kids
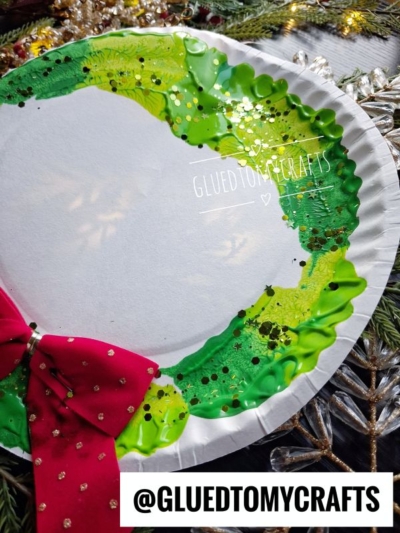
Some holiday crafts call for hot glue, tiny pieces, and patience nobody has in December. This isn’t one of them.
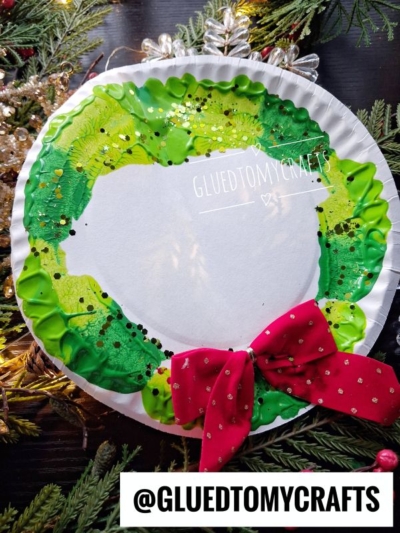
The Paper Plate Paint Splat Christmas Wreath takes a plain white plate, a few blobs of green paint, and a sprinkle of sparkle and turns them into a cheerful wreath kids can proudly hang on the fridge. It’s quick, it’s messy in the best way, and every wreath turns out a little different. That’s part of the fun.
The best part of this craft isn’t a perfect wreath. It’s the giggles and the proud grin when it goes up on display. On that note, we hope you are inspired to recreate it today! Merry crafting, my friends!

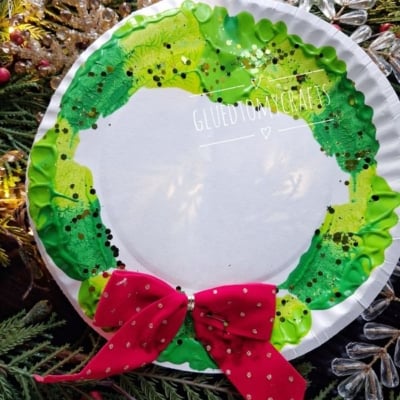
Paper Plate and Paint Splat Christmas Wreath Craft Idea
Make an easy paper plate caramel apple craft this fall! Kids paint, splat, and add glittery handprint toppings. Simple steps for a sweet autumn activity.
Here’s your checklist of supplies to bring this craft to life:
Prepare your creative haven by laying down a protective cover before the crafting magic begins!
Directions:
- Cover the table with newspaper or a plastic tablecloth. Pop a smock or an old T-shirt on your little artist, too. Paint and glitter like to travel, so a little prep now saves a lot of scrubbing later.
- Fold your paper plate in half, with the eating side facing in. This fold is what creates the paint splat effect — the two sides will press together to spread the paint into a wreath shape.
- With the plate folded, squirt small dollops of each green shade along the rim of just one side. Mix up the colors as you go: a dark green blob here, a lime green dot there, a grass green drop next to it. Keep the paint only on the rim — the center stays bare. Aim for blobs about the size of a grape or a nickel, spaced close together so they'll blend easily when you fold the plate back up.
- Fold the plate back up and press the two sides together firmly. Then peel it open slowly to reveal the paint splat effect. When you press the plate together, the paint spreads and blends across the rim — creating that marbled, leafy look on both sides. Those streaks of light and dark green are what give the wreath its textured, just-like-real-branches feel.
- While the paint is still wet, sprinkle loose craft glitter over the green ring. The wet paint acts like glue, so there's no need for extra adhesive.
- Set the wreath somewhere flat and safe to dry completely.
- Place your bow at the bottom center of the green ring. Secure it with a staple through the middle of the bow, or use a dab of craft glue.
- (optional) Punch a small hole at the top of the plate's rim. Thread a piece of string, yarn, or leftover ribbon through and tie a loop. Now your wreath is ready to hang on a door, window, or classroom wall.

Grab our favorite books via our Amazon affiliate link! In our Amazon storefront you will find books, toys and craft supplies we absolutely love using for our Glued To My Crafts tutorials!
If you've enjoyed our content or have any thoughts to share, we'd love to hear from you! Mention @gluedtomycrafts or tag #gluedtomycrafts on Instagram!