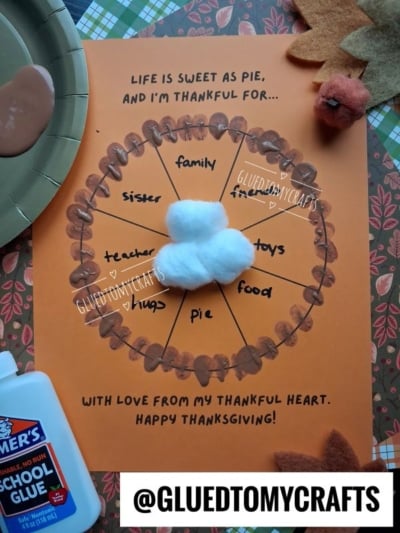
Thanksgiving week at our house means flour on the counter, pie in the oven, and little hands looking for something to do. This fingerprint pumpkin pie gratitude craft keeps them busy and gives you a sweet keepsake to hold onto long after the leftovers are gone.
Kids fill each slice of a printable pie with something they’re thankful for. Then they stamp brown thumbprints around the edge to make a “crust” and top it off with a fluffy dollop of cotton ball “whipped cream.” It’s simple, a little messy in the best way, and every finished pie is one of a kind.
The printable reads “Life is sweet as pie, and I’m thankful for…” at the top and “With love from my thankful heart. Happy Thanksgiving!” at the bottom, so it’s ready to give to Grandma, slip into a card, or hang on the fridge.
It works for preschoolers, big kids, classrooms, and even the Thanksgiving kids’ table while dinner finishes cooking.
Craft Supplies:
- Free gratitude pie printable – password is GLUEDTOMYCRAFTS2026
- Orange cardstock paper
- Brown washable paint (light brown looks most like a golden pie crust)
- Paper plate for the paint
- Black marker or crayons for writing in the slices
- Cotton balls for the whipped cream
- White school glue
- Baby wipes or a damp paper towel for quick finger cleanup
Directions:
Step 1: Print the Template
Print the gratitude pie printable onto orange cardstock for that cozy pumpkin pie look. Prefer a lighter background? Cream or white cardstock works great too, and kids can color the slices orange if they’d like.
Step 2: Fill Each Slice With Gratitude
Have kids write one thing they’re thankful for in each of the eight slices. Do this step first, before any paint comes out. Trust me, it’s much easier to write on a clean page.
Step 3: Make the Thumbprint Crust
Squeeze a small puddle of brown paint onto a paper plate. Show your child how to press their thumb lightly into the paint, then stamp it along the outer edge of the pie circle.
Keep going all the way around, placing each print close to the last one. The prints should overlap just a little to form that scalloped, crimped crust look. A light touch works best here. Too much paint makes the prints blobby.
Step 4: Let It Dry
Set the pie aside until the paint is completely dry. This usually takes about 15 to 30 minutes, depending on how heavy those thumbprints were. Now’s a good time to wash hands and wipe down the table.
Step 5: Top It With Whipped Cream
Add a generous dot of white glue to the center of the pie, right where all the slices meet. Add one {or two or three!} cotton balls on top so it looks soft and fluffy like whipped cream. Then press it gently into the glue.
Let the glue dry and your thumbprint pie is ready to serve!
RELATED —> From Little Hands to Big Memories: Thanksgiving Keepsake Crafts
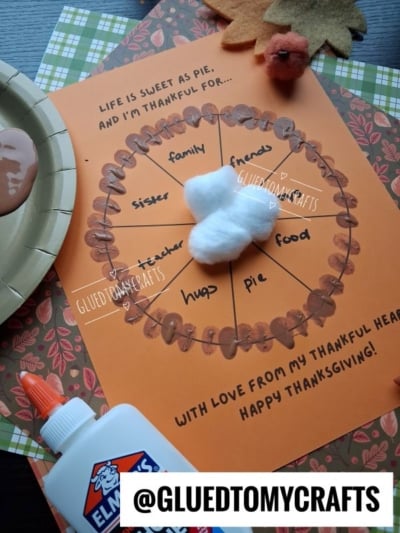
This little pie is proof that the sweetest things are often the simplest. A few thumbprints, a bit of fluff, and eight thankful thoughts add up to a keepsake you’ll want to save forever.
Download your free thumbprint pumpkin pie gratitude printable today and get crafting with your kiddos this Thanksgiving.
When you make one, we’d love to see it! Share your finished pies and tag @GLUEDTOMYCRAFTS so we can cheer on your little bakers.
Happy crafting, and happy Thanksgiving from our thankful hearts to yours! 🥧
