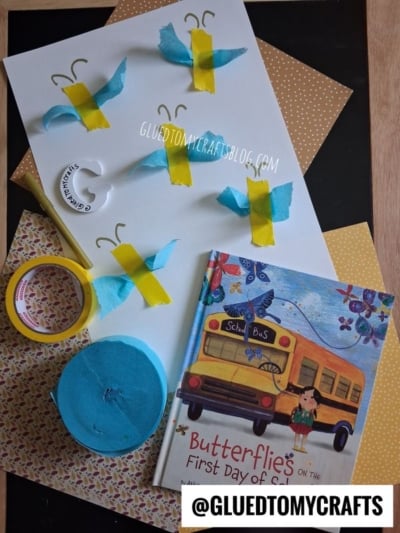
There’s something magical about watching a plain sheet of paper turn into a fluttery butterfly garden. This craft does exactly that, and it uses just a handful of supplies you probably already have around the house. Best of all? It’s simple enough for even the littlest hands to enjoy.
If you’re looking for a low-mess, high-fun activity for your toddler or preschooler, you’ve found it. Let me show you how easy it is to make these adorable torn crepe paper butterflies!
Craft Supplies:
Gather these simple supplies before you begin:
- Yellow painter’s tape or masking tape – for the butterfly bodies
- Light blue crepe paper streamers – for the fluttery wings
- Gold metallic marker – for drawing the antennae
- White cardstock or construction paper – as your background canvas
That’s it! Feel free to swap in other colors if you’d like. This craft is all about having fun with what you’ve got.
Directions:
Ready to make some butterflies? Follow these easy steps.
- Start by tearing your light blue crepe paper into short, wing-sized strips. Aim for pieces about three to four inches long. Don’t worry about making them perfect. Torn edges give the wings a soft, natural look, and tearing is part of the fun for kids!
- Take one strip and pinch it right in the middle so it gathers together. Then lay it down horizontally on your white paper. The pinched center will become the spot where the butterfly’s body goes, and the ends will flare out like little wings.
- Tear off a short vertical strip of yellow painter’s tape. Press it firmly over the pinched center of the crepe paper. This holds the wings in place and creates the butterfly’s body all at once. Smooth it down so it sticks nicely.
- Grab your gold metallic marker and draw two curved lines above the yellow body. These are your butterfly’s antennae! A little curl at the top adds extra charm. Let your child give it a try. Wobbly antennae only make each butterfly more special.
- Now repeat the steps to add more butterflies all over your paper. Fill the page with a whole flock! Scatter them high and low so it looks like they’re fluttering through the air. Before you know it, you’ll have a cheerful butterfly scene ready to hang on the fridge.
RELATED —> Paper Plate & Circle Punch Ant Craft Idea
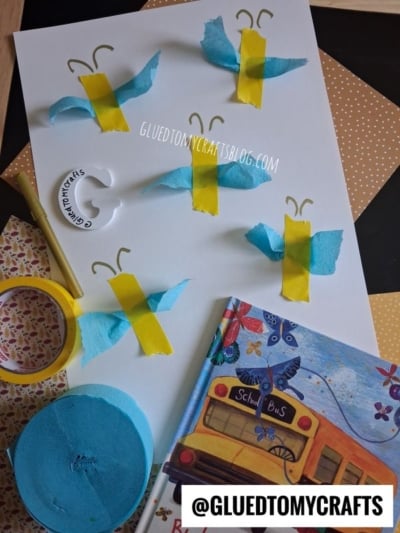
Crafts and stories go together beautifully, and this one has the perfect match. After making your butterflies, snuggle up and read Butterflies on the First Day of School. It’s a sweet story about first-day jitters, and it ties right in with your fluttery creations.
Reading together after crafting helps stretch the fun and gives kids a chance to connect their hands-on activity with a story they’ll love. It’s a lovely way to wind down and talk about big feelings, whether it’s the first day of school or just a regular day at home.
And there you have it! A quick, easy, and oh-so-cute butterfly craft that’s sure to delight the little ones in your life. Give it a try, and don’t forget to share your butterfly creations with us. Happy crafting, my friends!

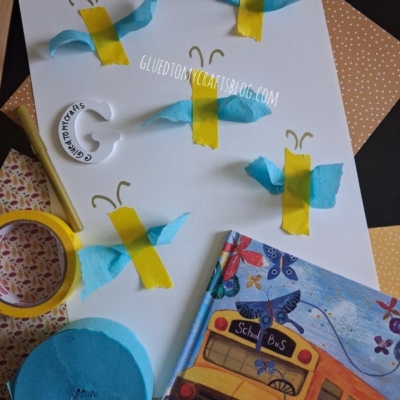
Crepe Paper Butterfly Craft Idea For Back To School Season
Make an easy kids butterfly craft using painter's tape and crepe paper! A quick, low-mess activity toddlers and preschoolers will love. Try it today!
Here’s your checklist of supplies to bring this craft to life:
- Construction Paper
- Crepe Paper
- Wiggle Eyes
Prepare your creative haven by laying down a protective cover before the crafting magic begins!
Directions:
- Start by tearing your light blue crepe paper into short, wing-sized strips. Aim for pieces about three to four inches long. Don't worry about making them perfect. Torn edges give the wings a soft, natural look, and tearing is part of the fun for kids!
- Take one strip and pinch it right in the middle so it gathers together. Then lay it down horizontally on your white paper. The pinched center will become the spot where the butterfly's body goes, and the ends will flare out like little wings.
- Tear off a short vertical strip of yellow painter's tape. Press it firmly over the pinched center of the crepe paper. This holds the wings in place and creates the butterfly's body all at once. Smooth it down so it sticks nicely.
- Grab your gold metallic marker and draw two curved lines above the yellow body. These are your butterfly's antennae! A little curl at the top adds extra charm. Let your child give it a try. Wobbly antennae only make each butterfly more special.
- Now repeat the steps to add more butterflies all over your paper. Fill the page with a whole flock! Scatter them high and low so it looks like they're fluttering through the air. Before you know it, you'll have a cheerful butterfly scene ready to hang on the fridge.


Grab our favorite books via our Amazon affiliate link! In our Amazon storefront you will find books, toys and craft supplies we absolutely love using for our Glued To My Crafts tutorials!
If you've enjoyed our content or have any thoughts to share, we'd love to hear from you! Mention @gluedtomycrafts or tag #gluedtomycrafts on Instagram!