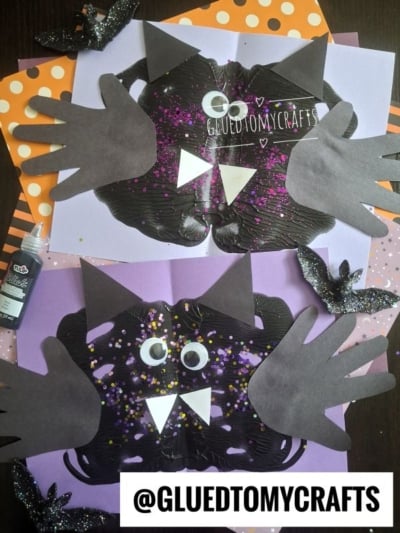
Looking for a Halloween craft that’s equal parts spooky and adorable? These paint splat bats are about to become your new favorite. Kids get to squish paint, sprinkle glitter, and trace their own handprints, which means every bat turns out a little different and a lot of fun.
The best part? There’s no “wrong” way to make one. The paint splat technique creates a naturally symmetrical bat body, so even the youngest crafters end up with something they’re proud to hang on the fridge. Let’s grab our supplies and get a little messy.
Craft Supplies:
Gather these materials before you start. Most of them are probably already hiding in your craft drawer.
- Black paint (Tulip Slick dimensional fabric paint works great, but any thick black paint will do)
- Cardstock in white or lavender/purple for the bat’s base
- Black paper for the wings and ears
- White paper for the fangs
- Loose craft glitter (purple is a fun color to add!)
- Googly eyes (mix sizes for a goofy look)
- Glue
- Scissors
Quick tip: Cover your workspace with newspaper or a plastic tablecloth. This craft is a fun kind of messy, and easy cleanup keeps everyone smiling.
Directions:
- Start with a sheet of cardstock. Fold it in half and then open it back up flat. That center crease is the secret behind the bat’s symmetrical body, so don’t skip it.
- Squeeze a generous blob of black paint onto one half of the paper, right along the fold line. You want a good amount here, so don’t be shy. This is where the magic happens.
- Now fold the paper closed again, pressing the two halves together. Have your child rub and press across the surface with their hands. Feel free to move the paint around from the outside to spread it into fun shapes.
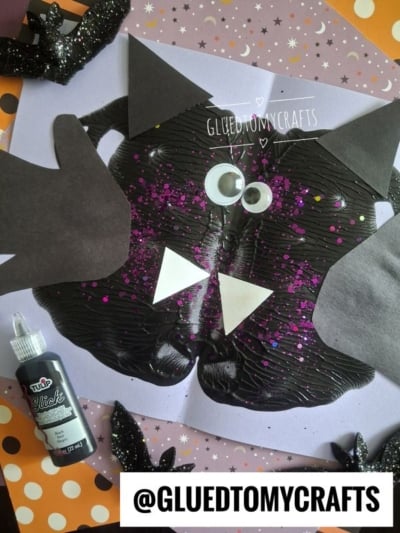
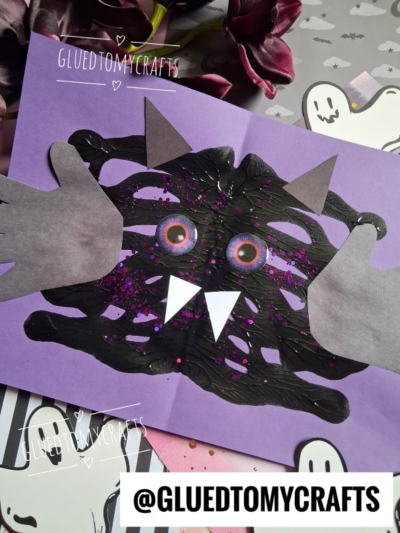
- Open the paper back up, and ta-da! A perfectly symmetrical black splat that looks just like a bat’s body and spread wings.
- While the paint is still wet, shake loose craft glitter over the splat. The wet paint grabs the glitter and holds it in place as it dries. Give it a gentle tap to shake off the extra, then set your bat aside to dry completely.
- While your splat dries, it’s time for wings. Trace your child’s hand twice onto black paper, then cut out both handprints. These become the bat’s spooky wings, and they’re extra special because they’re made from your little one’s own hands.
- Once the paint is dry, glue one handprint to each side of the bat’s body so the fingers point outward like wings.
- Cut two small triangles from your black paper. Glue them to the top of the bat’s body, one on each side. These pointy little ears bring your bat to life.
- Cut two small triangles from white paper for fangs. Glue them near the bottom center of the body, pointing downward. This is the detail that turns a cute bat into a friendly vampire bat.
- Finish with the eyes! Glue two googly eyes near the top center of the body. Try mixing a big eye with a smaller one for a silly, cross-eyed look, or keep them matched for a classic bat face.
- Let everything dry, and your paint splat bat is ready to hang up and show off.
RELATED —> Popsicle Stick Bat Puppet
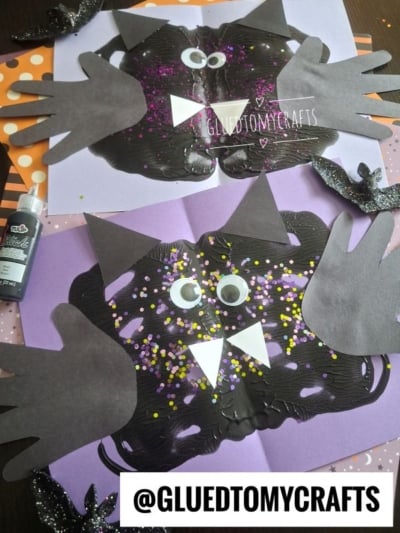
That’s all it takes to make these cheerful little bats! This craft is forgiving, flexible, and perfect for crafters of all ages. Whether you’re making one at the kitchen table or a dozen in a classroom, each bat carries its own personality, right down to those handprint wings.
So roll up your sleeves, embrace the glitter, and have fun. We can’t wait to see the bat colony you and your kids create this Halloween. Happy crafting, my friends!

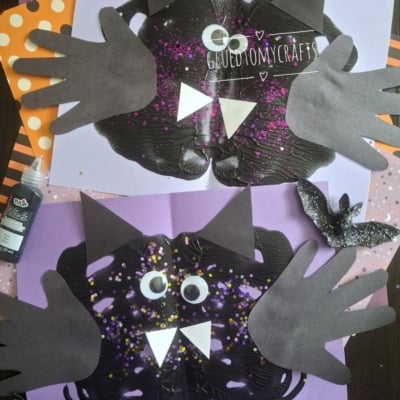
Paint Splat and Handprint Bat Craft Idea For Halloween
Learn how to make a paint splat bat using simple craft materials. Get ready for a fun and messy creative experience.
Here’s your checklist of supplies to bring this craft to life:
- School Glue
Prepare your creative haven by laying down a protective cover before the crafting magic begins!
Directions:
- Start with a sheet of cardstock. Fold it in half and then open it back up flat. That center crease is the secret behind the bat's symmetrical body, so don't skip it.
- Squeeze a generous blob of black paint onto one half of the paper, right along the fold line. You want a good amount here, so don't be shy. This is where the magic happens.
- Now fold the paper closed again, pressing the two halves together. Have your child rub and press across the surface with their hands. Feel free to move the paint around from the outside to spread it into fun shapes.
- Open the paper back up, and ta-da! A perfectly symmetrical black splat that looks just like a bat's body and spread wings.
- While the paint is still wet, shake loose craft glitter over the splat. The wet paint grabs the glitter and holds it in place as it dries. Give it a gentle tap to shake off the extra, then set your bat aside to dry completely.
- While your splat dries, it's time for wings. Trace your child's hand twice onto black paper, then cut out both handprints. These become the bat's spooky wings, and they're extra special because they're made from your little one's own hands.
- Once the paint is dry, glue one handprint to each side of the bat's body so the fingers point outward like wings.
- Cut two small triangles from your black paper. Glue them to the top of the bat's body, one on each side. These pointy little ears bring your bat to life.
- Cut two small triangles from white paper for fangs. Glue them near the bottom center of the body, pointing downward. This is the detail that turns a cute bat into a friendly vampire bat.
- Finish with the eyes! Glue two googly eyes near the top center of the body. Try mixing a big eye with a smaller one for a silly, cross-eyed look, or keep them matched for a classic bat face.
- Let everything dry, and your paint splat bat is ready to hang up and show off.

Grab our favorite books via our Amazon affiliate link! In our Amazon storefront you will find books, toys and craft supplies we absolutely love using for our Glued To My Crafts tutorials!
If you've enjoyed our content or have any thoughts to share, we'd love to hear from you! Mention @gluedtomycrafts or tag #gluedtomycrafts on Instagram!