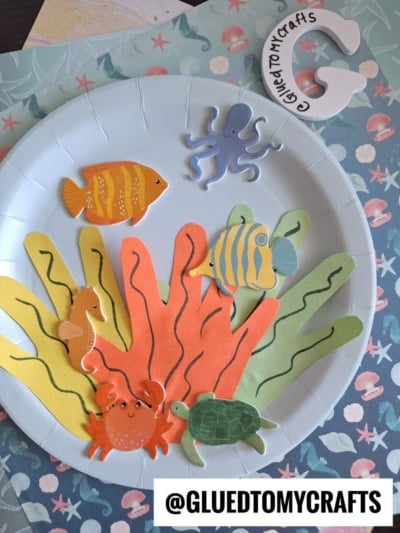
Looking for a colorful, hands-on activity that doubles as a keepsake? This Paper Plate & Handprint Coral Aquarium Craft lets kids build their very own under-the-sea scene using a simple paper plate, a few handprint cutouts, and some friendly sea creatures. By the time you finish, you’ll have a bright little aquarium ready to hang on the wall or stick on the fridge.
This craft is perfect for preschoolers and early elementary kids, with a grown-up handy for the cutting parts. It takes about 15 to 20 minutes, and you probably already have most of the supplies at home or in the classroom. Best of all, every aquarium turns out a little different – because no two handprints are the same!
Craft Supplies:
Gather these materials before you start. Most are craft-box basics.
- 1 paper plate (light blue works best for an ocean base)
- Colored cardstock or construction paper (yellow, orange, and green for the handprint coral)
- A pencil for tracing handprints
- Child-safe scissors (plus adult scissors for trickier cuts)
- A black or dark marker
- White school glue (Elmer’s Glue-All or a glue stick)
- Sea creature stickers
Directions:
Follow these steps in order. Each one builds on the last, so your scene comes together naturally.
- Place your paper plate flat on the table. This is the “ocean floor” where everything will live.
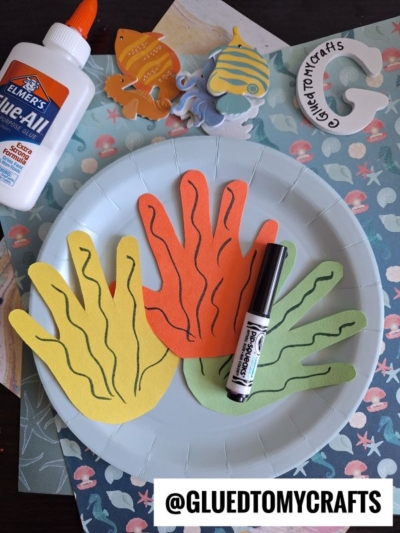
- Have your child spread their hand flat on a sheet of colored paper. Trace around it with a pencil, then cut along the line.
- Repeat with a different color for each hand. Aim for three handprints total – try yellow, orange, and green for a classic reef look.
- Here’s the part that turns plain handprints into coral. Using your marker, draw a soft, wavy line down the length of each finger. Don’t worry about straight lines – wobbly is better here. Those squiggles mimic the swaying, textured look of seaweed and coral.
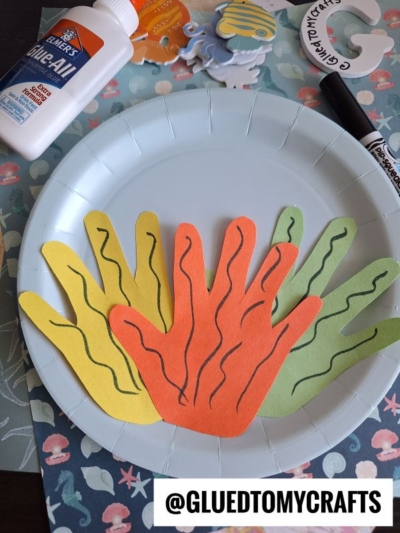
- Apply glue to the bottom edge of each handprint, then press it onto the lower half of the plate. Fan them out so the fingers point upward like growing coral.
- Now for the fun part – filling the scene with life. Lay out your fish, octopus, seahorse, crab, and turtle stickers before gluing, so you can find the best spots.
- Once you’re happy with the layout, glue each creature in place one at a time. Overlapping a few creatures over the coral adds depth and makes the scene feel alive.
- Finally – add the finishing touch. This is where personality shines. Add googly eyes, a sprinkle of glitter for bubbles, or a few dots of blue marker for water movement.
- Once done decorating, let it dry completely. If you want to hang it, punch a hole at the top and thread a piece of string or yarn through it.
RELATED —> Paper Seashell Unicorn Craft
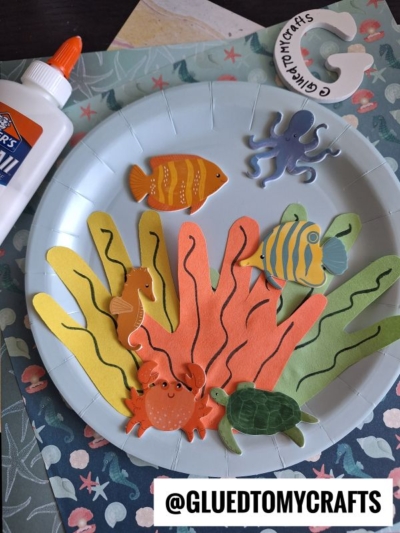
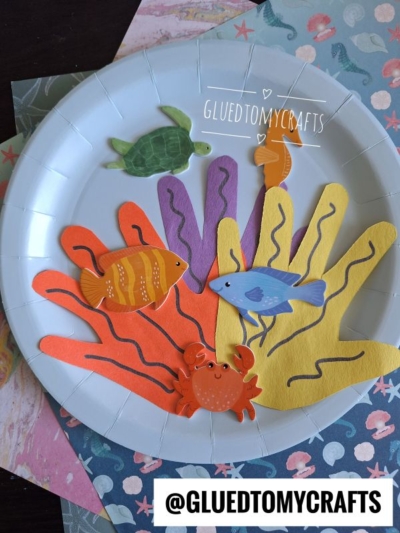
Your under-the-sea paper plate aquarium masterpiece is ready to shine. Hang it on a bedroom wall, line a few up along a classroom hallway, or pop one on the fridge where everyone can admire it.
These handprint aquariums also make heartfelt gifts for grandparents – a sweet way to share those tiny hands before they grow. So grab your supplies, dive in, and watch your little ocean come to life. We’d love to see how your reef turns out! Happy crafting, my friends!

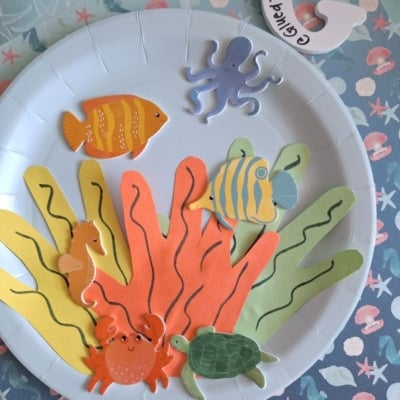
Paper Plate and Handprint Coral Aquarium Craft Idea
Create an under-the-sea scene with this easy paper plate handprint craft. It's a fun ocean-themed activity for kids, perfect for summer. Grab your supplies and start crafting!
Here’s your checklist of supplies to bring this craft to life:
- Cardstock Paper
- Large Paper Plate
- Fish Stickers
- Embellishments
- School Glue
Prepare your creative haven by laying down a protective cover before the crafting magic begins!
Directions:
- Place your paper plate flat on the table. This is the "ocean floor" where everything will live.
- Have your child spread their hand flat on a sheet of colored paper. Trace around it with a pencil, then cut along the line.
- Repeat with a different color for each hand. Aim for three handprints total - try yellow, orange, and green for a classic reef look.
- Here's the part that turns plain handprints into coral. Using your marker, draw a soft, wavy line down the length of each finger. Don't worry about straight lines - wobbly is better here. Those squiggles mimic the swaying, textured look of seaweed and coral.
- Apply glue to the bottom edge of each handprint, then press it onto the lower half of the plate. Fan them out so the fingers point upward like growing coral.
- Now for the fun part - filling the scene with life. Lay out your fish, octopus, seahorse, crab, and turtle stickers before gluing, so you can find the best spots.
- Once you're happy with the layout, glue each creature in place one at a time. Overlapping a few creatures over the coral adds depth and makes the scene feel alive.
- Finally - add the finishing touch. This is where personality shines. Add googly eyes, a sprinkle of glitter for bubbles, or a few dots of blue marker for water movement.
- Once done decorating, let it dry completely. If you want to hang it, punch a hole at the top and thread a piece of string or yarn through it.

Grab our favorite books via our Amazon affiliate link! In our Amazon storefront you will find books, toys and craft supplies we absolutely love using for our Glued To My Crafts tutorials!
If you've enjoyed our content or have any thoughts to share, we'd love to hear from you! Mention @gluedtomycrafts or tag #gluedtomycrafts on Instagram!