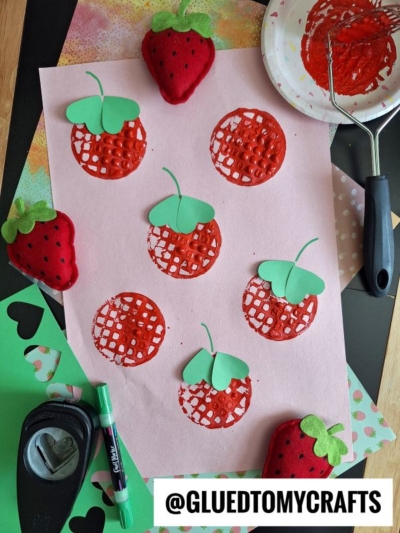
Summer is the perfect time for fresh fruit, warm weather, and messy, hands-on art projects. If you want a quick activity to keep little hands busy this afternoon, we have the perfect solution. Kids absolutely love using unexpected everyday items to create art.
Today, we will show you how to turn a common kitchen tool into a fantastic art supply. This potato masher stamped strawberry craft is simple, vibrant, and incredibly fun to make. You only need a few basic materials to set up this activity, and the cleanup is a breeze.
By the end of this tutorial, you will have a beautiful piece of summer-themed art. Plus, you will learn how to encourage your child’s creativity using items you already have at home. Let us dive into the details and get crafting!
Craft Supplies:
Before you begin, gather these simple supplies. You likely have most of these tucked away in your kitchen cabinets and craft bins.
- Potato Masher {I find mine at Dollar Tree!}
- Red Craft Paint
- Large Construction Paper {I used a shade of pink}
- Green Construction Paper
- Heart Shaped Paper Punch
- Small Paper Plate {for holding your paint}
- School Glue
- Green Marker
Directions:
Ready to start stamping? Follow these simple steps to guide your child through this sweet summer craft.
- Start by squeezing a generous puddle of red washable paint onto your paper plate.
- Spread it out slightly so the potato masher can easily pick up an even layer of color.
- Place your pink background paper flat on the table. If you want to keep your table completely clean, lay down an old newspaper or a plastic tablecloth first.
- Show your child how to press the potato masher flat into the red paint. Make sure the entire bottom grid gets coated.
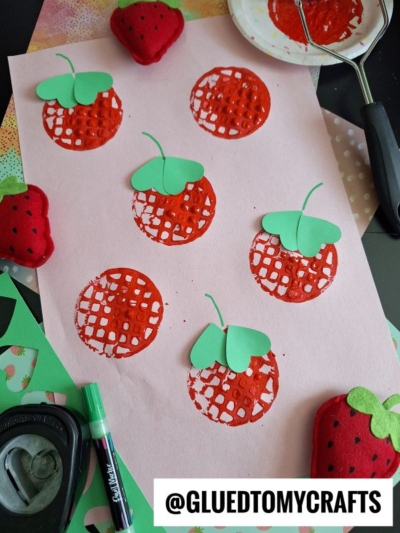
- Next, have them press the painted masher firmly onto the pink paper. Lift it straight up to reveal a textured, circular red print.
- Repeat this process several times across the page to create a whole patch of strawberries.
- Let the red paint dry completely before moving on to the next step.
- While the paint dries, you can prep the leaves. Take your green construction paper and your heart-shaped hole punch.
- Punch out two green hearts for every strawberry on your paper. If you do not own a paper punch, simply help your child cut small hearts out of the green paper using scissors. The heart shapes look just like the little leaves on top of fresh berries!
- Once the red paint is completely dry, grab your glue stick. Glue two green hearts side-by-side at the very top of each red stamped circle. The pointed ends of the hearts should point outward.
- Finally, take your green marker. Draw a short, slightly curved line going up from the center of the two heart leaves to create the strawberry stem. Repeat this for every strawberry on the page.
- Once done decorating, allow it all to dry completely before displaying proudly for all to see!
RELATED —> Popsicle Stick Strawberry Ornament
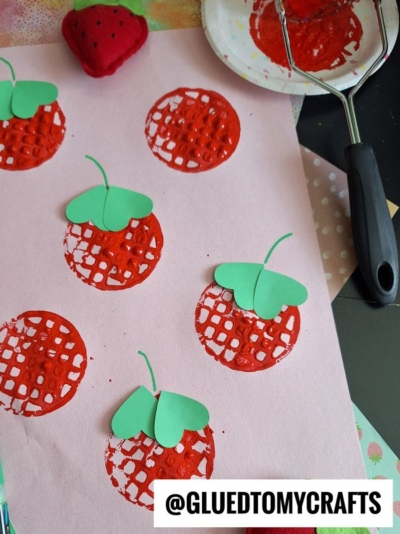
This potato masher stamped strawberries craft proves that you do not need complicated supplies to have a great time making art. It is a wonderful way to celebrate the summer season, practice fine motor skills, and spend quality time together.
Grab your supplies, clear off the kitchen table, and let the creativity flow. We would love to see how your beautiful strawberry patches turn out. Share your finished projects with us in the comments below, and pass this tutorial along to any friends who need a fresh activity idea this week!

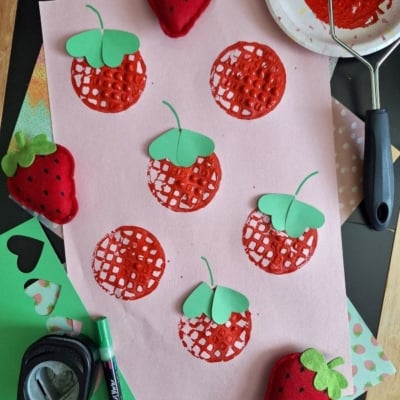
Potato Masher Stamped Strawberry Craft Idea
Try our potato masher stamped strawberry craft for kids! Build fine motor skills with this simple, creative summer art project. Get the tutorial today.
Here’s your checklist of supplies to bring this craft to life:
- Cardstock Paper
- Craft Paint
- Embellishments
Prepare your creative haven by laying down a protective cover before the crafting magic begins!
Directions:
- Start by squeezing a generous puddle of red washable paint onto your paper plate.
- Spread it out slightly so the potato masher can easily pick up an even layer of color.
- Place your pink background paper flat on the table. If you want to keep your table completely clean, lay down an old newspaper or a plastic tablecloth first.
- Show your child how to press the potato masher flat into the red paint. Make sure the entire bottom grid gets coated.
- Next, have them press the painted masher firmly onto the pink paper. Lift it straight up to reveal a textured, circular red print.
- Repeat this process several times across the page to create a whole patch of strawberries.
- Let the red paint dry completely before moving on to the next step.
- While the paint dries, you can prep the leaves. Take your green construction paper and your heart-shaped hole punch.
- Punch out two green hearts for every strawberry on your paper. If you do not own a paper punch, simply help your child cut small hearts out of the green paper using scissors. The heart shapes look just like the little leaves on top of fresh berries!
- Once the red paint is completely dry, grab your glue stick. Glue two green hearts side-by-side at the very top of each red stamped circle. The pointed ends of the hearts should point outward.
- Finally, take your green marker. Draw a short, slightly curved line going up from the center of the two heart leaves to create the strawberry stem. Repeat this for every strawberry on the page.
- Once done decorating, allow it all to dry completely before displaying proudly for all to see!

Grab our favorite books via our Amazon affiliate link! In our Amazon storefront you will find books, toys and craft supplies we absolutely love using for our Glued To My Crafts tutorials!
If you've enjoyed our content or have any thoughts to share, we'd love to hear from you! Mention @gluedtomycrafts or tag #gluedtomycrafts on Instagram!