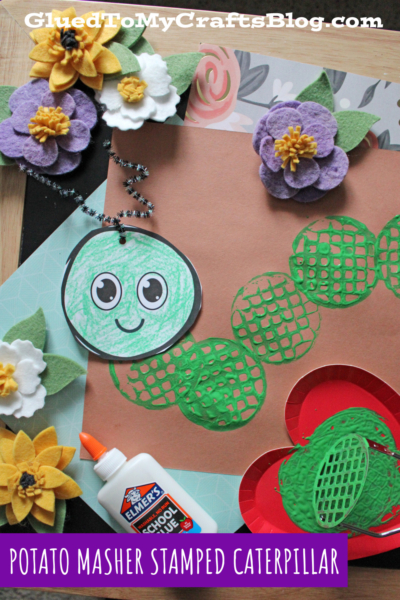
Turn a simple kitchen tool into your next favorite art supply! This potato masher stamped caterpillar craft is a wonderfully fun and easy activity for kids. It combines sensory play with a bit of stamping magic to create an adorable, bumpy caterpillar. The best part? You probably have most of the supplies already.
We are all about making crafting simple and accessible. That’s why we’ve also included a free printable for the caterpillar’s head to make this project even easier!
This tutorial will walk you through every step, from gathering your materials to adding the final touches. Let’s get ready to stamp, create, and have some fun making a new caterpillar friend!
Craft Supplies:
Before you begin, gather these simple materials. This project is perfect for using up leftover craft paper and paint.
- Washable Paint: Green is a classic choice for a caterpillar, but feel free to get creative with any color you like.
- Potato Masher: The star of the show! A masher with a grid pattern works best.
- Paper Plate: To hold your paint.
- Construction Paper: A sheet for your background (we used brown) and a small scrap for the head if you choose not to use the printable.
- Scissors
- Single Hole Punch
- Glue: A glue stick or liquid school glue works perfectly.
- Pipe Cleaner: For the antenna. Any color will do!
- Markers or Googly Eyes: To create the caterpillar’s face.
- Free Caterpillar Head Printable: grab it from box.com – password is GLUEDTOMYCRAFTS2026
Directions:
Now that you have your supplies, it’s time to bring your caterpillar to life. Follow these easy steps to create your masterpiece.
Step 1: Set Up Your Stamping Station
First, prepare your workspace. Lay down some newspaper or a craft mat to protect your table from any paint spills. Next, pour a generous amount of green paint onto a paper plate. Spread the paint around a bit so the potato masher can be evenly coated.
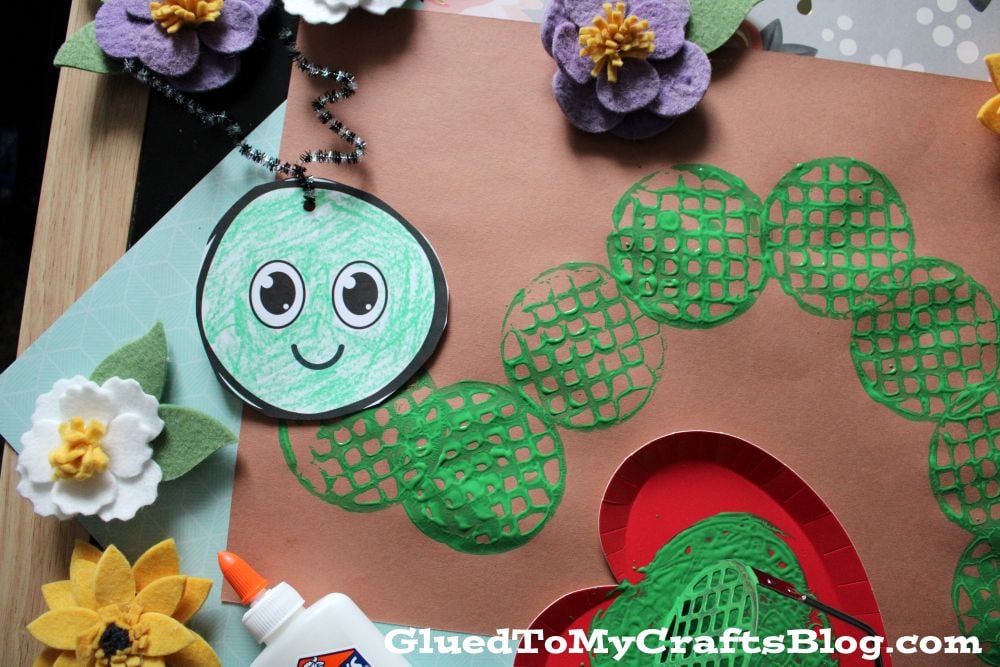
Step 2: Stamp the Caterpillar’s Body
This is the most exciting part! Take your potato masher and press it firmly into the paint on the paper plate. Make sure the entire surface of the masher is covered in paint.
Once it’s coated, lift the masher and press it down onto your piece of construction paper. Lift it straight up to reveal a cool, textured circle. Repeat this process, stamping circles in a curved line to form the caterpillar’s long, bumpy body. You can make it as long or as short as you like!
Step 3: Create the Caterpillar’s Head
While your paint is drying, it’s time to prepare the caterpillar’s head. You have two options here. You can either download and print our free caterpillar head printable, or you can draw your own.
If you use the printable, simply cut out one of the heads. If you’re drawing your own, use a green scrap of paper to cut out a circle. Then, use markers to draw a happy face, or glue on a couple of googly eyes and draw a smile.
No caterpillar is complete without its antenna! Simply make a single hole punch at the top out your head outline. Thread the pipe cleaner through the hole and and bend/twist it into a “V” shape. You can curl the ends of the pipe cleaner for an extra bit of character.
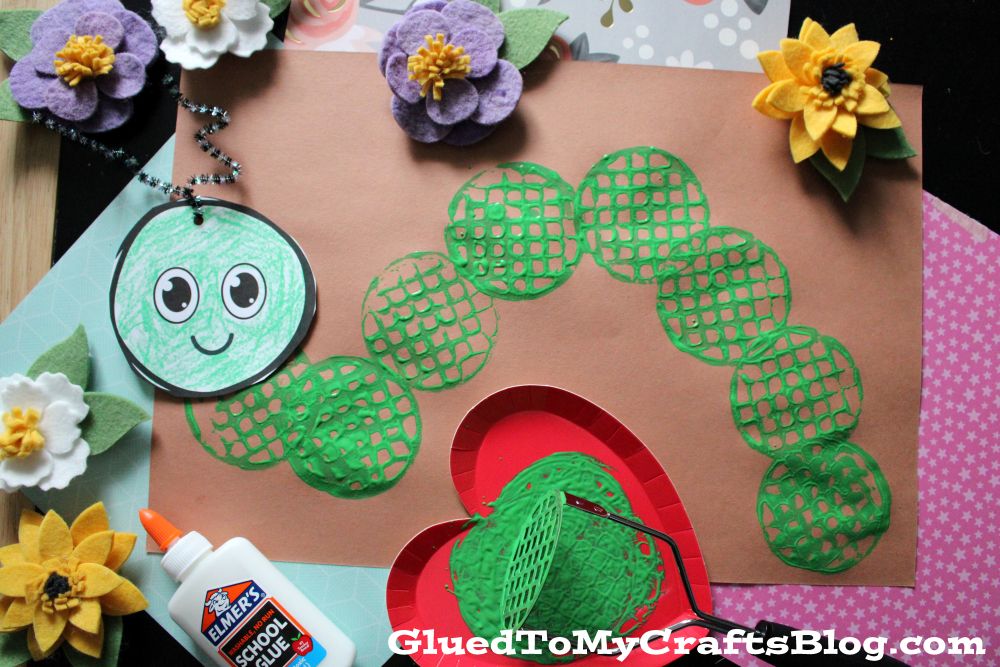
Step 4: Assemble Your Caterpillar
Check to see if your paint prints are dry. Once they are, it’s time to assemble your new friend. Apply glue to the back of the caterpillar head you prepared in the previous step. Gently press it onto the front end of your stamped caterpillar body.
Step 5: Add the Finishing Touches
Feel free to add more details to your scene. You could draw some grass at the bottom of the paper, a bright sun in the sky, or even some yummy leaves for your caterpillar to munch on.
RELATED —> Cupcake Liner Caterpillar Craft Idea

This potato masher caterpillar craft is a fantastic way to spend a creative afternoon. It’s a low-mess, high-fun activity that allows kids to explore textures and shapes in a hands-on way. Using a common kitchen utensil as a stamp adds an element of surprise and delight to the art-making process.
We encourage you to try this craft with your little ones. It’s perfect for a rainy day, a classroom art project, or just a quiet afternoon at home. Don’t forget to download the free printable to get started quickly. Happy crafting, my friends!
