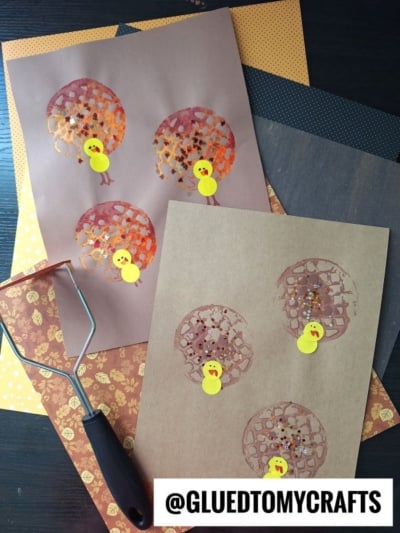
Thanksgiving is the perfect time to slow down, get a little messy, and make something adorable with the kids. This potato masher turkey craft is one of those simple projects that turns everyday kitchen tools into big fun. Little hands love pressing paint onto paper, and the waffle-like texture a potato masher creates makes each turkey look wonderfully unique.
The best part? We’re using colorful dot stickers for the turkey bodies, so even toddlers can join in without needing perfect scissor skills or a steady hand. It’s low-stress for grown-ups and high-fun for kids. Let’s make some turkeys!
Craft Supplies:
Gather these supplies before you begin:
- A potato masher – the classic waffle-grid style works best
- Paint – orange, red, and brown washable paint are perfect for fall
- Dot stickers – yellow, for the round turkey bodies
- Construction paper – brown or tan makes for a lovely fall background
- Markers – to give each turkey some personality
- Optional – loose craft glitter, for a little sparkle
Directions:
- Cover your table with newspaper or a plastic sheet. Pour small puddles of paint onto paper plates so kids can dip the masher easily. Roll up sleeves and get everyone into their craft clothes – this one can get colorful!
- Dip the flat side of the potato masher into the orange or red paint. Press it firmly onto the construction paper, then lift straight up. You’ll see a fun circular, grid-like print appear. Repeat across the page to make several turkey feather bases.
- If you want a festive finish, sprinkle a pinch of glitter over the wet paint. Let the paint dry for a few minutes.
- Here’s where the dot stickers come in. Instead of stamping the bodies, let your child peel a dot sticker and press it right in the center of each stamped print. This becomes the turkey’s round body. Kids love this part because peeling and sticking is so satisfying – and it keeps the craft simple for little ones.
- Give each turkey some character. Draw on eyes and a beak with a marker.
- Use a brown marker to draw two little legs and feet under each turkey.
- Once everything is dry, your turkey family is ready. Prop them up as place cards, tape them to a window, or turn them into greeting cards for grandparents.
RELATED —> Torn Paper Turkey Card Craft Idea For Thanksgiving

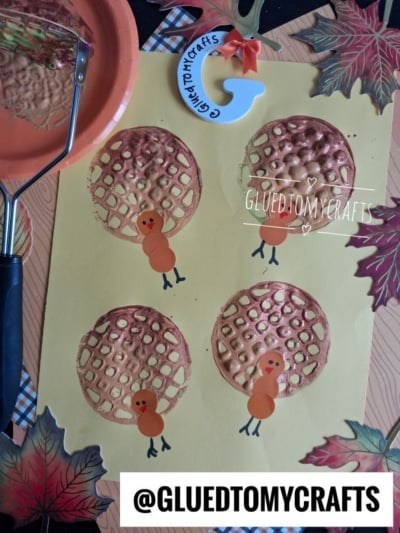
There’s something magical about seeing a plain sheet of paper turn into a flock of silly, smiling turkeys. This craft is proof that the best Thanksgiving memories often start with a few simple supplies and a whole lot of giggles.
We’d love to see what your little ones create! Snap a photo of your potato masher turkeys and share them with friends, family, or your favorite craft community. Happy crafting, and happy Thanksgiving!

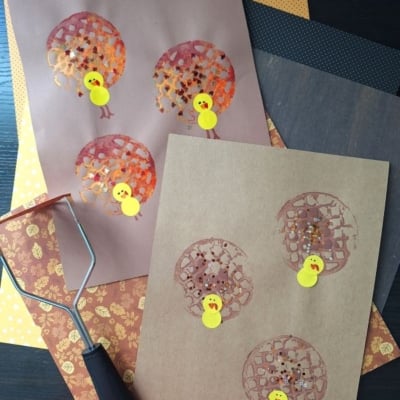
Potato Masher Stamped Turkey Craft Idea For Thanksgiving
Make this easy Thanksgiving craft for kids: stamp a potato masher turkey, add dot stickers, and simple paper faces. Fun for toddlers—try it today!
Here’s your checklist of supplies to bring this craft to life:
- Cardstock Paper
- Craft Paint
- Dot Stickers
- Embellishments
Prepare your creative haven by laying down a protective cover before the crafting magic begins!
Directions:
- Cover your table with newspaper or a plastic sheet. Pour small puddles of paint onto paper plates so kids can dip the masher easily. Roll up sleeves and get everyone into their craft clothes - this one can get colorful!
- Dip the flat side of the potato masher into the orange or red paint. Press it firmly onto the construction paper, then lift straight up. You'll see a fun circular, grid-like print appear. Repeat across the page to make several turkey feather bases.
- If you want a festive finish, sprinkle a pinch of glitter over the wet paint. Let the paint dry for a few minutes.
- Here's where the dot stickers come in. Instead of stamping the bodies, let your child peel a dot sticker and press it right in the center of each stamped print. This becomes the turkey's round body. Kids love this part because peeling and sticking is so satisfying - and it keeps the craft simple for little ones.
- Give each turkey some character. Draw on eyes and a beak with a marker.
- Use a brown marker to draw two little legs and feet under each turkey.
- Once everything is dry, your turkey family is ready. Prop them up as place cards, tape them to a window, or turn them into greeting cards for grandparents.

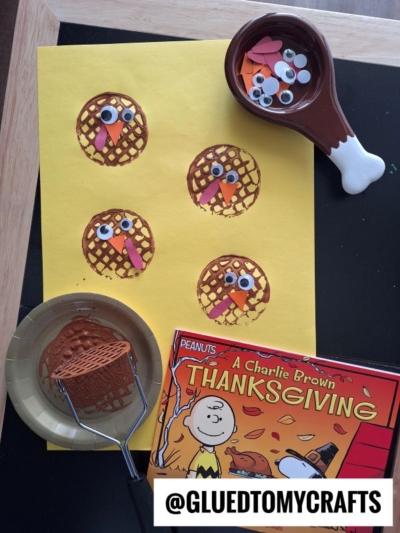
Grab our favorite books via our Amazon affiliate link! In our Amazon storefront you will find books, toys and craft supplies we absolutely love using for our Glued To My Crafts tutorials!
If you've enjoyed our content or have any thoughts to share, we'd love to hear from you! Mention @gluedtomycrafts or tag #gluedtomycrafts on Instagram!