Learn to craft a bright sunshine card using washi tape and torn paper. Perfect for DIY enthusiasts looking for creative handmade card ideas!
This torn paper yellow sunshine craft project is ideal for young children, yet engaging enough that older kids (and even adults!) will want to join in. Whether it’s for a birthday, a thank-you note, or just to brighten someone’s day, this cheerful card radiates handmade love.
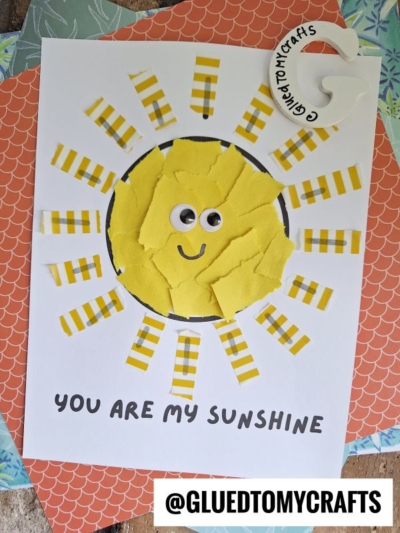
Learn to craft a delightful torn paper sunshine card using washi tape and simple materials. Perfect for all ages!
Craft Supplies:
Here’s what you’ll need to make your Sunshine Card:
- Yellow Construction Paper
- White Cardstock Paper
- Sunshine Printable – on our landing page
- School Glue
- Yellow Washi Tape
- Embellishments
Directions:
The simplicity of this torn paper sunshine craft is that makes it suitable for a wide range of ages. Younger kids can enjoy playing with washi tape and gluing torn paper, while older kids can play with more intricate designs.
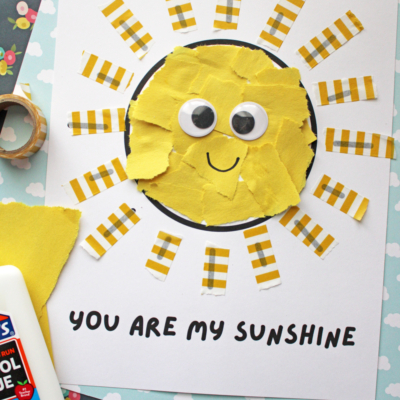
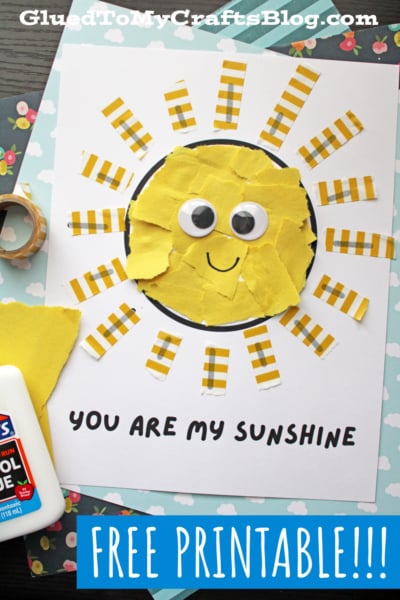
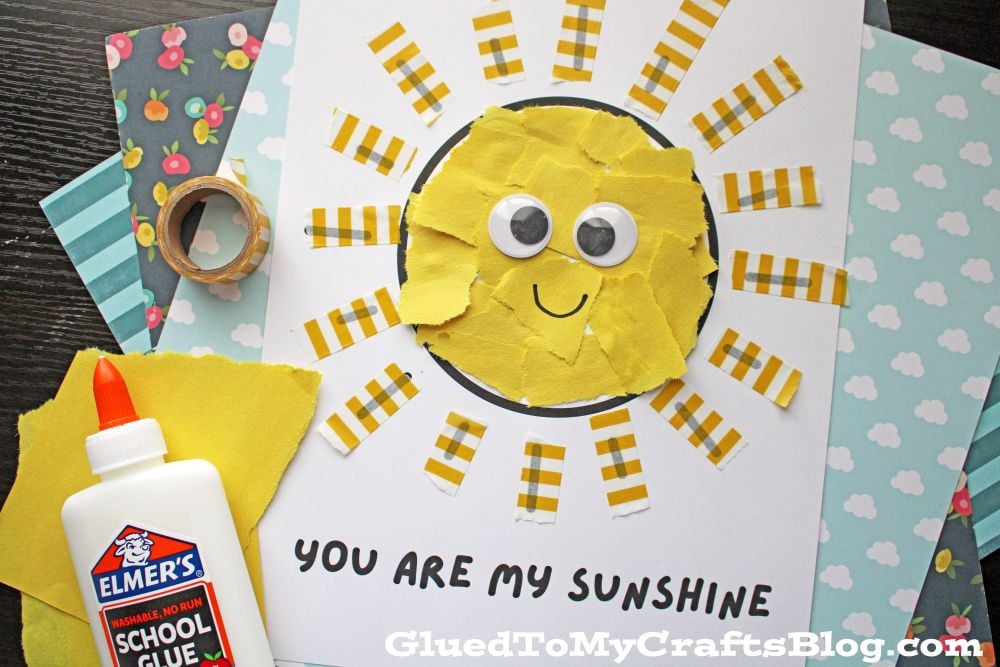
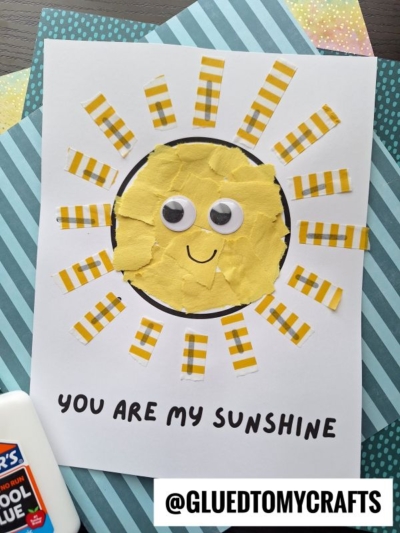
- Start by downloading and printing the FREE (linked above) onto a single sheet of white cardstock. You Are My Sunshine printable.
- Next, help your child tear or cut yellow construction paper into small pieces.
- Using school glue, let them fill the sun design on the printable with the yellow paper pieces. Remind them that it doesn’t need to be perfect—this is all about having fun and creating something uniquely theirs.
- Once that’s done, it’s time to add the finishing touches! Have your child tear/place down small pieces of yellow washi tape to create the sunshine beams.
- Allow the masterpiece to dry completely.
- Finally, snap a photo of their SUNNY creation and share it with the hashtag #GluedToMyCrafts or tag us. We’d love to see their amazing artwork!
RELATED —> Popsicle Stick Sunshine
There’s something magical about receiving a handmade card, especially from a little one who’s poured their love into the project. Today’s torn paper sun tutorial isn’t just a craft; it’s a tangible way to brighten someone’s day.
Now it’s your turn! Gather your supplies, channel your inner artist, and spend an afternoon creating with your kiddos. You never know how much sunshine a single card can spread.
And if you try this project, share your creations with us! Tag us on Instagram or Facebook with your yellow sunshine card designs—we’d love to see and feature your artwork. Happy crafting!

Washi Tape and Torn Paper Sunshine Card
Learn to craft a bright sunshine card using washi tape and torn paper. Perfect for DIY enthusiasts looking for creative handmade card ideas!
Here’s your checklist of supplies to bring this craft to life:
- School Glue
Prepare your creative haven by laying down a protective cover before the crafting magic begins!
Directions:
- Start by downloading and printing the FREE (linked above) onto a single sheet of white cardstock. You Are My Sunshine printable.
- Next, help your child tear or cut yellow construction paper into small pieces.
- Using school glue, let them fill the sun design on the printable with the yellow paper pieces. Remind them that it doesn’t need to be perfect—this is all about having fun and creating something uniquely theirs.
- Once that’s done, it’s time to add the finishing touches! Have your child tear/place down small pieces of yellow washi tape to create the sunshine beams.
- Allow the masterpiece to dry completely.

NEED MORE HELP DOWNLOADING OUR FREE PRINTABLES? PLEASE REFER TO OUR FAQ PAGE
If you've enjoyed our content or have any thoughts to share, we'd love to hear from you! Mention @gluedtomycrafts or tag #gluedtomycrafts on Instagram!